Angular 17 Create Custom Directive Example

Hey Guys,
Today, angular 17 create directive example is our main topic. you will learn angular 17 create custom directive example. I explained simply step by step how to create custom directive in angular 17. if you want to see an example of how to create directive in angular 17 then you are in the right place. follow the below example for custom directives in angular 17.
To create a custom directive in Angular 17, use the `@Directive` decorator. Define your directive class, specifying its selector and any necessary logic within the `@Directive` metadata. Bind it to the HTML element using its selector. Directives allow you to extend HTML functionality by encapsulating DOM manipulation and event handling. Custom directives enhance code reusability and maintainability by promoting modularization within Angular applications.
In this example we will create the appBtn custom directive in angular 17. We will use the ng generate directive {name} command to Create instructions for the button . We will set the default button color to red and when we hover over it it changes to blue. So, let’s play that.
So, let's follow the following steps:
Step for How to Create Custom Directive in Angular 17?
- Step 1: Create Angular 17 Project
- Step 2: Create Directive
- Step 3: Update Ts File
- Step 4: Update HTML File
- Run Angular App
Let's follow the steps:
Step 1: Create Angular 17 Project
You can easily create your angular app using below command:
ng new my-new-app
Step 2: Create Directive
we will run following command to create user interface.
ng generate directive btn
now, simply update user interface as like the below:
src/app/btn.directive.ts
import { Directive, ElementRef, Renderer2, HostListener } from '@angular/core';
@Directive({
selector: '[appBtn]',
standalone: true
})
export class BtnDirective {
constructor(
private elementRef: ElementRef,
private renderer: Renderer2
) {
this.setFontColor('red')
}
setFontColor(color: string) {
this.renderer.setStyle(
this.elementRef.nativeElement,
'color',
color
)
}
@HostListener('mouseenter') onMouseEnter() {
this.setFontColor('blue')
}
@HostListener('mouseleave') onMouseLeave() {
this.setFontColor('red')
}
}
Step 3: Update Ts File
here, we need to update ts file as like bellow with lat and long variable:
src/app/app.component.ts
import { Component } from '@angular/core';
import { CommonModule } from '@angular/common';
import { BtnDirective } from './btn.directive';
@Component({
selector: 'app-root',
standalone: true,
imports: [CommonModule, BtnDirective],
templateUrl: './app.component.html',
styleUrls: ['./app.component.css']
})
export class AppComponent {
}
Step 4: Update HTML File
here, we need to update html file as like bellow code:
src/app/app.component.html
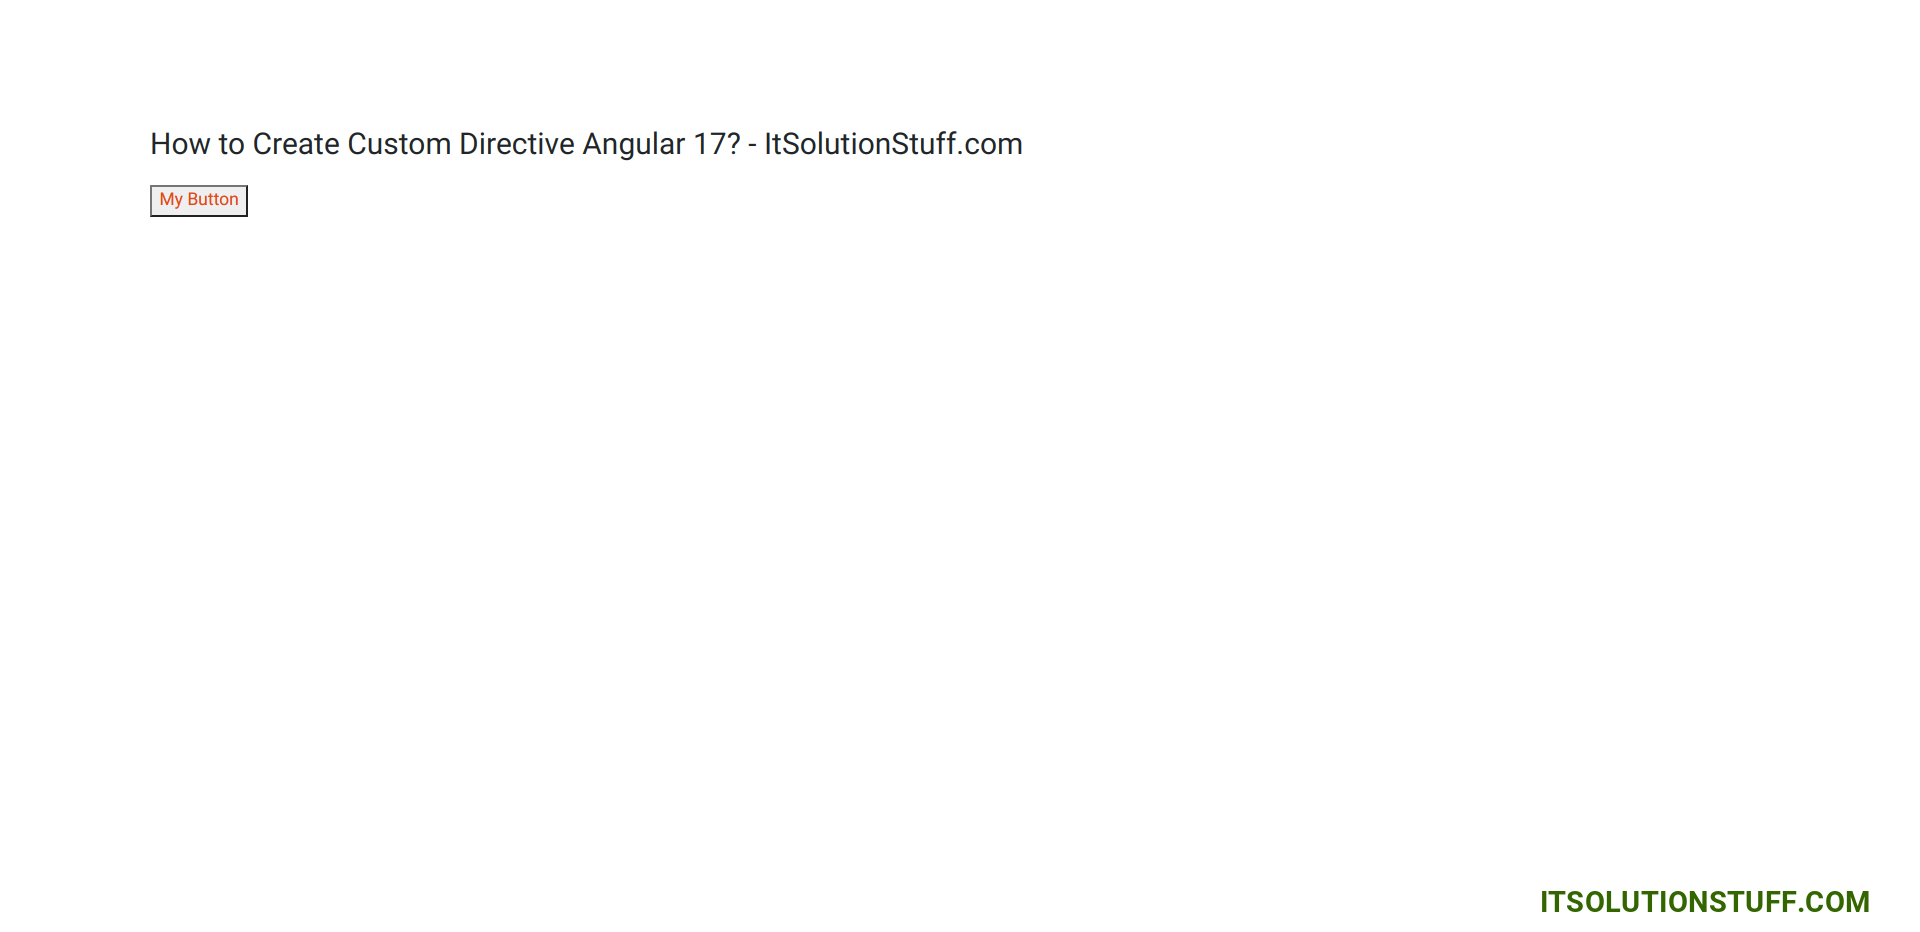
<div class="container">
<h1>How to Create Custom Directive Angular 17? - ItSolutionStuff.com</h1>
<button appBtn>My Button</button>
</div>
Run Angular App:
All the required steps have been done, now you have to type the given below command and hit enter to run the Angular app:
ng serve
Now, Go to your web browser, type the given URL and view the app output:
http://localhost:4200
Preview:
now you can check it.
I hope it can help you...

