Angular 17 Routing and Navigation Example Tutorial
Hi Guys,
In this article, we will cover angular 17 routing module create. This tutorial will give you a simple example of how to create separate routing module in angular 17. In this article, we will implement a how to make routing module in angular 17. if you want to see an example of how to create router module in angular 17 then you are in the right place. Alright, let’s dive into the details.
I will give you step-by-step instructions on how to create a module with routing in your angular 17 application. I will give you a very simple example so you can easily understand how it works.
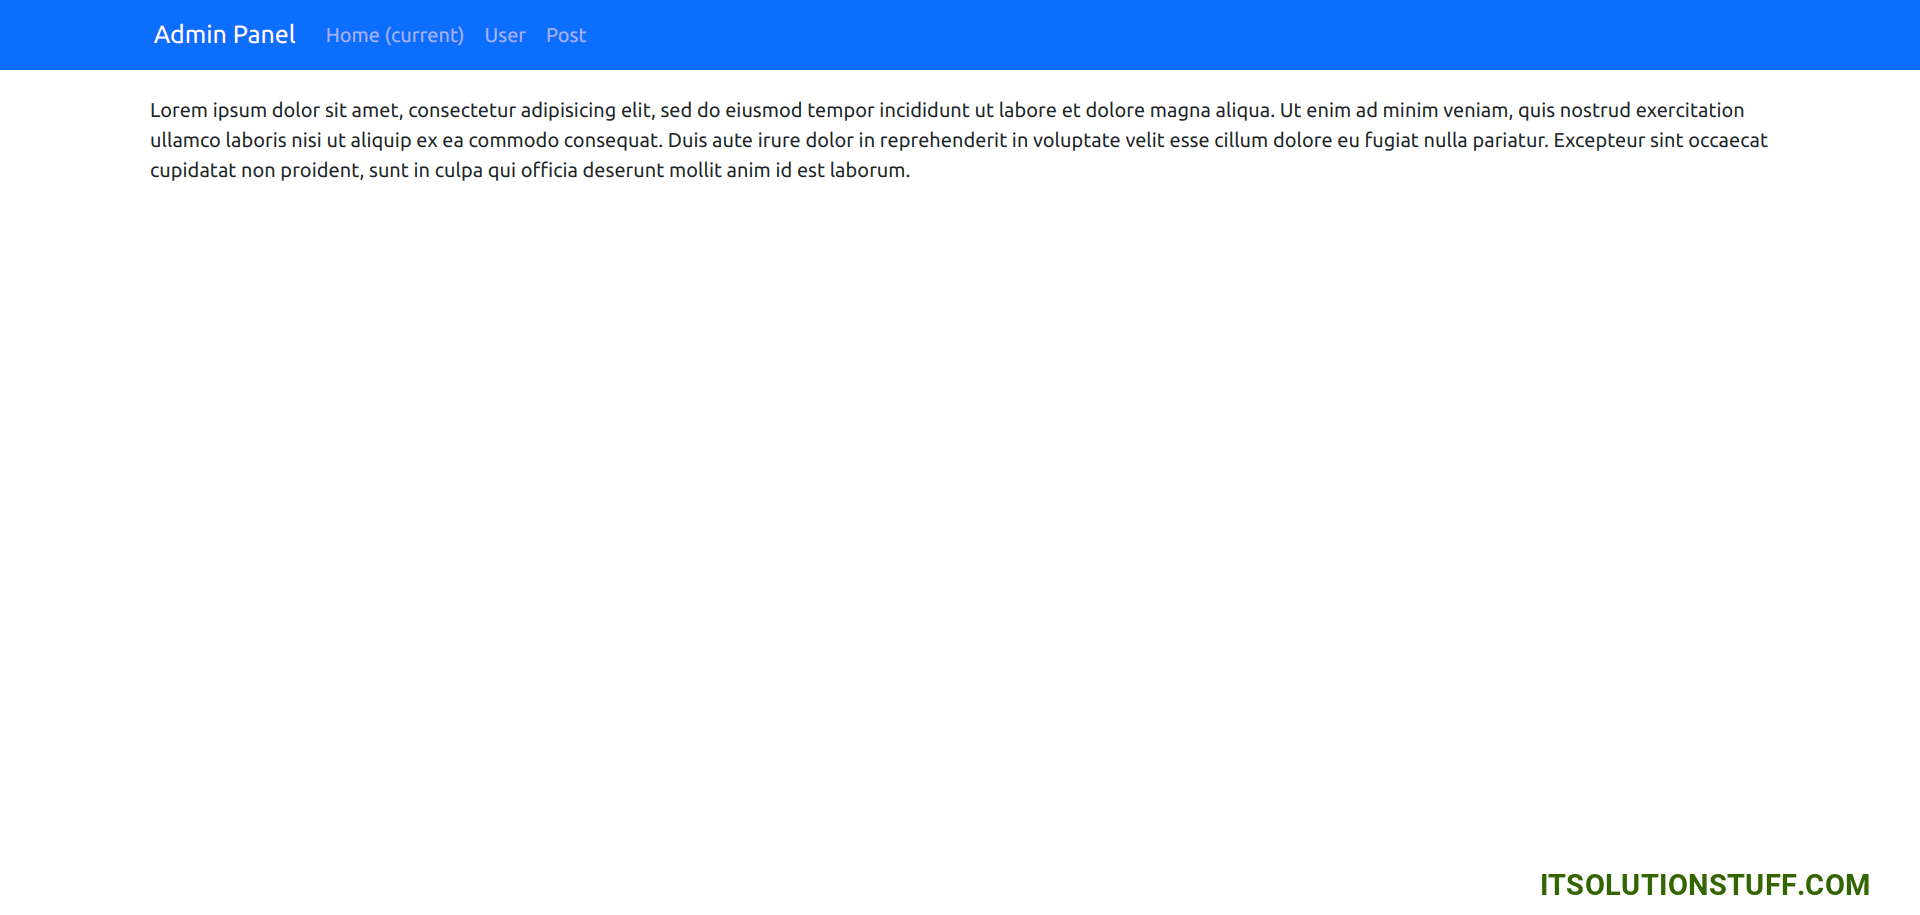
In this example, I will simply create one admin module and inside the admin module, we will create a home, user, and post component that will call the module route file. you have to just follow a few steps and it will be done and layout will be as below:
Preview:
Step 1: Create New App
You can easily create your angular app using bellow command:
ng new my-module-app
Step 2: Create Component For Module
Now we will add new component to our admin module using bellow command, so let's create home, user and post component for admin module:
ng g component admin/home
ng g component admin/user
ng g component admin/post
run successfully command, it will create folder with files as like bellow path:
src/app/admin/home/*
src/app/admin/user/*
src/app/admin/post/*
There is html file to all three component. so you can simple update that file with your content to checking demo if you want.
Step 3: Add Route for Component
In this step, we will simply add route with created component. so we have to update our admin-routing module file as like bellow code:
src/app/app.routes.ts
import { Routes } from '@angular/router';
import { HomeComponent } from './admin/home/home.component';
import { UserComponent } from './admin/user/user.component';
import { PostComponent } from './admin/post/post.component';
export const routes: Routes = [
{path : 'user', component : UserComponent},
{path : 'post', component : PostComponent},
{path : '', component : HomeComponent}
];
Step 4: Update Component HTML File
here, we have to update our app component html file, we need to add links of all route with router-outlet, so let's update it as like bellow:
I used bootstrap class on this file. so if you want to add than then follow this link too: Install Bootstrap 5 to Angular 17.
src/app/app.component.html
<div class="container">
<nav class="navbar navbar-expand-lg navbar-dark bg-primary">
<a class="navbar-brand" href="#">Admin Panel</a>
<div class="collapse navbar-collapse" id="navbarSupportedContent">
<ul class="navbar-nav mr-auto">
<li class="nav-item active">
<a class="nav-link" href="#home" routerLink="/">Home <span class="sr-only">(current)</span></a>
</li>
<li class="nav-item">
<a class="nav-link" href="#user" routerLink="/user">User</a>
</li>
<li class="nav-item">
<a class="nav-link" href="#post" routerLink="/post">Post</a>
</li>
</ul>
</div>
</nav>
</div>
<div class="container">
<router-outlet></router-outlet>
</div>
Step 5: Import Module to app.components.ts file
In last step, we will simply import our module to app.components.ts file, so, let's update that file as like bellow:
src/app/app.components.ts
import { Component } from '@angular/core';
import { CommonModule } from '@angular/common';
import { RouterModule, RouterOutlet } from '@angular/router';
@Component({
selector: 'app-root',
standalone: true,
imports: [CommonModule, RouterOutlet, RouterModule],
templateUrl: './app.component.html',
styleUrls: ['./app.component.css']
})
export class AppComponent {
title = 'route';
}
Run Angular App:
All the required steps have been done, now you have to type the given below command and hit enter to run the Angular app:
ng serve
Now, Go to your web browser, type the given URL and view the app output:
http://localhost:4200
I hope it can help you...

