How to Create Service in Angular 17?

Hello friends,
In this article, we'll explore the process of creating a service in Angular 17. If you're looking for an example of creating a service in the Angular 17 folder, you're in the right place. We'll focus on creating a service using HttpClient in Angular 17, and I'll demonstrate a sample Angular 17 CLI command for service creation.
In any application, it's crucial to send API requests to another server. Whether you're working with Angular, Vue, or React applications, understanding how to execute HTTP client requests in Angular 17 is essential.
I'll provide a straightforward example of retrieving and storing data using API calls. For testing purposes, we'll use the jsonplaceholder API, eliminating the need to create a new API.
Step for Create Http Client Request Service in Angular 17
- Step 1: Create Angular 17 Project
- Step 2: export provideHttpClient()
- Step 3: Create Service for API
- Step 4: Use Service to Component
- Step 5: Updated View File
- Run Angular App
So, let's see the below example step on step how to create an HTTP service and how to use it.
Step 1: Create Angular 17 Project
You can easily create your angular app using below command:
ng new my-new-app
Step 2: export provideHttpClient()
In this step, we need to export provideHttpClient() to app.config.ts file. so let's import it as like bellow:
src/app/app.config.ts
import { ApplicationConfig } from '@angular/core';
import { provideRouter } from '@angular/router';
import { routes } from './app.routes';
import { provideAnimations } from '@angular/platform-browser/animations';
import { provideHttpClient } from '@angular/common/http';
export const appConfig: ApplicationConfig = {
providers: [provideRouter(routes), provideAnimations(), provideHttpClient()]
};
Step 3: Create Service for API
Here, we need to create service for http client request. we will create service file and write client http request code. this service will use in our component file. So let's create service and put bellow code:
ng g s services/post
Now let's add code as like bellow:
src/app/services/post.service.ts
import { Injectable } from '@angular/core';
import { HttpClient } from '@angular/common/http';
@Injectable({
providedIn: 'root'
})
export class PostService {
private url = 'http://jsonplaceholder.typicode.com/posts';
constructor(private httpClient: HttpClient) { }
getPosts(){
return this.httpClient.get(this.url);
}
}
Step 4: Use Service to Component
Now we have to use this services to our app component. So let's updated code as like bellow:
src/app/app.component.ts
import { Component } from '@angular/core';
import { CommonModule } from '@angular/common';
import { RouterOutlet } from '@angular/router';
import { PostService } from './services/post.service';
@Component({
selector: 'app-root',
standalone: true,
imports: [CommonModule, RouterOutlet],
templateUrl: './app.component.html',
styleUrls: ['./app.component.css']
})
export class AppComponent {
posts:any;
constructor(private service:PostService) {}
ngOnInit() {
this.service.getPosts()
.subscribe(response => {
this.posts = response;
});
}
}
Step 5: Updated View File
Now here, we will updated our html file. let's put bellow code:
src/app/app.component.html
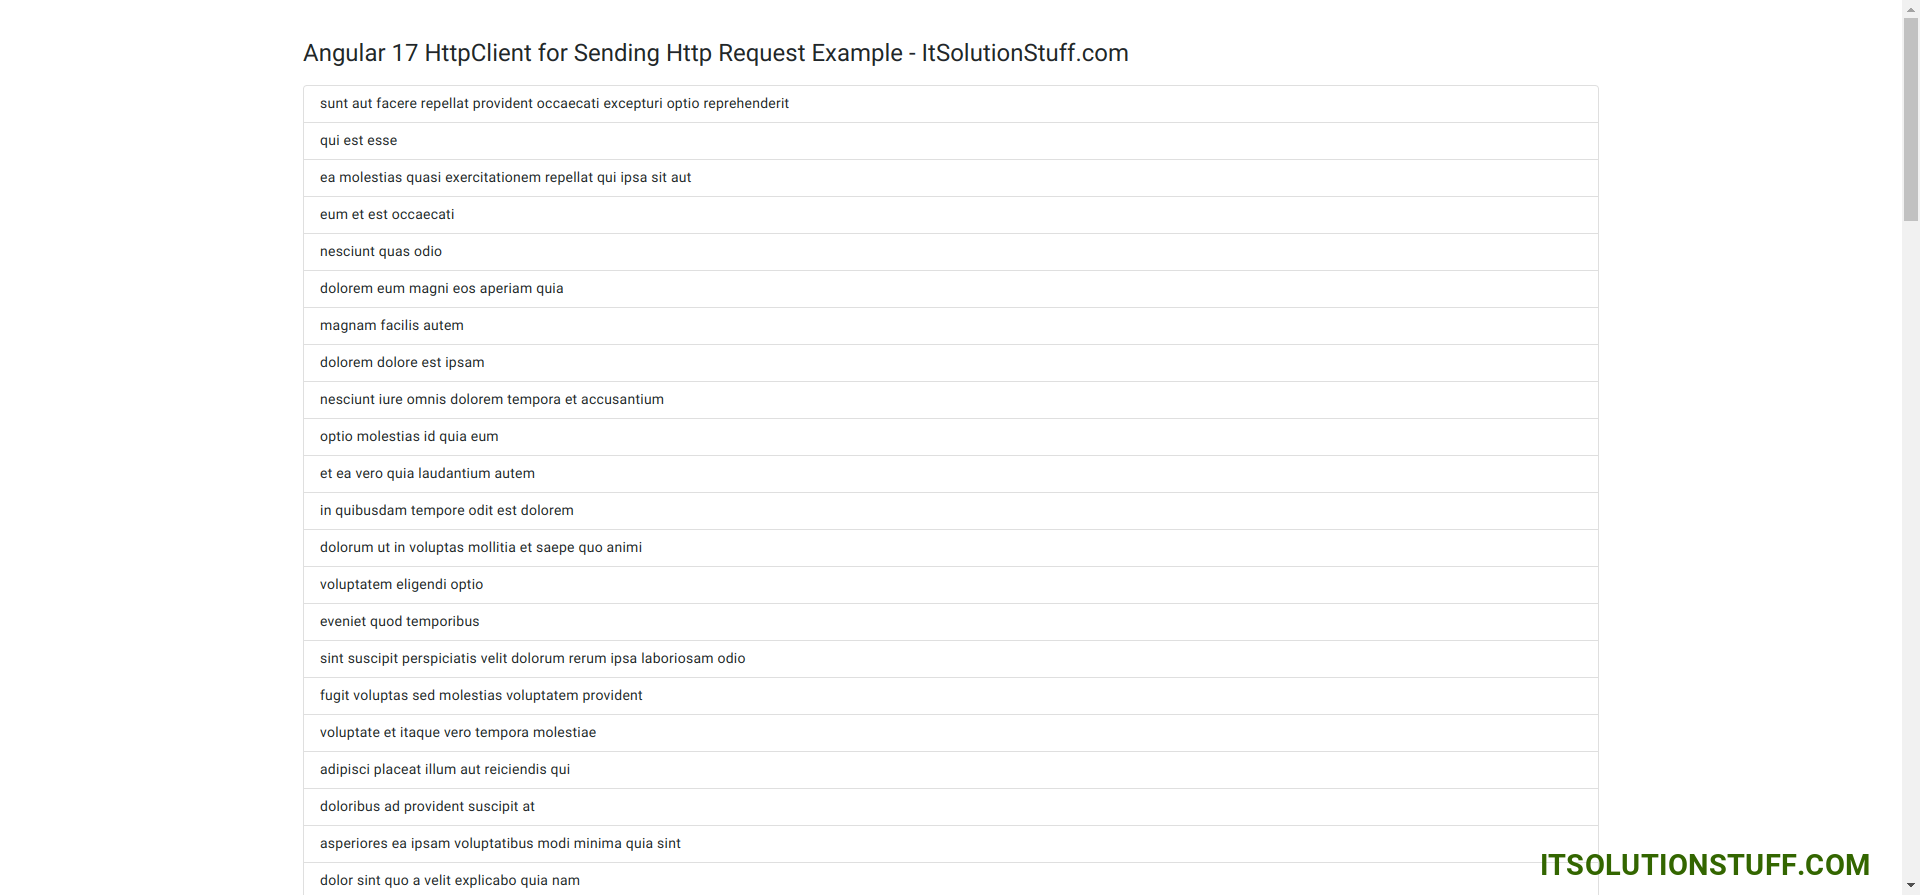
<h1>Angular 17 HttpClient for Sending Http Request Example - ItSolutionStuff.com</h1>
<ul class="list-group">
<li
*ngFor="let post of posts"
class="list-group-item">
{{ post.title }}
</li>
</ul>
Run Angular App:
All the required steps have been done, now you have to type the given below command and hit enter to run the Angular app:
ng serve
Now, Go to your web browser, type the given URL and view the app output:
http://localhost:4200
you will see the layout below:
I hope it can help you...

