How to Install Apache PHP MySQL and Phpmyadmin on Ubuntu?
Hello,
Today our leading topic is how to install apache php mysql and phpmyadmin on ubuntu 20.04. step by step explain ubuntu install apache php mysql phpmyadmin. I’m going to show you about ubuntu server 20.04 install apache php mysql phpmyadmin. We will use ubuntu 20 install apache php mysql phpmyadmin.
In this tutorial, i will show you step by step install apache2, php, mysql and phpmyadmin in ubuntu 22.10, ubuntu 22.04, ubuntu 21.10, ubuntu 21.04, ubuntu 20.04, ubuntu 18.04 and ubuntu 16.04 server. so let's follow following step to make it done.
Install Apache:
Update Local Package:
sudo apt update
Install apache2 Package:
sudo apt install apache2
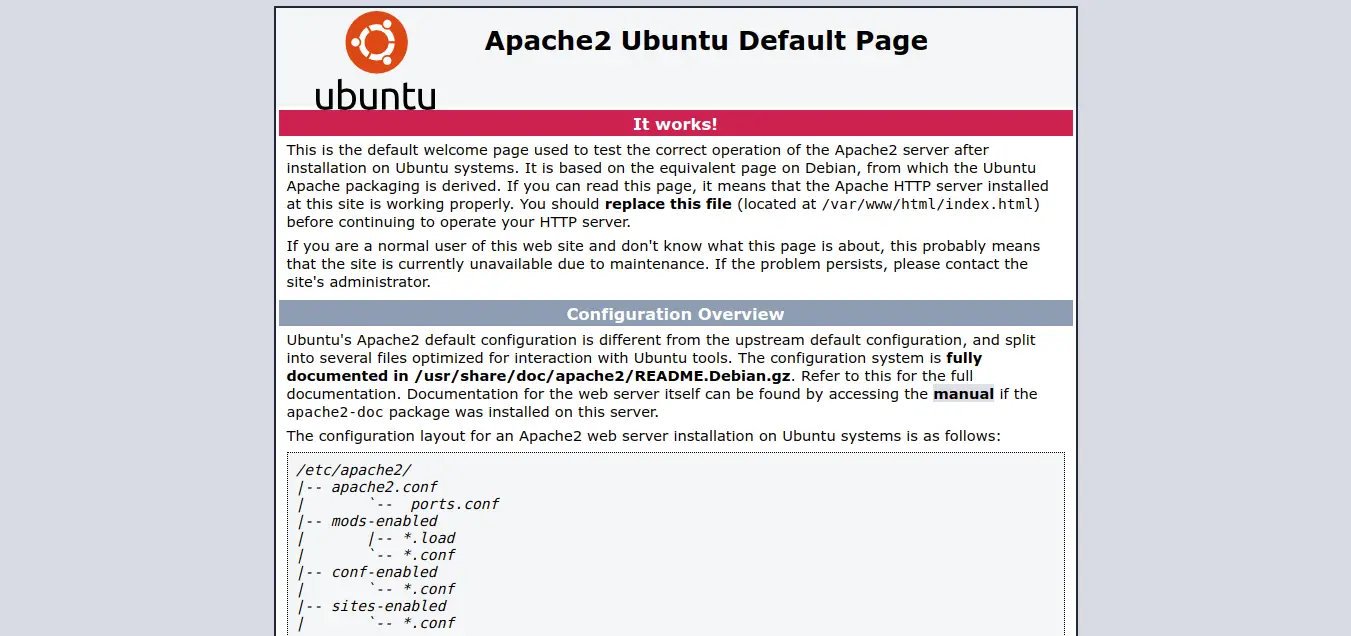
After install successfully apache2, you can go to browser and check your IP as like bellow and layout:
http://your_server_ip
OR
http://localhost
Output:
Install PHP on Ubuntu
Update Local Package:
sudo apt update
Install software-properties-common:
sudo apt install software-properties-common
Add the ondrej/php PPA:
sudo add-apt-repository ppa:ondrej/php
Update Local Package:
sudo apt update
Install PHP:
sudo apt install php libapache2-mod-php php-mysql
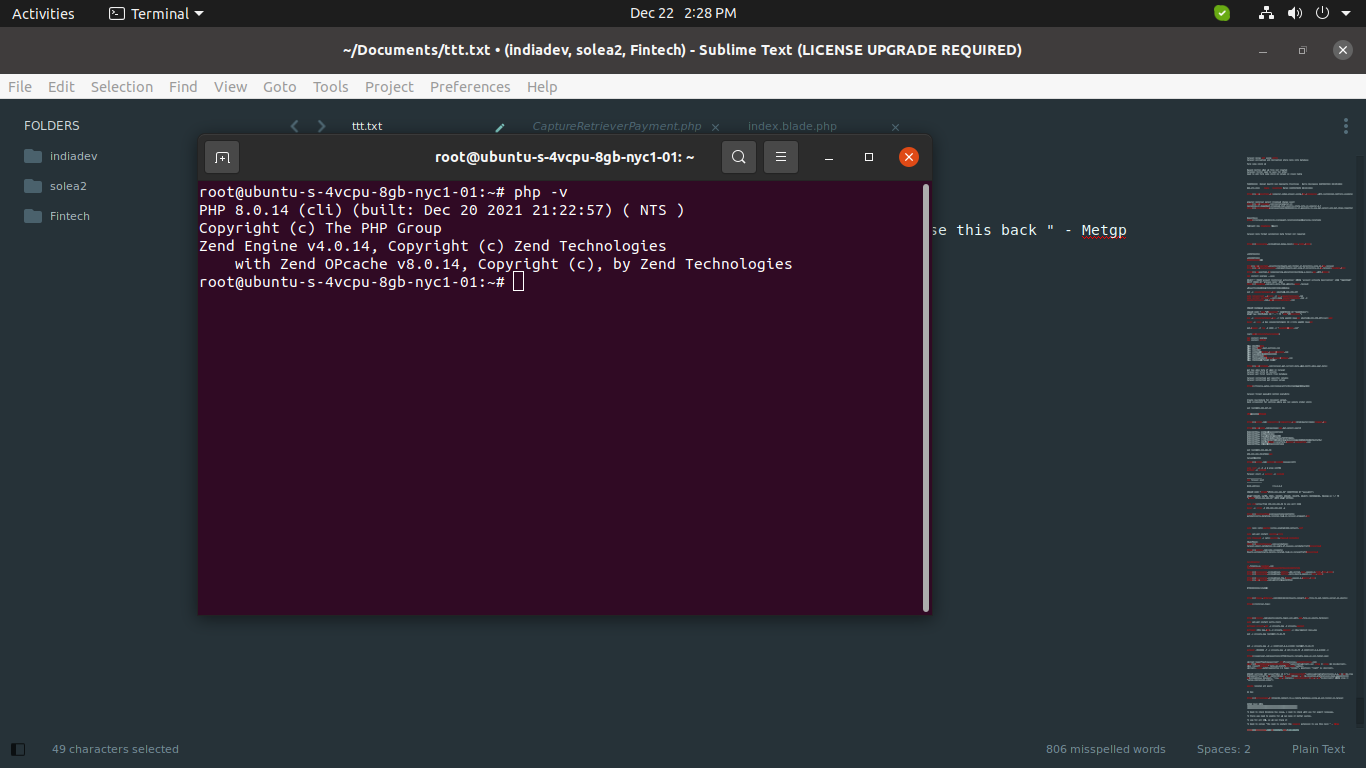
Now you can check php version by following command:
php -v
you can see terminal layout as bellow:
Install PHP Packages:
sudo apt-get install php-mysql php-curl php-cgi php-xsl php-mbstring
Set DirectoryIndex on Apache:
you have to set default index.php file for run. so let's run bellow command and update file:
sudo nano /etc/apache2/mods-enabled/dir.conf
/etc/apache2/mods-enabled/dir.conf
<IfModule mod_dir.c>
DirectoryIndex index.php index.html index.cgi index.pl index.xhtml index.htm
</IfModule>
Now let's restart apache server:
sudo systemctl reload apache2
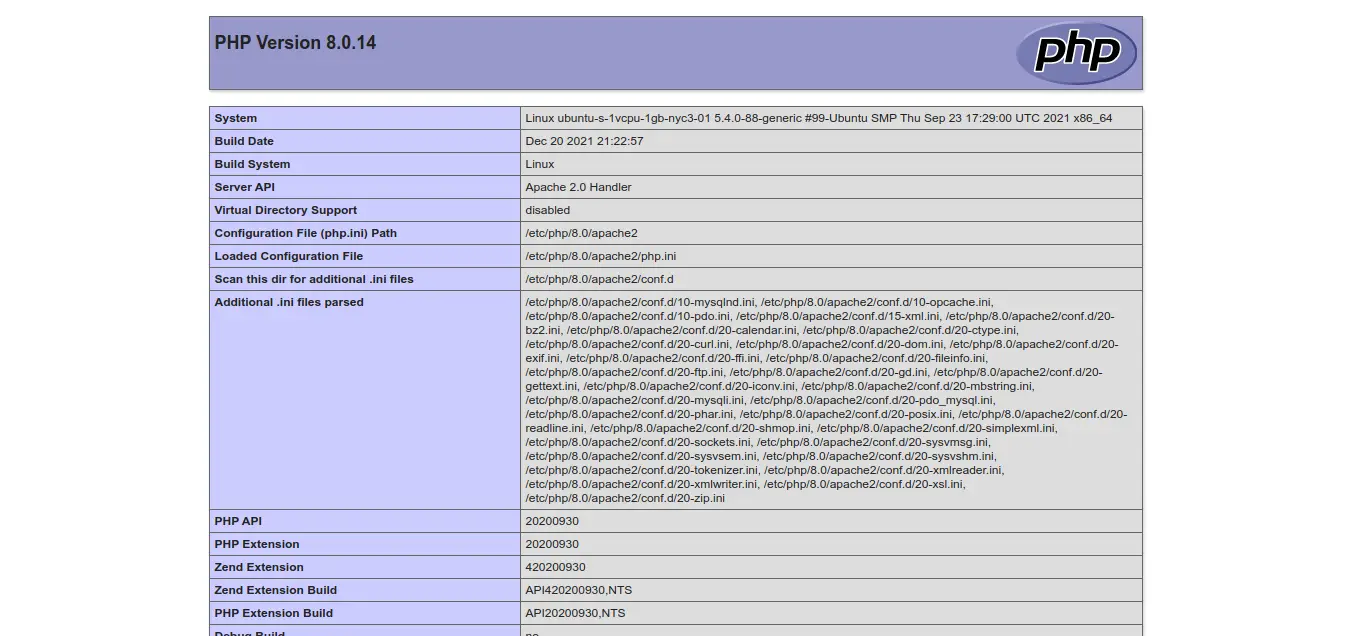
Run PHP File:
now create info.php file on following location:
/var/www/html/info.php
<?php
phpinfo();
Now let's run and check on browser:
http://your_server_ip/info.php
OR
http://localhost/info.php
Output:
Install MySQL on Ubuntu
Update Local Package:
sudo apt update
Install MySQL Server:
sudo apt install mysql-server
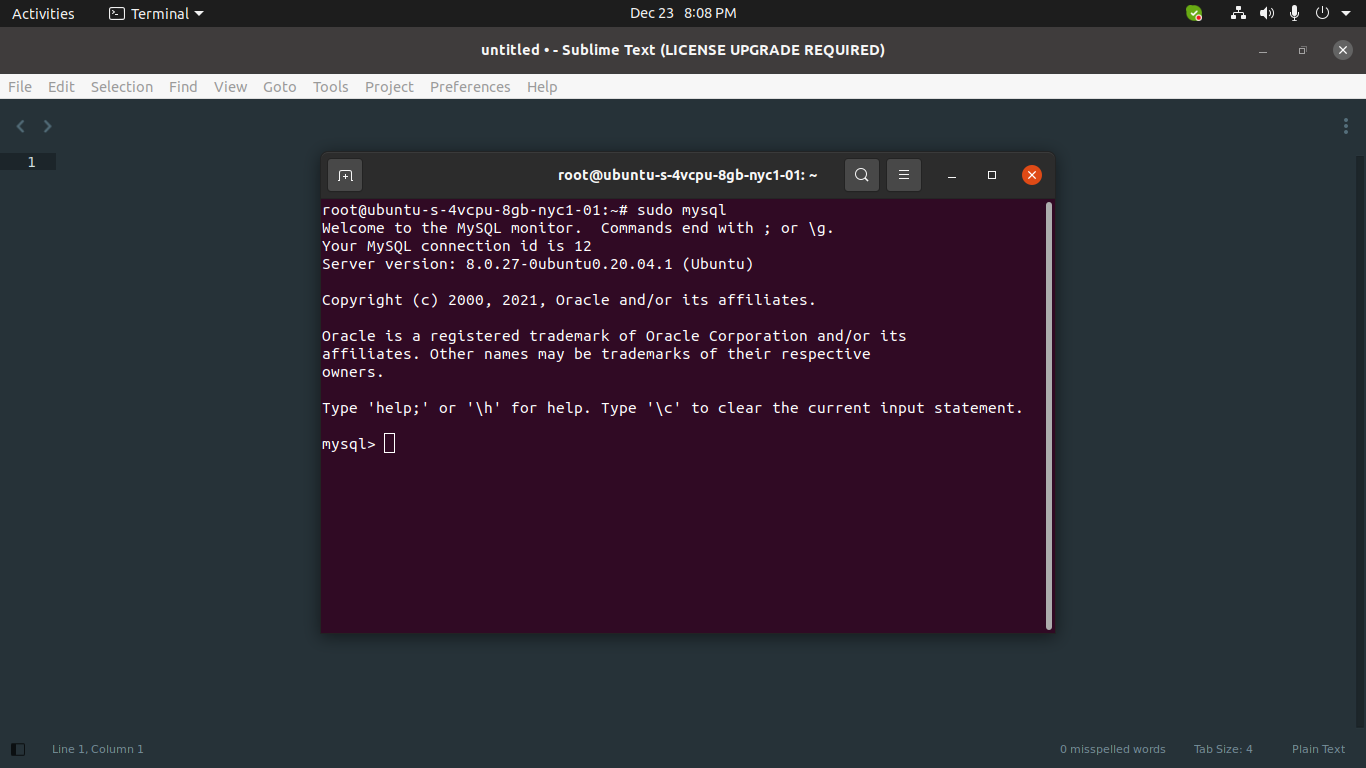
Access MySQL:
Now you can access mysql by using mysql command:
sudo mysql
OR
mysql -u root
you can see terminal layout as bellow:
Install PhpMyadmin on Ubuntu
Update Local Package:
sudo apt update
Install Phpmyadmin:
sudo apt install phpmyadmin php-mbstring php-zip php-gd php-json php-curl
Create User on MySQL:
you can create new user for mysql by using following query:
mysql -u root -p
CREATE USER 'root_new'@'localhost' IDENTIFIED BY 'rootnewpassword';
GRANT ALL PRIVILEGES ON * . * TO 'root_new'@'localhost';
FLUSH PRIVILEGES;
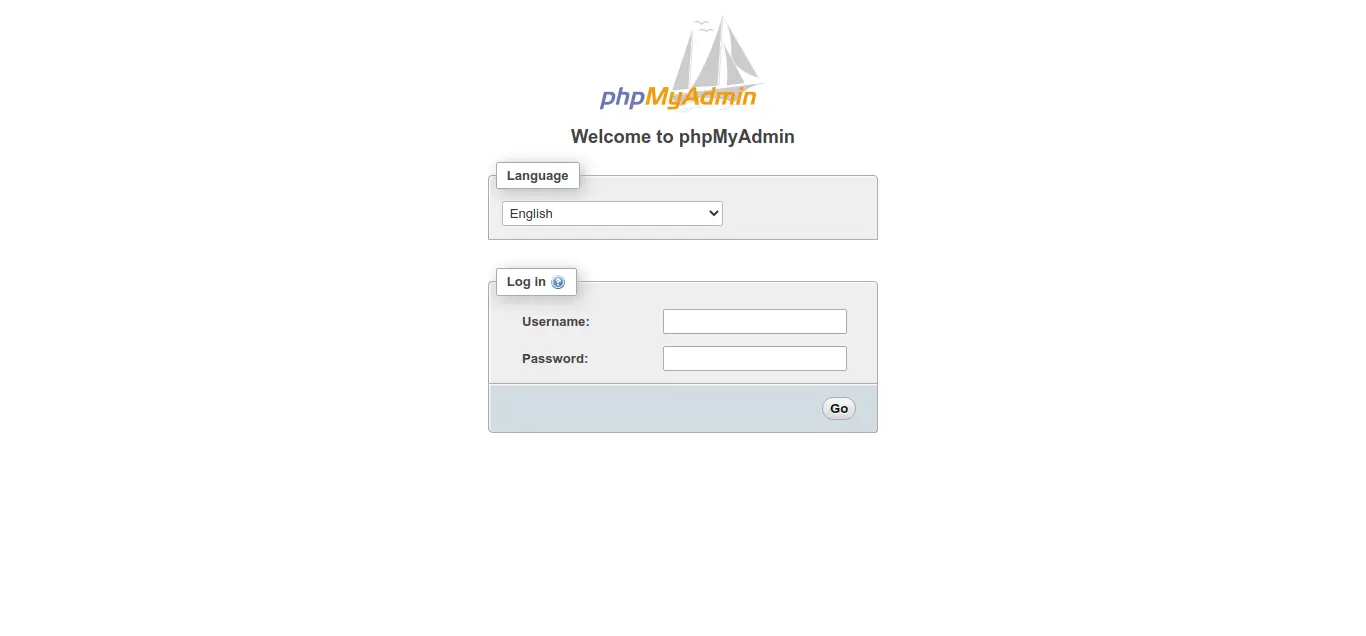
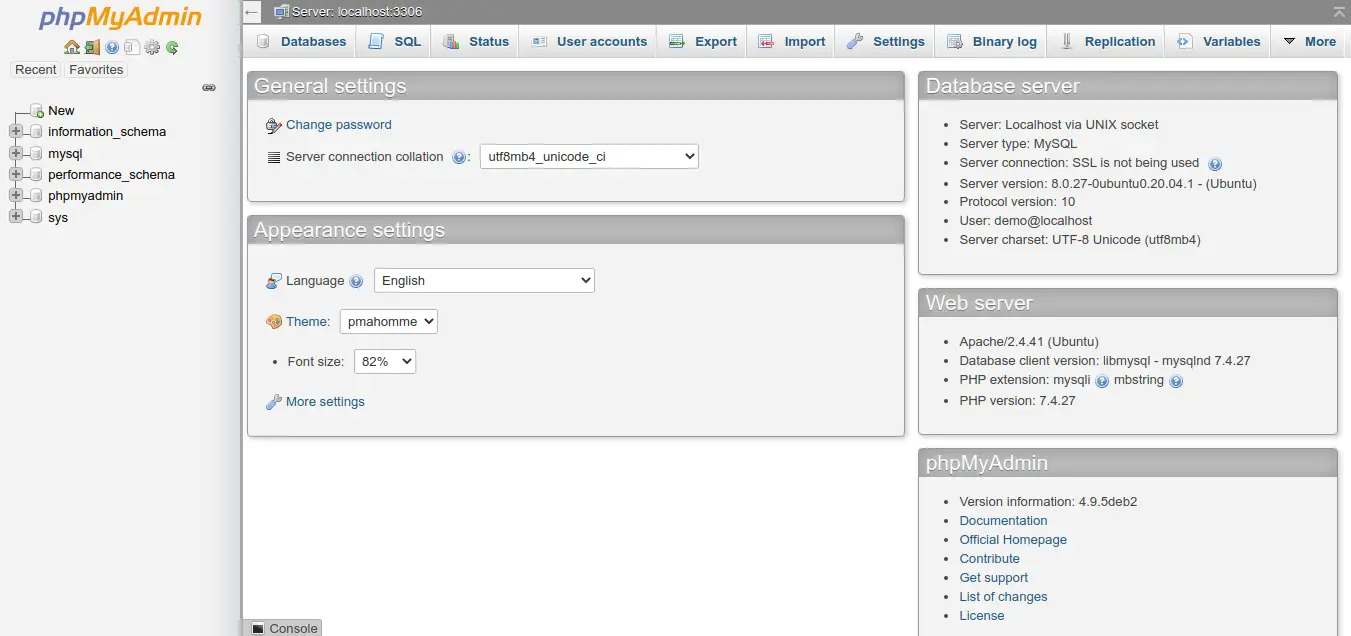
Now you can go to your browser and open IP or localhost then you will found bellow layout:
http://localhost/localhost/phpmyadmin
OR
http://your_domain_or_IP/phpmyadmin
Output:
Solved Error: the requested url was not found on this server. phpmyadmin
IF it's still not open and you found following error:
"the requested url was not found on this server. phpmyadmin"
Then you can do it following step:
Open apache.conf file:
sudo nano /etc/apache2/apache2.conf
Then add following line to the end of file.
Include /etc/phpmyadmin/apache.conf
Restart Apache:
sudo /etc/init.d/apache2 restart
Now it will works.
I hope it can help you...

