Laravel Docker #13 - Install Adminer and MySQL Database
Laravel is a great PHP framework for building web applications that need databases. When you work with databases, you need a way to see and manage your data easily. Adminer is a simple tool that helps you manage your MySQL database through a web browser. It works like phpMyAdmin but is much lighter and easier to use.
Docker makes it simple to set up Laravel with MySQL and Adminer all together. You can view your database tables, add new data, and run SQL queries right from your web browser. This tutorial will show you how to install Adminer with your Laravel Docker setup. You will learn how to connect to your MySQL database and manage it easily.
Step 1: Create Laravel Project
First, we need to create a new Laravel project. Run this command in your terminal:
laravel new my-appThis command will create a new Laravel project called "my-app" with all the files you need.
Step 2: Create Dockerfile
Dockerfile
FROM php:8.3-fpm

WORKDIR /var/www/html

RUN apt-get update & apt-get install -y \
    libzip-dev unzip curl supervisor nginx \
    & docker-php-ext-install zip pdo pdo_mysql

RUN curl -fsSL https://deb.nodesource.com/setup_20.x | bash - \
    & apt-get install -y nodejs \
    & npm install -g npm@latest

# Install Composer
COPY --from=composer:latest /usr/bin/composer /usr/bin/composer

COPY . /var/www/html

# Remove default nginx configs
RUN rm -f /etc/nginx/conf.d/default.conf /etc/nginx/sites-enabled/default

# Copy our custom nginx config
COPY ./.docker/nginx/default.conf /etc/nginx/conf.d/default.conf

RUN sed -i 's|pid /run/nginx.pid;|pid /tmp/nginx.pid;|' /etc/nginx/nginx.conf
RUN sed -i 's|^user .*;|# user www-data;|' /etc/nginx/nginx.conf

COPY ./.docker/supervisord.conf /etc/supervisor/conf.d/supervisord.conf

# Make nginx temp dirs writable for www-data
RUN mkdir -p /var/lib/nginx /var/lib/nginx/body /var/lib/nginx/fastcgi \
    & chown -R www-data:www-data /var/lib/nginx

RUN composer install
RUN npm install & npm run build

# Force PHP-FPM to listen on TCP so nginx can talk to it
RUN echo "listen = 9000" >> /usr/local/etc/php-fpm.d/zz-docker.conf

RUN chown -R www-data:www-data /var/www/html
RUN chown -R www-data:www-data /var/www/html/storage /var/www/html/bootstrap/cache
RUN chmod -R 775 /var/www/html/storage /var/www/html/bootstrap/cache

# Nginx listens on port 80
EXPOSE 80

CMD ["supervisord", "-c", "/etc/supervisor/conf.d/supervisord.conf"]Step 3: Create NGINX Config File
.docker/apache/default.conf
server {
listen 80;
index index.php index.html;
root /var/www/html/public;
location / {
try_files $uri $uri/ /index.php?$query_string;
}
location ~ \.php$ {
include fastcgi_params;
fastcgi_pass web:9000;
fastcgi_index index.php;
fastcgi_param SCRIPT_FILENAME $realpath_root$fastcgi_script_name;
fastcgi_param PATH_INFO $fastcgi_path_info;
fastcgi_buffers 16 16k;
fastcgi_buffer_size 32k;
}
location ~ /\.ht {
deny all;
}
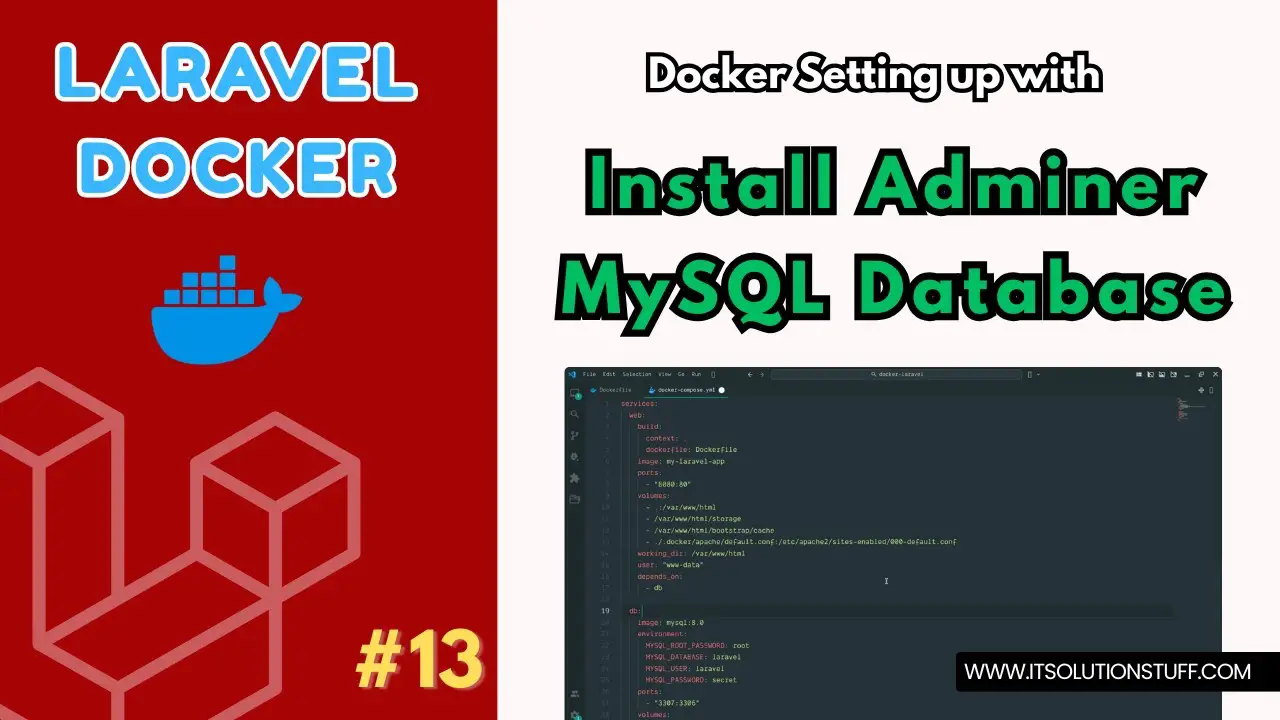
}Step 4: Create docker-compose.yml
docker-compose.yml
services:
  web:
    build:
      context: .
      dockerfile: Dockerfile
    image: my-laravel-app
    volumes:
      - .:/var/www/html
      - /var/www/html/storage
      - /var/www/html/bootstrap/cache
    working_dir: /var/www/html
    user: "www-data"
    ports:
      - "8080:80"
    environment:
      - APP_ENV=production
      - APP_DEBUG=false
      - APP_KEY=base64:PdNRbeFR9Y/zbPdA9cbRRcSX/9PPbIIkErAOoYiI9pg=
      - DB_CONNECTION=mysql
      - DB_HOST=db
      - DB_PORT=3306
      - DB_DATABASE=laravel
      - DB_USERNAME=laravel
      - DB_PASSWORD=secret
    depends_on:
      - db

  db:
    image: mysql:8.0
    environment:
      MYSQL_ROOT_PASSWORD: root
      MYSQL_DATABASE: laravel
      MYSQL_USER: laravel
      MYSQL_PASSWORD: secret
    ports:
      - "3307:3306"
    volumes:
      - dbdata:/var/lib/mysql

volumes:
  dbdata:
Step 4: Create supervisord.conf
.docker/supervisord.conf
[supervisord]
nodaemon=true

[program:php-fpm]
command=php-fpm
autostart=true
autorestart=true
priority=5

[program:nginx]
command=nginx -g "daemon off;"
autostart=true
autorestart=true
priority=10
Step 5: Download Adminer
Now we need to download Adminer to manage our database. Run this command:
curl -L https://www.adminer.org/latest.php -o public/adminer.phpThis command will download the latest Adminer file and save it in your Laravel public folder.
Run Laravel App:
All the required steps have been done, now you have to type the given below command and hit enter to run the Laravel app:
php artisan serveNow, Go to your web browser, type the given URL and view the app output:
http://localhost:8080You can access Adminer by visiting:
http://localhost:8080/adminer.phpNow you can use your Laravel app with Adminer to manage your MySQL database easily.

