Angular Table with Checkbox Example Tutorial
Hello Artisan,
This article will provide some of the most important example angular table with checkbox example. we will help you to give an example of angular check/uncheck checkboxes in table. This article will give you a simple example of table checkbox select all angular. if you want to see an example of how to add select all checkbox in angular table then you are in the right place.
You can use this example in angular 8, angular 9, angular 10, angular 11, angular 12, angular 13, angular 14, angular 15, angular 16 and angular 17 versions.
Sometimes we need to add a checkbox with an angular table. we have to add a checkbox in the header of the table and you can check/uncheck all checkboxes of below rows. If want to do that then I will give you a simple example here. In this example, we will create one Post Service and call jsonplaceholder API to getting all posts. Then we will display posts in the table with a checkbox. You can select all checkboxes from the angular table as well.
So, let's follow the below steps to do this example.
Step 1: Create New App
You can easily create your angular app using below command:
ng new my-new-app
Step 2: Import HttpClientModule
In this step, we need to import HttpClientModule and FormsModule to app.module.ts file. so let's import it as like bellow:
src/app/app.module.ts
import { BrowserModule } from '@angular/platform-browser';
import { NgModule } from '@angular/core';
import { AppComponent } from './app.component';
import { HttpClientModule } from '@angular/common/http';
import { FormsModule, ReactiveFormsModule } from '@angular/forms';
@NgModule({
declarations: [
AppComponent
],
imports: [
BrowserModule,
HttpClientModule,
FormsModule,
ReactiveFormsModule
],
providers: [],
bootstrap: [AppComponent]
})
export class AppModule { }
Step 3: Create Post Class
In this step, we will simply create a Post class and define data types of returning data. so let's create post.ts file and put the below code:
src/app/post.ts
export class Post {
constructor(
public body: string,
public id: number,
public title: string,
public userId: number,
public checked?: boolean
) {}
}
Step 4: Create Service for Call API
Here, we need to create service for http client request. we will create service file and write client http request using observable code. this service will use in our component file. So let's create service and put bellow code:
ng g s post
Now let's add code as like bellow:
src/app/post.service.ts
import { Injectable } from '@angular/core';
import { HttpClient } from '@angular/common/http';
import { Observable } from 'rxjs';
import { Post } from './post';
@Injectable({
providedIn: 'root'
})
export class PostService {
private url: string = 'https://jsonplaceholder.typicode.com/posts';
constructor(private httpClient: HttpClient) { }
public getPosts(): Observable<Post[]>{
return this.httpClient.get<Post[]>(this.url);
}
}
Step 5: Use Service to Component
Now we have to use this services to our app component. So let's updated code as like bellow:
src/app/app.component.ts
import { Component, OnInit } from '@angular/core';
import { PostService } from './post.service';
import { Post } from './post';
@Component({
selector: 'app-root',
templateUrl: './app.component.html',
styleUrls: ['./app.component.css']
})
export class AppComponent implements OnInit {
name = 'Angular';
posts = new Array
();
/*------------------------------------------
--------------------------------------------
call constructor
--------------------------------------------
--------------------------------------------*/
constructor(private service:PostService) {}
/*------------------------------------------
--------------------------------------------
call ngOnInit() function
--------------------------------------------
--------------------------------------------*/
ngOnInit() {
this.service.getPosts().subscribe(response => {
this.posts = response.map(item =>
{
return new Post(
item.body,
item.id,
item.title,
item.userId
);
});
});
}
/*------------------------------------------
--------------------------------------------
call checkAllCheckBox() function
--------------------------------------------
--------------------------------------------*/
checkAllCheckBox(ev: any) {
this.posts.forEach(x => x.checked = ev.target.checked)
}
/*------------------------------------------
--------------------------------------------
call isAllCheckBoxChecked() function
--------------------------------------------
--------------------------------------------*/
isAllCheckBoxChecked() {
return this.posts.every(p => p.checked);
}
}
Step 6: Updated View File
Now here, we will updated our html file. let's put bellow code:
I used bootstrap class on this form. if you want to add than then follow this link too: Install Bootstrap 5 to Angular 14.
src/app/app.component.html
<div class="container">
<h1>Angular Table with Checkbox Example - ItSolutionStuff.com</h1>
<table class="table table-bordered">
<thead>
<tr>
<th><input type="checkbox" [checked]="isAllCheckBoxChecked()" (change)="checkAllCheckBox($event)"></th>
<th>ID</th>
<th>Body</th>
<th>Title</th>
</tr>
</thead>
<tbody>
<tr *ngFor="let post of posts; let i=index;">
<td><input type="checkbox" value="{{post.id}}" [(ngModel)]="posts[i].checked"></td>
<td>{{ post.id }}</td>
<td>{{ post.body }}</td>
<td>{{ post.title }}</td>
</tr>
</tbody>
</table>
</div>
Run Angular App:
All the required steps have been done, now you have to type the given below command and hit enter to run the Angular app:
ng serve
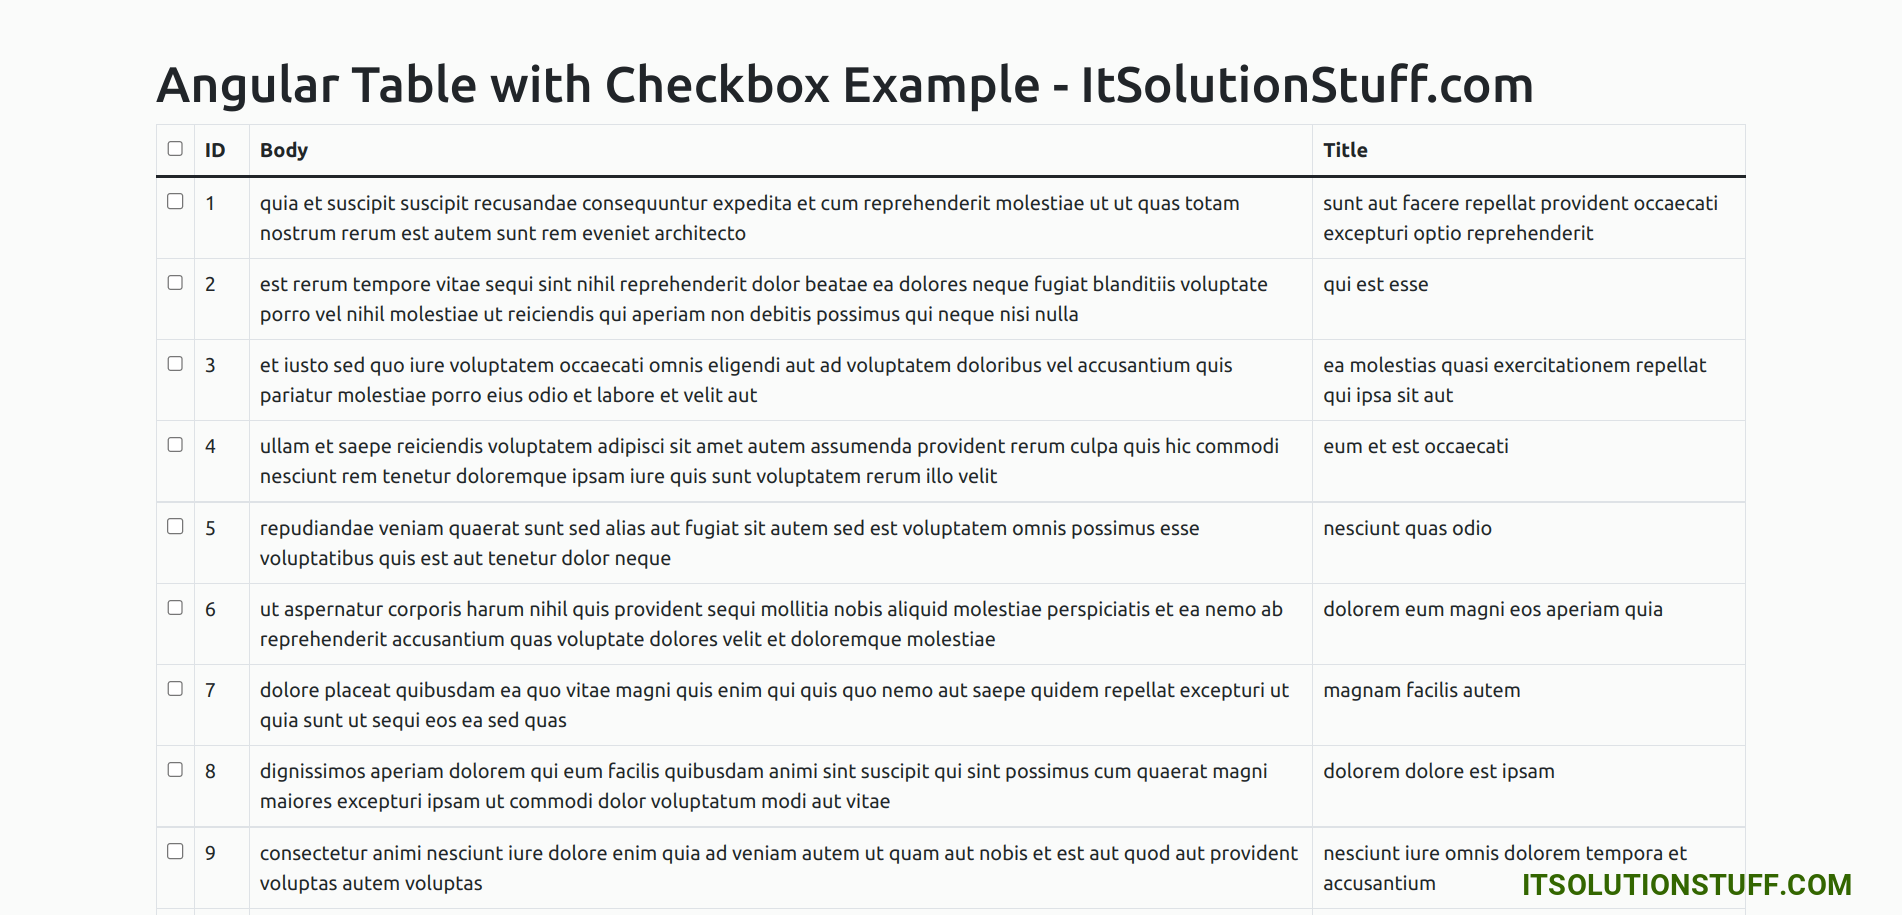
Now, Go to your web browser, type the given URL and view the app output:
http://localhost:4200
You can simply see the preview as like below:
I hope it can help you...

