Laravel 11 Scout Full Text Search Tutorial
In this post, I will share with you how to create full text search using Scout elastic search with Algolia driver in the laravel 11 application.
Laravel 11 provides Scout Package for full-text search from your project. The Scout package has Algolia, Meilisearch, and Typesense driver options. If you require adding a full-text search function in your Laravel 11 application, then you have to choose the Scout package to do so.
In this example, we will install the Scout Composer package and use the database driver for full-text search. Then we will use Scout with the User model and add a name, email, and id column for full-text search. Let's see the steps below to create the full-text search function.

Step for Laravel 11 Full Text Search using Scout Example
- Step 1: Install Laravel 11
- Step 2: Install Scout and Algolia Driver
- Step 3: Update User Model
- Step 4: Create UserController Controller
- Step 5: Add Route
- Step 6: Create View
- Run Laravel App
Follow the below steps:
Step 1: Install Laravel 11
This step is not required; however, if you have not created the Laravel app, then you may go ahead and execute the below command:
composer create-project laravel/laravel example-appStep 2: Install Scout and Algolia Driver
In this step, we have to install the Scout package and then publish them.
composer require laravel/scoutNext, we have to publish our configuration file, so you need to run the below command:
php artisan vendor:publish --provider="Laravel\Scout\ScoutServiceProvider"Now we need to set the configuration database as the driver in your .env file.
.env
SCOUT_DRIVER=databasenext, we need to install algolia composer package for driver. so, let's run the below code:
composer require algolia/algoliasearch-client-phpStep 3: Update User Model
Here, we already have a users table created, so we need to use "Searchable" and create the toSearchableArray() method. So let's update the following code:
app/Models/User.php
<?php

namespace App\Models;

use Illuminate\Database\Eloquent\Factories\HasFactory;
use Illuminate\Foundation\Auth\User as Authenticatable;
use Illuminate\Notifications\Notifiable;
use Laravel\Scout\Searchable;

class User extends Authenticatable
{
    use HasFactory, Notifiable, Searchable;

    /**
     * The attributes that are mass assignable.
     *
     * @var array
     */
    protected $fillable = [
        'name',
        'email',
        'password',
    ];

    /**
     * The attributes that should be hidden for serialization.
     *
     * @var array
     */
    protected $hidden = [
        'password',
        'remember_token',
    ];

    /**
     * Get the attributes that should be cast.
     *
     * @return array
     */
    protected function casts(): array
    {
        return [
            'email_verified_at' => 'datetime',
            'password' => 'hashed',
        ];
    }

    /**
     * Get the indexable data array for the model.
     *
     * @return array
     */
    public function toSearchableArray()
    {
        return [
            'name' => $this->name,
            'email' => $this->email
        ];
    }
}
Next, we will create some dummy records in the users table and import them. So let's run the following commands:
Create Dummy Records:
php artisan tinker

User::factory()->count(20)->create()
Import Records:
php artisan scout:import "App\Models\User"Step 4: Create UserController Controller
At this point, we should create a new controller named UserController. In this controller, we will add an index method that will return users with a filter.
Let's update the following code in your controller file:
app/Http/Controllers/UserController.php
<?php

namespace App\Http\Controllers;

use Illuminate\Http\Request;
use App\Models\User;
use Illuminate\View\View;

class UserController extends Controller
{
    /**
     * Display a listing of the resource.
     *
     * @return \Illuminate\Http\Response
     */
    public function index(Request $request): View
    {
        $users = User::search($request->search ?? '')->get();

        return view('users', compact('users'));
    }
}
Step 5: Add Route
In this step, we need to create a route for listing users. So, open your "routes/web.php" file and add the following route.
routes/web.php
<?php

use Illuminate\Support\Facades\Route;

use App\Http\Controllers\UserController;

Route::get('users', [UserController::class, 'index']);
Step 6: Create View
In the last step, let's create `users.blade.php` (`resources/views/users.blade.php`) for layout, and we will write design code here and put the following code:
resources/views/users.blade.php
<!DOCTYPE html>
<html>
<head>
    <title>Laravel 11 Scout Full Text Search Tutorial - ItSolutionStuff.com</title>
    <link href="https://cdn.jsdelivr.net/npm/bootstrap@5.0.2/dist/css/bootstrap.min.css" rel="stylesheet" crossorigin="anonymous">
    <link rel="stylesheet" href="https://cdnjs.cloudflare.com/ajax/libs/font-awesome/6.5.1/css/all.min.css" />
</head>
<body>

<div class="container">
    <div class="card mt-5">
        <h3 class="card-header p-3"><i class="fa fa-star"></i> Laravel 11 Scout Full Text Search Tutorial - ItSolutionStuff.com</h3>
        <div class="card-body">

            <form method="GET">
                <div class="input-group mb-3">
                  <input
                    type="text"
                    name="search"
                    value="{{ request()->get('search') }}"
                    class="form-control"
                    placeholder="Search..."
                    aria-label="Search"
                    aria-describedby="button-addon2">
                  <button class="btn btn-success" type="submit" id="button-addon2">Search</button>
                </div>
            </form>

            <table class="table table-bordered mt-3">
                <tr>
                    <th>ID</th>
                    <th>Name</th>
                    <th>Email</th>
                </tr>
                @foreach($users as $user)
                <tr>
                    <td>{{ $user->id }}</td>
                    <td>{{ $user->name }}</td>
                    <td>{{ $user->email }}</td>
                </tr>
                @endforeach
            </table>

        </div>
    </div>
</div>

</body>
</html>
Run Laravel App:
All the required steps have been done, now you have to type the given below command and hit enter to run the Laravel app:
php artisan serveNow, Go to your web browser, type the given URL and view the app output:
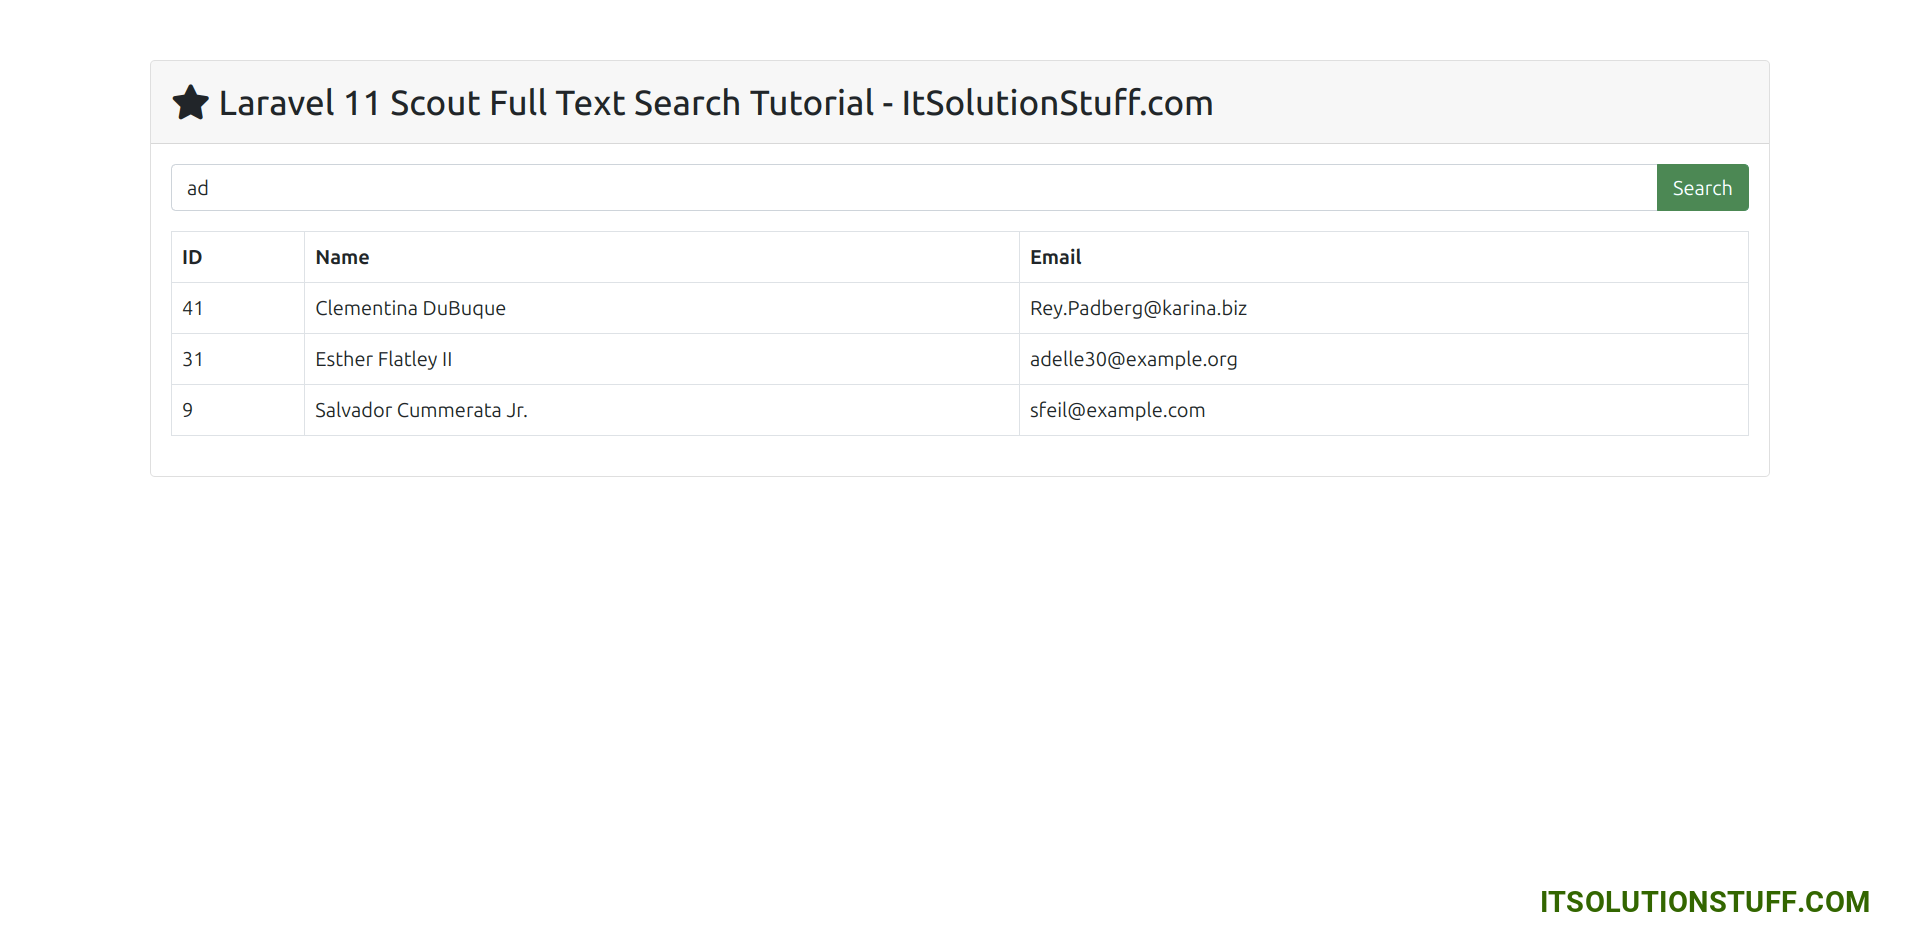
http://localhost:8000/usersOutput:
Maybe it can help you.....

