Laravel 11 Pagination with Relationship Example
In this post, we will learn how to create paginate with relations in laravel 11 application.
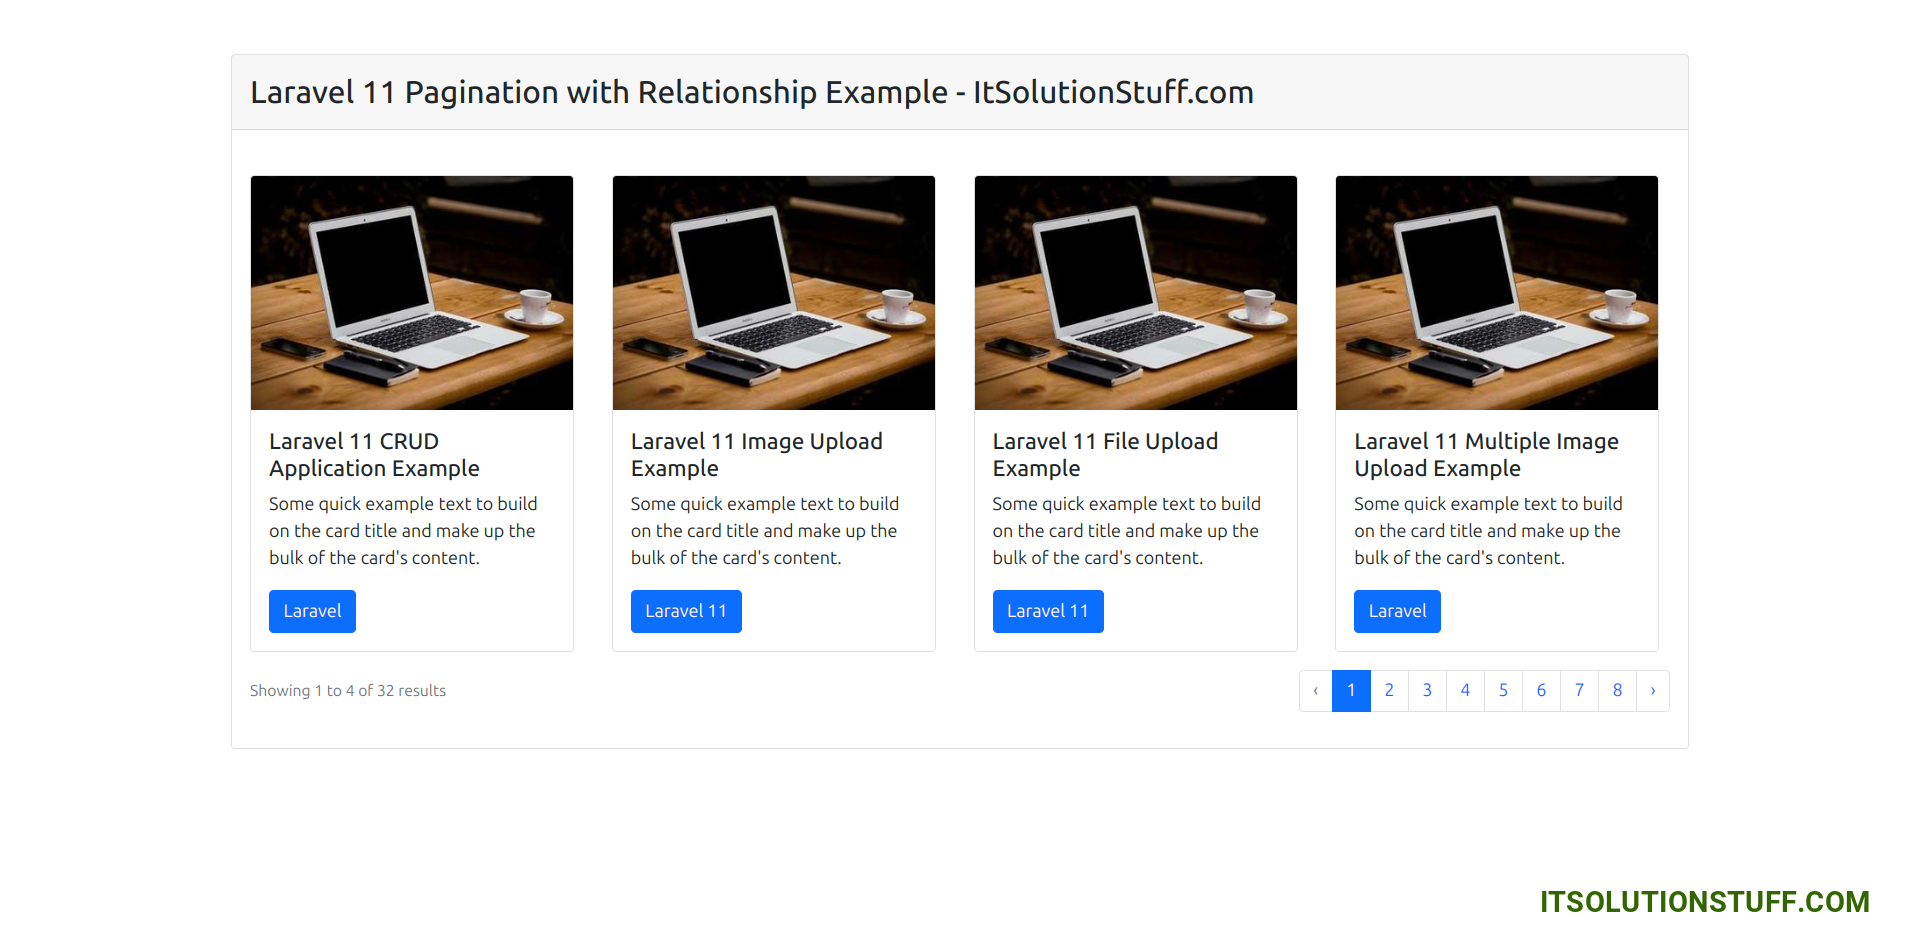
In this example, we will create posts and categories table. we will add has many relation in Category model and belongs to relation with Category table. Then we will create dummy records using the Seeder command. Afterward, we will display those posts pagination with category relationship data. By default, laravel pagination uses Tailwind CSS design, but here we will use Bootstrap 5 design for pagination.

Step for Laravel 11 Paginate with Relations Example
- Step 1: Install Laravel 11
- Step 2: Create Category and Post Table
- Step 3: Create Category and Post Model
- Step 4: Create Dummy Category and Posts
- Step 5: Add Route
- Step 6: Create Controller
- Step 7: Create Blade File
- Run Laravel App
So, let's follow below tutorials:
Step 1: Install Laravel 11
This step is not required; however, if you have not created the Laravel app, then you may go ahead and execute the below command:
composer create-project laravel/laravel example-appStep 2: Create Category and Post Table
Here, we will create categories and posts table with model. so, let's run the following command:
php artisan make:migration create_categories_tablephp artisan make:migration create_posts_tablenow, let's update the following migrations:
database/migrations/2024_06_11_035146_create_posts_table.php
<?php

use Illuminate\Database\Migrations\Migration;
use Illuminate\Database\Schema\Blueprint;
use Illuminate\Support\Facades\Schema;

return new class extends Migration
{
    /**
     * Run the migrations.
     */
    public function up(): void
    {
        Schema::create('posts', function (Blueprint $table) {
            $table->id();
            $table->string('title');
            $table->string('slug');
            $table->text('body');
            $table->integer('category_id');
            $table->timestamps();
        });
    }

    /**
     * Reverse the migrations.
     */
    public function down(): void
    {
        Schema::dropIfExists('posts');
    }
};
database/migrations/2024_06_13_175106_create_categories_table.php
<?php

use Illuminate\Database\Migrations\Migration;
use Illuminate\Database\Schema\Blueprint;
use Illuminate\Support\Facades\Schema;

return new class extends Migration
{
    /**
     * Run the migrations.
     */
    public function up(): void
    {
        Schema::create('categories', function (Blueprint $table) {
            $table->id();
            $table->string('name');
            $table->timestamps();
        });
    }

    /**
     * Reverse the migrations.
     */
    public function down(): void
    {
        Schema::dropIfExists('categories');
    }
};
now, Let's run the migration command:
php artisan migrateStep 3: Create Category and Post Model
Here, we will create Category and Post model using the following command.
php artisan make:model Categoryphp artisan make:model Postnow, update the model file with belongsTo() and hasMany() relationship:
app/Models/Category.php
<?php

namespace App\Models;

use Illuminate\Database\Eloquent\Factories\HasFactory;
use Illuminate\Database\Eloquent\Model;
use Illuminate\Database\Eloquent\Relations\HasMany;

class Category extends Model
{
    use HasFactory;

    /**
     * Write code on Method
     *
     * @return response()
     */
    protected $fillable = [ 'name' ];

    /**
     * Write code on Method
     *
     * @return response()
     */
    public function posts(): HasMany
    {
        return $this->hasMany(Post::class);
    }
}
app/Models/Post.php
<?php

namespace App\Models;

use Illuminate\Database\Eloquent\Factories\HasFactory;
use Illuminate\Database\Eloquent\Model;
use Illuminate\Database\Eloquent\Relations\BelongsTo;

class Post extends Model
{
    use HasFactory;

    /**
     * Write code on Method
     *
     * @return response()
     */
    protected $fillable = [
        'title', 'body', 'slug', 'category_id'
    ];

    /**
     * Write code on Method
     *
     * @return response()
     */
    public function category(): BelongsTo
    {
        return $this->belongsTo(Category::class);
    }
}
Step 4: Create Dummy Category and Posts
In this step, we need to run the migration command to create the seeder to create dummy records in categories and posts table
Let's run the migration command:
php artisan make:seeder CreatePostsnoww, we need to update CreatePosts seeder.
database/seeders/CreatePosts.php
<?php

namespace Database\Seeders;

use Illuminate\Database\Console\Seeds\WithoutModelEvents;
use Illuminate\Database\Seeder;
use App\Models\Post;
use App\Models\Category;
use Illuminate\Support\Str;

class CreatePosts extends Seeder
{
    /**
     * Run the database seeds.
     */
    public function run(): void
    {
        $cat1 = Category::create(['name' => 'Laravel']);
        $cat2 = Category::create(['name' => 'Laravel 11']);

        $posts = [
            [
                'title' => 'Laravel Product CRUD Tutorial',
                'body' => 'Step by Step Laravel Product CRUD Tutorial',
                'category_id' => $cat1
            ],
            [
                'title' => 'Laravel Image Upload Example',
                'body' => 'Step by Step Laravel Image Upload Example',
                'category_id' => $cat2
            ],
            [
                'title' => 'Laravel File Upload Example',
                'body' => 'Step by Step Laravel File Upload Example',
                'category_id' => $cat2
            ],
            [
                'title' => 'Laravel Cron Job Example',
                'body' => 'Step by Step Laravel Cron Job Example',
                'category_id' => $cat1
            ],
            [
                'title' => 'Laravel Send Email Example',
                'body' => 'Step by Step Laravel Send Email Example',
                'category_id' => $cat1
            ]
        ];

        foreach ($posts as $key => $value) {
            Post::create([
                'title' => $value['title'],
                'slug' => Str::slug($value['title']),
                'body' => $value['body'],
                'category_id' => $value['category_id'],
            ]);
        }
    }
}
Step 5: Add Route
First thing is we put one route in one for list posts with pagination with relations. So simply add both routes in your route file.
routes/web.php
<?php

use Illuminate\Support\Facades\Route;

use App\Http\Controllers\PostController;

Route::get('posts', [PostController::class, 'index']);
Step 6: Create Controller
Same as above for "route". Here, we will add one new method for "route". `index()` will return posts with pagination data, so let's add below:
app/Http/Controllers/PostController.php
<?php

namespace App\Http\Controllers;

use Illuminate\Http\Request;
use App\Models\Post;
use Illuminate\Http\RedirectResponse;

class PostController extends Controller
{
    /**
     * Write code on Method
     *
     * @return response()
     */
    public function index(Request $request)
    {
        $posts = Post::with('category')->paginate(4);

        return view('posts', compact('posts'));
    }
}
Step 7: Create Blade File
In this step, you need to create a posts blade file and put below code with `links()` so it will generate pagination automatically. So let's put it.
resources/views/posts.blade.php
<!DOCTYPE html>
<html lang="{{ str_replace('_', '-', app()->getLocale()) }}">
<head>
    <meta name="csrf-token" content="{{ csrf_token() }}">
    <title>Laravel 11 Pagination with Relationship Example - ItSolutionStuff.com</title>
    <link rel="stylesheet" href="https://cdn.jsdelivr.net/npm/bootstrap@5.0.0-beta1/dist/css/bootstrap.min.css">
</head>
<body>

<div class="container mt-5">

    <div class="card mt-5">
        <h3 class="card-header p-3">Laravel 11 Pagination with Relationship Example - ItSolutionStuff.com</h3>
        <div class="card-body mt-3">
            <div class="row">
                @foreach($posts as $post)
                    <div class="col-md-3">
                        <div class="card mt-2" style="width: 18rem;">
                          <img src="https://picsum.photos/id/0/367/267" class="card-img-top" alt="...">
                          <div class="card-body">
                            <h5 class="card-title">{{ $post->title }}</h5>
                            <p class="card-text">Some quick example text to build on the card title and make up the bulk of the card's content.</p>
                            <button class="btn btn-primary">{{ $post->category->name ?? '' }}</button>
                          </div>
                        </div>
                    </div>
                @endforeach
            </div>

            <div class="mt-3">
                {{ $posts->links('pagination::bootstrap-5') }}
            </div>
        </div>
    </div>
</div>

</body>
</html>
Run Laravel App:
All the required steps have been done, now you have to type the given below command and hit enter to run the Laravel app:
php artisan serveNow, Go to your web browser, type the given URL and view the app output:
http://localhost:8000/postsOutput:
I hope it can help you....

