How to Send WhatsApp Messages With Laravel 11?
In this tutorial, I will show you how to send whatsapp messages using twilio api in laravel 11 application.
Twilio is a cloud communications platform that offers a versatile API enabling developers to integrate voice, messaging, and video functionality into applications. Known for its simplicity and scalability, Twilio supports various programming languages. Its API allows seamless integration of features such as sending SMS, making voice calls, and implementing two-factor authentication. Twilio's services empower businesses to enhance customer engagement and communication, providing a robust solution for building innovative and interactive applications across different industries.
In this example, we will use third-party package "twilio/sdk" for send whatsapp message to users. Twilio provides a WhatsApp API that allows you to send messages and media to WhatsApp users programmatically. here, we will create simple form with phone number and message box. then we will send WhatsApp message to given number. so, let's follow the following steps to done this example.

Step for Laravel WhatsApp API Integration
- Step 1: Install Laravel 11
- Step 2: Set up a Twilio Account
- Step 3: Install twilio/sdk Package
- Step 4: Create Route
- Step 5: Create Controller
- Step 6: Create Blade File
- Run Laravel App
let's follow bellow steps:
Step 1: Install Laravel 11
This step is not required; however, if you have not created the Laravel app, then you may go ahead and execute the below command:
composer create-project laravel/laravel example-appStep 2: Set up a Twilio Account
First you need to create and add phone number. then you can easily get account SID, Token and Number.
Create Account from here: www.twilio.com.
Next add Twilio Phone Number
Next you can get account SID, Token and Number and add on .env file as like bellow:
.env
TWILIO_SID=your_twilio_account_sid
TWILIO_AUTH_TOKEN=your_twilio_auth_token
TWILIO_WHATSAPP_NUMBER=your_twilio_whatsapp_numberStep 3: Install twilio/sdk Package
In this step, we need to install twilio/sdk composer package to use twilio api. so let's run bellow command:
composer require twilio/sdkStep 4: Create Route
now we will create one route for calling our example, so let's add new route to web.php file as bellow:
routes/web.php
<?php

use Illuminate\Support\Facades\Route;

use App\Http\Controllers\WhatsAppController;

/*
|--------------------------------------------------------------------------
| Web Routes
|--------------------------------------------------------------------------
|
| Here is where you can register web routes for your application. These
| routes are loaded by the RouteServiceProvider within a group which
| contains the "web" middleware group. Now create something great!
|
*/

Route::get('whatsapp', [WhatsAppController::class, 'index']);
Route::post('whatsapp', [WhatsAppController::class, 'store'])->name('whatsapp.post');
Step 5: Create Controller
in this step, we will create WhatsAppController and write send sms logic, so let's add new route to web.php file as bellow:
app/Http/Controllers/WhatsAppController.php
<?php

namespace App\Http\Controllers;

use Illuminate\Http\Request;
use Twilio\Rest\Client;
use Exception;

class WhatsAppController extends Controller
{
    /**
     * Write code on Method
     *
     * @return response()
     */
    public function index()
    {
        return view('whatsapp');
    }

    /**
     * Write code on Method
     *
     * @return response()
     */
    public function store(Request $request)
    {
        $twilioSid = env('TWILIO_SID');
        $twilioToken = env('TWILIO_AUTH_TOKEN');
        $twilioWhatsAppNumber = env('TWILIO_WHATSAPP_NUMBER');
        $recipientNumber = $request->phone;
        $message = $request->message;

        try {
            $twilio = new Client($twilioSid, $twilioToken);

            $twilio->messages->create(
                $recipientNumber,
                [
                    "from" => "whatsapp:+". $twilioWhatsAppNumber,
                    "body" => $message,
                ]
            );

            return back()->with(['success' => 'WhatsApp message sent successfully!']);
        } catch (Exception $e) {
            return back()->with(['error' => $e->getMessage()]);
        }
    }
}
Step 6: Create Blade File
Here, we will create "whatsapp.blade.php" file with following code:
resources/views/whatsapp.blade.php
<!DOCTYPE html>
<html>
<head>
    <title>How to Send WhatsApp SMS in Laravel? - ItSolutionStuff.com</title>
    <meta charset="utf-8">
    <meta http-equiv="X-UA-Compatible" content="IE=edge">
    <meta name="viewport" content="width=device-width, initial-scale=1">
    <link href="https://cdn.jsdelivr.net/npm/bootstrap@5.0.2/dist/css/bootstrap.min.css" rel="stylesheet">
</head>
<body>
    <div class="container">

        <div class="row">
            <div class="col-md-9">

                <div class="card">
                  <div class="card-header">
                    <h2>How to Send WhatsApp SMS in Laravel? - ItSolutionStuff.com</h2>
                  </div>
                  <div class="card-body">
                    <form method="POST" action="{{ route('whatsapp.post') }}">

                        {{ csrf_field() }}

                        @if ($message = Session::get('success'))
                            <div class="alert alert-success alert-block">
                                <strong>{{ $message }}</strong>
                            </div>
                        @endif

                        @if ($message = Session::get('error'))
                            <div class="alert alert-danger alert-block">
                                <strong>{{ $message }}</strong>
                            </div>
                        @endif

                        <div class="mb-3">
                            <label class="form-label" for="inputName">Phone:</label>
                            <input
                                type="text"
                                name="phone"
                                id="inputName"
                                class="form-control @error('phone') is-invalid @enderror"
                                placeholder="Phone Number">

                            @error('phone')
                                <span class="text-danger">{{ $message }}</span>
                            @enderror
                        </div>

                        <div class="mb-3">
                            <label class="form-label" for="inputName">Message:</label>
                            <textarea
                                name="message"
                                id="inputName"
                                class="form-control @error('message') is-invalid @enderror"
                                placeholder="Enter Message"></textarea>

                            @error('message')
                                <span class="text-danger">{{ $message }}</span>
                            @enderror
                        </div>

                        <div class="mb-3">
                            <button class="btn btn-success btn-submit">Send Message</button>
                        </div>
                    </form>
                  </div>
                </div>

            </div>
        </div>


    </div>
</body>
</html>
Run Laravel App:
All the required steps have been done, now you have to type the given below command and hit enter to run the Laravel app:
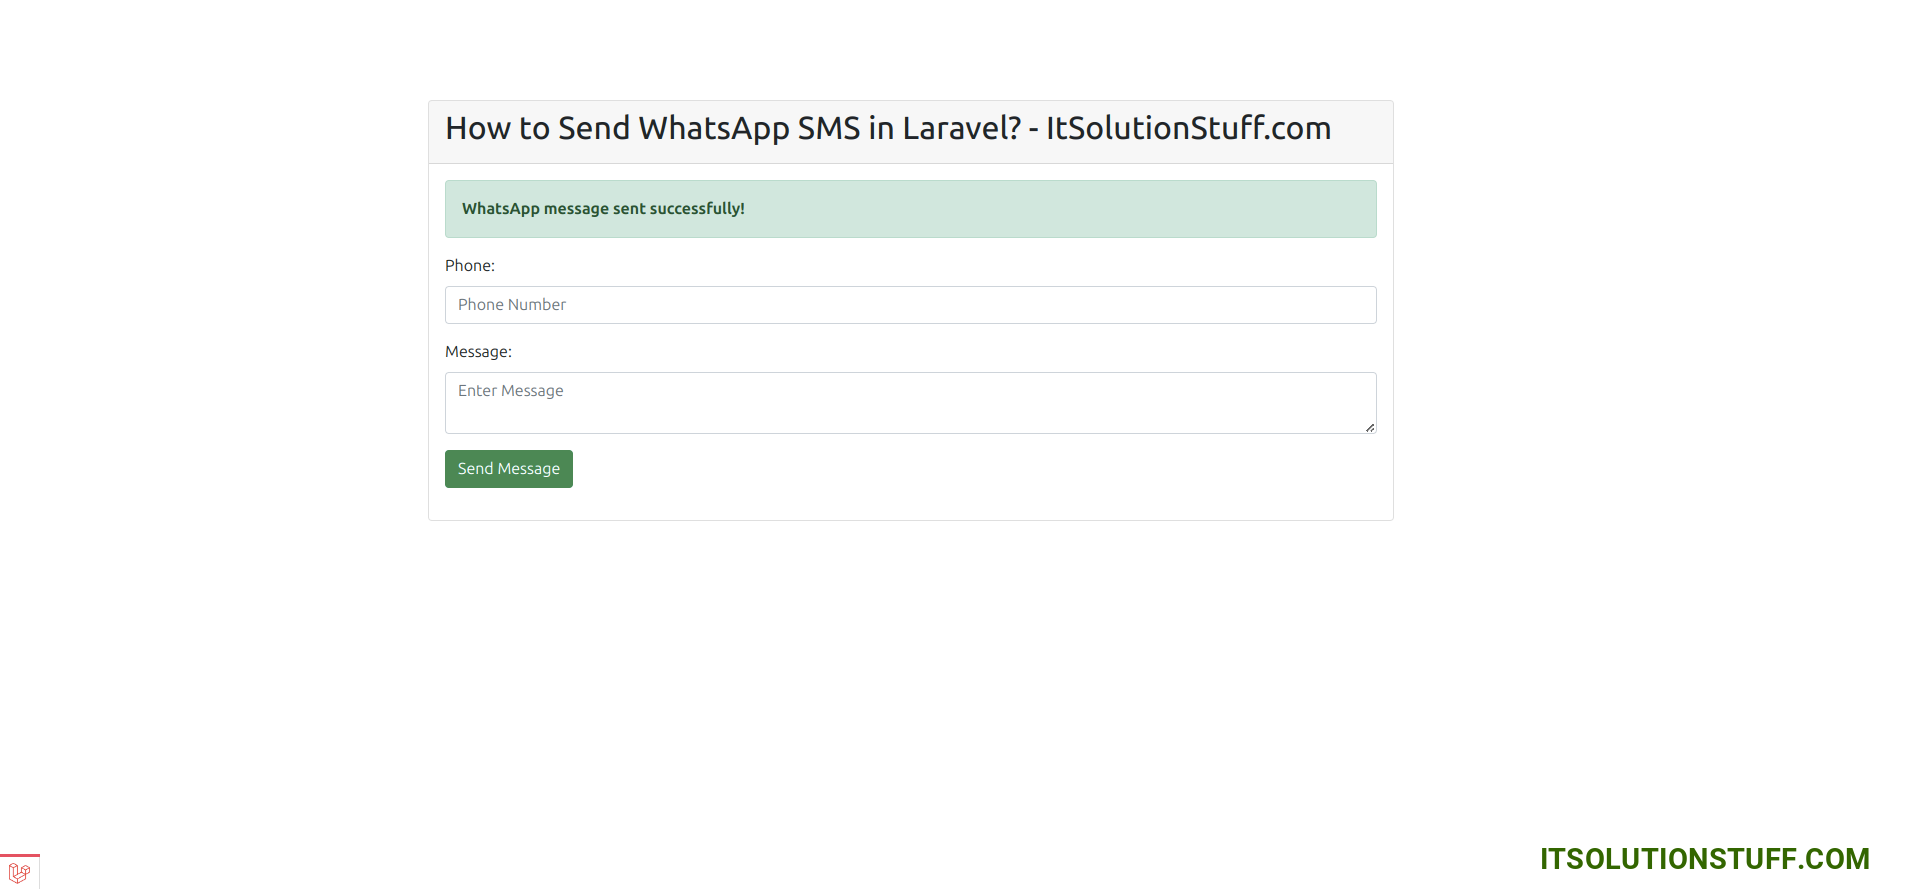
php artisan serveNow, Go to your web browser, type the given URL and view the app output:
http://localhost:8000/whatsappOutput:
I hope it can help you...
Now you can run and check.
I hope it can help you...

