Laravel 11 Image Intervention Tutorial With Example
Learn, how to use the image intervention composer package for image resizing in the laravel 11 application.
Intervention Image is an open-source PHP image manipulation library. It provides an easier way to manipulate images. You can use the Intervention/Image library for PHP projects as well. You can do the following things with images using the Intervention Image Composer package. I will give only the most commonly used functions here.
- crop()
- blur()
- canvas()
- filter()
- fill()
- height()
- insert()
- width()
- make()
- reset()
- resize()
- save()
- text()
- rotate()
You should have the following two extensions enabled on your server.
- GD
- Imagick
In this example, we will install the Intervention/Image Composer package. Intervention/Image provides the `resize()` method to resize images. We will create a simple form with an input field. You can choose an image, and then you will see a preview of the original and thumbnail images.
So, let's follow the below steps to generate a thumbnail image in the Laravel application.

Step for How to Resize Image in Laravel 11?
- Step 1: Install Laravel 11
- Step 2: Install Intervention Image Package
- Step 3: Create Routes
- Step 4: Create Controller File
- Step 5: View File and Create Upload directory
- Run Laravel App
So, let's follow the below steps to generate a thumbnail image in the Laravel 11 application.
Step 1: Install Laravel 11
This step is not required; however, if you have not created the Laravel app, then you may go ahead and execute the below command:
composer create-project laravel/laravel example-appStep 2: Install Intervention Image Package
In the second step, we will install intervention/image-laravel for resizing images. This package allows us to generate thumbnail images for our project. So, first, fire the command below in your CMD or terminal:
composer require intervention/image-laravelStep 3: Create Routes
In this step, we will add routes and a controller file. So first, add the below route in your routes.php file.
routes/web.php
<?php

use Illuminate\Support\Facades\Route;

use App\Http\Controllers\ImageController;

Route::get('image-upload', [ImageController::class, 'index']);
Route::post('image-upload', [ImageController::class, 'store'])->name('image.store');
Step 4: Create Controller File
Now, it is required to create a new ImageController for image upload and resizing. So, first, run the command below:
php artisan make:controller ImageControllerAfter this command, you can find the ImageController.php file in your app/Http/Controllers directory. Open ImageController.php file and put below code in that file.
Make sure you have created "images" and "thumbnail" (inside the images folder) folder in the public folder.
app/Http/Controllers/ImageController.php
<?php

namespace App\Http\Controllers;

use Illuminate\Http\Request;
use Illuminate\View\View;
use Illuminate\Http\RedirectResponse;
use Intervention\Image\Laravel\Facades\Image;

class ImageController extends Controller
{
    /**
     * Display a listing of the resource.
     *
     * @return \Illuminate\Http\Response
     */
    public function index(): View
    {
        return view('imageUpload');
    }

    /**
     * Display a listing of the resource.
     *
     * @return \Illuminate\Http\Response
     */
    public function store(Request $request): RedirectResponse
    {
        $this->validate($request, [
            'image' => 'required|image|mimes:jpeg,png,jpg,gif,svg|max:2048',
        ]);

        $image = Image::read($request->file('image'));

        // Main Image Upload on Folder Code
        $imageName = time().'-'.$request->file('image')->getClientOriginalName();
        $destinationPath = public_path('images/');
        $image->save($destinationPath.$imageName);

        // Generate Thumbnail Image Upload on Folder Code
        $destinationPathThumbnail = public_path('images/thumbnail/');
        $image->resize(100,100);
        $image->save($destinationPathThumbnail.$imageName);

        /**
         * Write Code for Image Upload Here,
         *
         * $upload = new Images();
         * $upload->file = $imageName;
         * $upload->save();
        */

        return back()
            ->with('success','Image Upload successful')
            ->with('imageName',$imageName);
    }
}
Step 5: View File and Create Upload directory
Okay, in this last step, we will create the imageUpload.blade.php file for the photo upload form and manage error messages and also success messages. So first, create the imageUpload.blade.php file and put the code below:
resources/views/imageUpload.blade.php
<!DOCTYPE html>
<html>
<head>
<title>Laravel 11 Image Intervention Example Tutorial - ItSolutionStuff.com</title>
<link href="https://cdn.jsdelivr.net/npm/bootstrap@5.0.2/dist/css/bootstrap.min.css" rel="stylesheet" crossorigin="anonymous">
<link rel="stylesheet" href="https://cdnjs.cloudflare.com/ajax/libs/font-awesome/6.5.1/css/all.min.css" />
</head>
<body>
<div class="container">
<div class="card mt-5">
<h3 class="card-header p-3"><i class="fa fa-star"></i> Laravel 11 Image Intervention Example Tutorial - ItSolutionStuff.com</h3>
<div class="card-body">
@if (count($errors) > 0)
<div class="alert alert-danger">
<strong>Whoops!</strong> There were some problems with your input.<br><br>
<ul>
@foreach ($errors->all() as $error)
<li>{{ $error }}</li>
@endforeach
</ul>
</div>
@endif
@session('success')
<div class="alert alert-success" role="alert">
{{ $value }}
</div>
<div class="row">
<div class="col-md-4">
<strong>Original Image:</strong>
<br/>
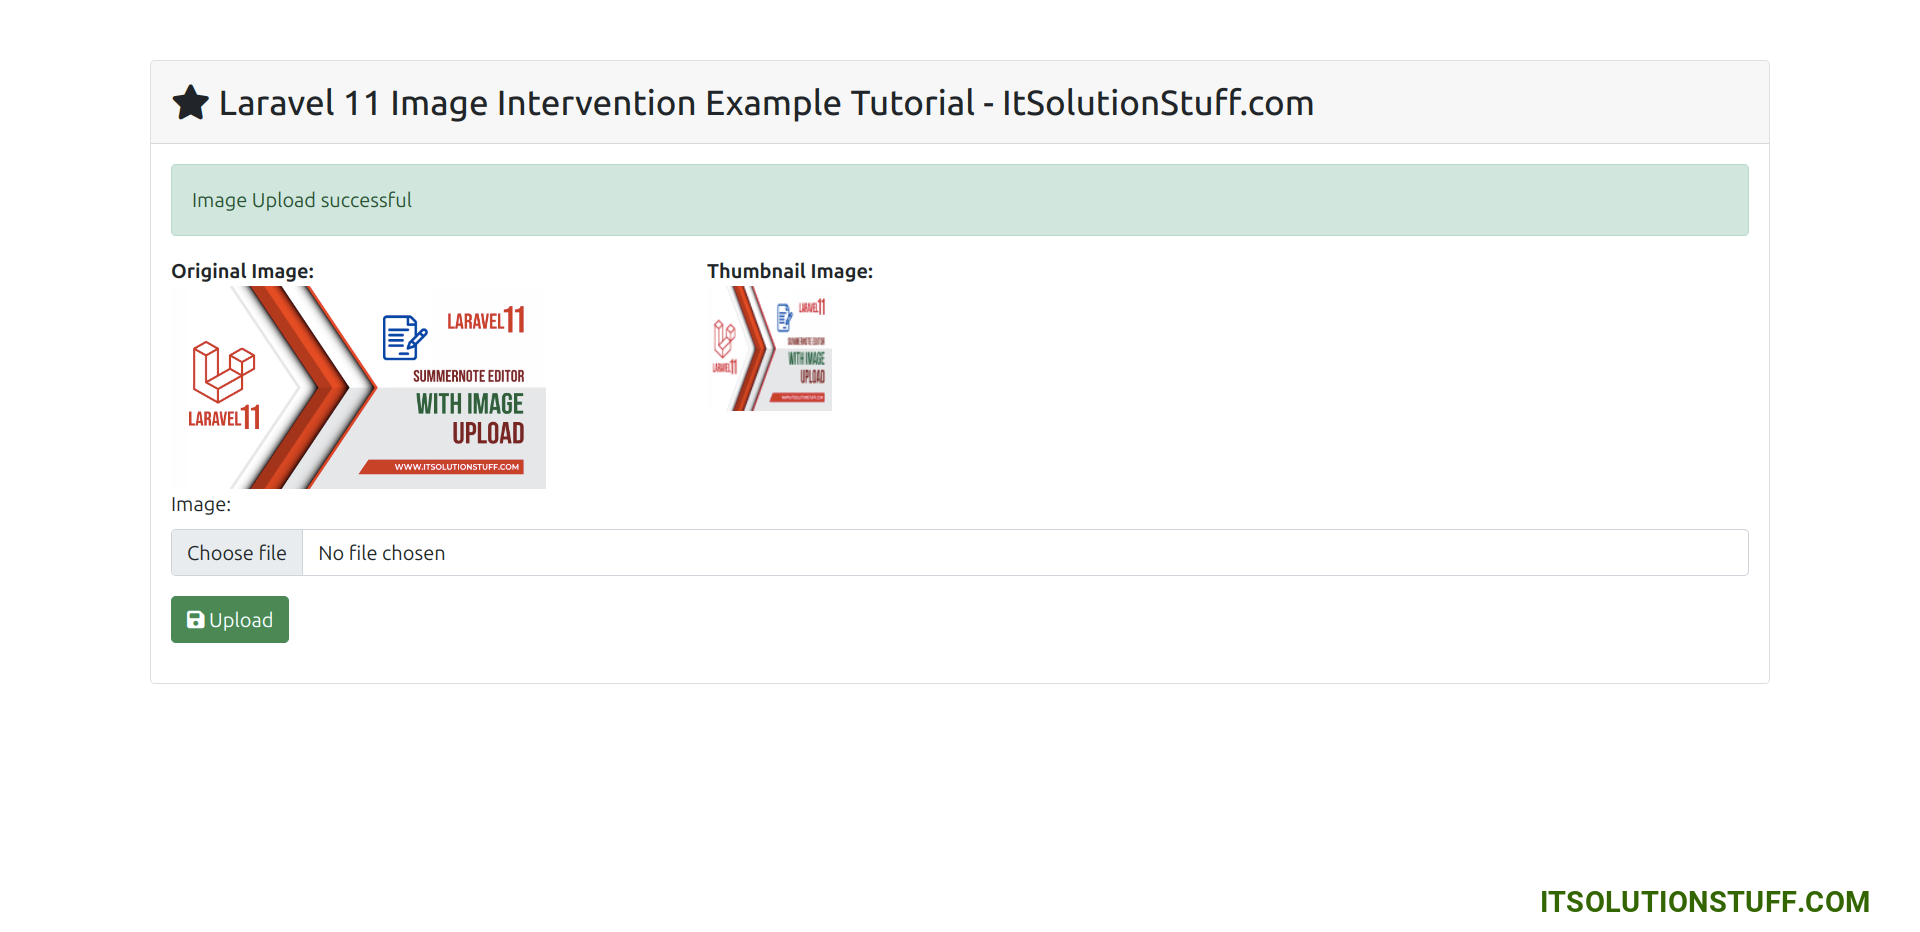
<img src="/images/{{ Session::get('imageName') }}" width="300px" />
</div>
<div class="col-md-4">
<strong>Thumbnail Image:</strong>
<br/>
<img src="/images/thumbnail/{{ Session::get('imageName') }}" />
</div>
</div>
@endsession
<form action="{{ route('image.store') }}" method="POST" enctype="multipart/form-data">
@csrf
<div class="mb-3">
<label class="form-label" for="inputImage">Image:</label>
<input
type="file"
name="image"
id="inputImage"
class="form-control @error('image') is-invalid @enderror">
@error('image')
<span class="text-danger">{{ $message }}</span>
@enderror
</div>
<div class="mb-3">
<button type="submit" class="btn btn-success"><i class="fa fa-save"></i> Upload</button>
</div>
</form>
</div>
</div>
</div>
</body>
</html>
Run Laravel App:
All the required steps have been done, now you have to type the given below command and hit enter to run the Laravel app:
php artisan serveNow, Go to your web browser, type the given URL and view the app output:
http://localhost:8000/image-uploadOutput:
I hope it can help you...

