How to Use Sweetalert2 in Angular?
Hi Dev,
I am going to show you example of how to use sweetalert2 in angular. i explained simply about how to install sweetalert2 in angular. you can understand a concept of angular sweetalert example. let’s discuss about sweetalert angular example. Follow bellow tutorial step of angular sweetalert2 example.
Today, in this example i will show you step by step how to use sweetalert2 in angular application. sweetalert2 is js library that provide a beautiful alert and confirm box. you can easily customized too.
we can easily use sweetalert2 in angular 6, angular 7, angular 8, angular 9, angular 10, angular 11, angular 12, angular 13, angular 14, angular 15, angular 16 and angular 17 application.
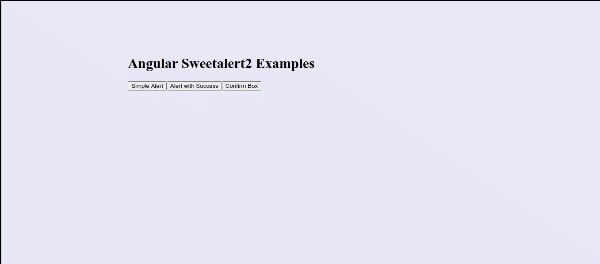
so let's follow some bellow step to install and use sweetalert2 in your angular 9/8 application. you can see bellow preview of example here:
Preview:
Step 1: Create New App
You can easily create your angular app using bellow command:
ng new ngSweetAlert
Step 2: Install Npm Packages
In this step, we will install sweetalert2 npm package for sweetalert beautiful alert in angular. so let's run both command:
npm install --save sweetalert2
Now let's add css file on angular.json file as like bellow added.
angular.json
....
"styles": [
"src/styles.css",
"node_modules/sweetalert2/src/sweetalert2.scss"
],
....
Step 3: Update Component ts File
Here, we will update app.component.ts file here, in this file we will write simpleAlert(), alertWithSuccess() and confirmBox() for open sweetalert on button click event.
You can update as bellow app.component.ts file.
src/app/app.component.ts
import { Component, OnInit } from '@angular/core';
import Swal from 'sweetalert2/dist/sweetalert2.js';
@Component({
selector: 'my-app',
templateUrl: './app.component.html',
styleUrls: [ './app.component.css' ]
})
export class AppComponent implements OnInit {
name = 'Angular';
ngOnInit(){
console.log('This is init method');
}
simpleAlert(){
Swal.fire('Hello world!');
}
alertWithSuccess(){
Swal.fire('Thank you...', 'You submitted succesfully!', 'success')
}
confirmBox(){
Swal.fire({
title: 'Are you sure want to remove?',
text: 'You will not be able to recover this file!',
icon: 'warning',
showCancelButton: true,
confirmButtonText: 'Yes, delete it!',
cancelButtonText: 'No, keep it'
}).then((result) => {
if (result.value) {
Swal.fire(
'Deleted!',
'Your imaginary file has been deleted.',
'success'
)
} else if (result.dismiss === Swal.DismissReason.cancel) {
Swal.fire(
'Cancelled',
'Your imaginary file is safe :)',
'error'
)
}
})
}
}
Step 4: Update HTML File
Here, we will update html file as like bellow, so update it as like bellow:
src/app/app.component.html
<h1>Angular Sweetalert2 Examples - ItSolutionstuff.com</h1>
<button (click)="simpleAlert()">Simple Alert</button>
<button (click)="alertWithSuccess()">Alert with Success</button>
<button (click)="confirmBox()">Confirm Box</button>
Now you can run angular 9 app:
Run Angular App:
ng serve
I hope it can help you...

