How to Use Quill Rich Text Editor in Laravel 11?
In this post, we will learn about how to install and use quill rich text editor in laravel 11 application.
Quill is a free, open-source rich text editor. It lets users write and format text easily, similar to a word processor. You can change text styles, add lists, insert images, and even include links. It's simple to use and works well in web applications. Quill is customizable, so developers can adapt it to their needs. It’s a popular choice for creating blogs, comments, and other online text content.
In this example, we will make a form in a Blade file. Inside the Blade file, we will use Quill rich text editor to write the body content. Then, the user can submit the form, and we will get the content in the controller method.
So, let's see below the steps to getting done with quill editor Laravel.

Step for Laravel 11 Quill Rich Text Editor Example
- Step 1: Install Laravel 11
- Step 2: Create Route
- Step 3: Create Controller
- Step 4: Create View File
- Run Laravel App:
Step 1: Install Laravel 11
First of all, we need to get a fresh Laravel 11 version application using the command below because we are starting from scratch. So, open your terminal or command prompt and run the command below:
composer create-project laravel/laravel example-appStep 2: Create Route
In this step, we will add three routes with GET and POST method in routes/web.php file. so let's add it.
routes/web.php
<?php

use Illuminate\Support\Facades\Route;

use App\Http\Controllers\QuillController;

Route::get('quill-editor', [QuillController::class, 'index']);
Route::post('quill-editor', [QuillController::class, 'store'])->name('quill.store');
Step 3: Create Controller
In this step, we have to create new controller as QuillController with index() and store() methods.
so let's update follow code:
app/Http/Controllers/QuillController.php
<?php

namespace App\Http\Controllers;

use Illuminate\Http\Request;
use Illuminate\View\View;
use Illuminate\Http\JsonResponse;

class QuillController extends Controller
{
    /**
     * Write code on Method
     *
     * @return response()
     */
    public function index(): View
    {
        return view('quill');
    }

    /**
     * Write code on Method
     *
     * @return response()
     */
    public function store(Request $request): JsonResponse
    {
        dd($request->all());
    }
}
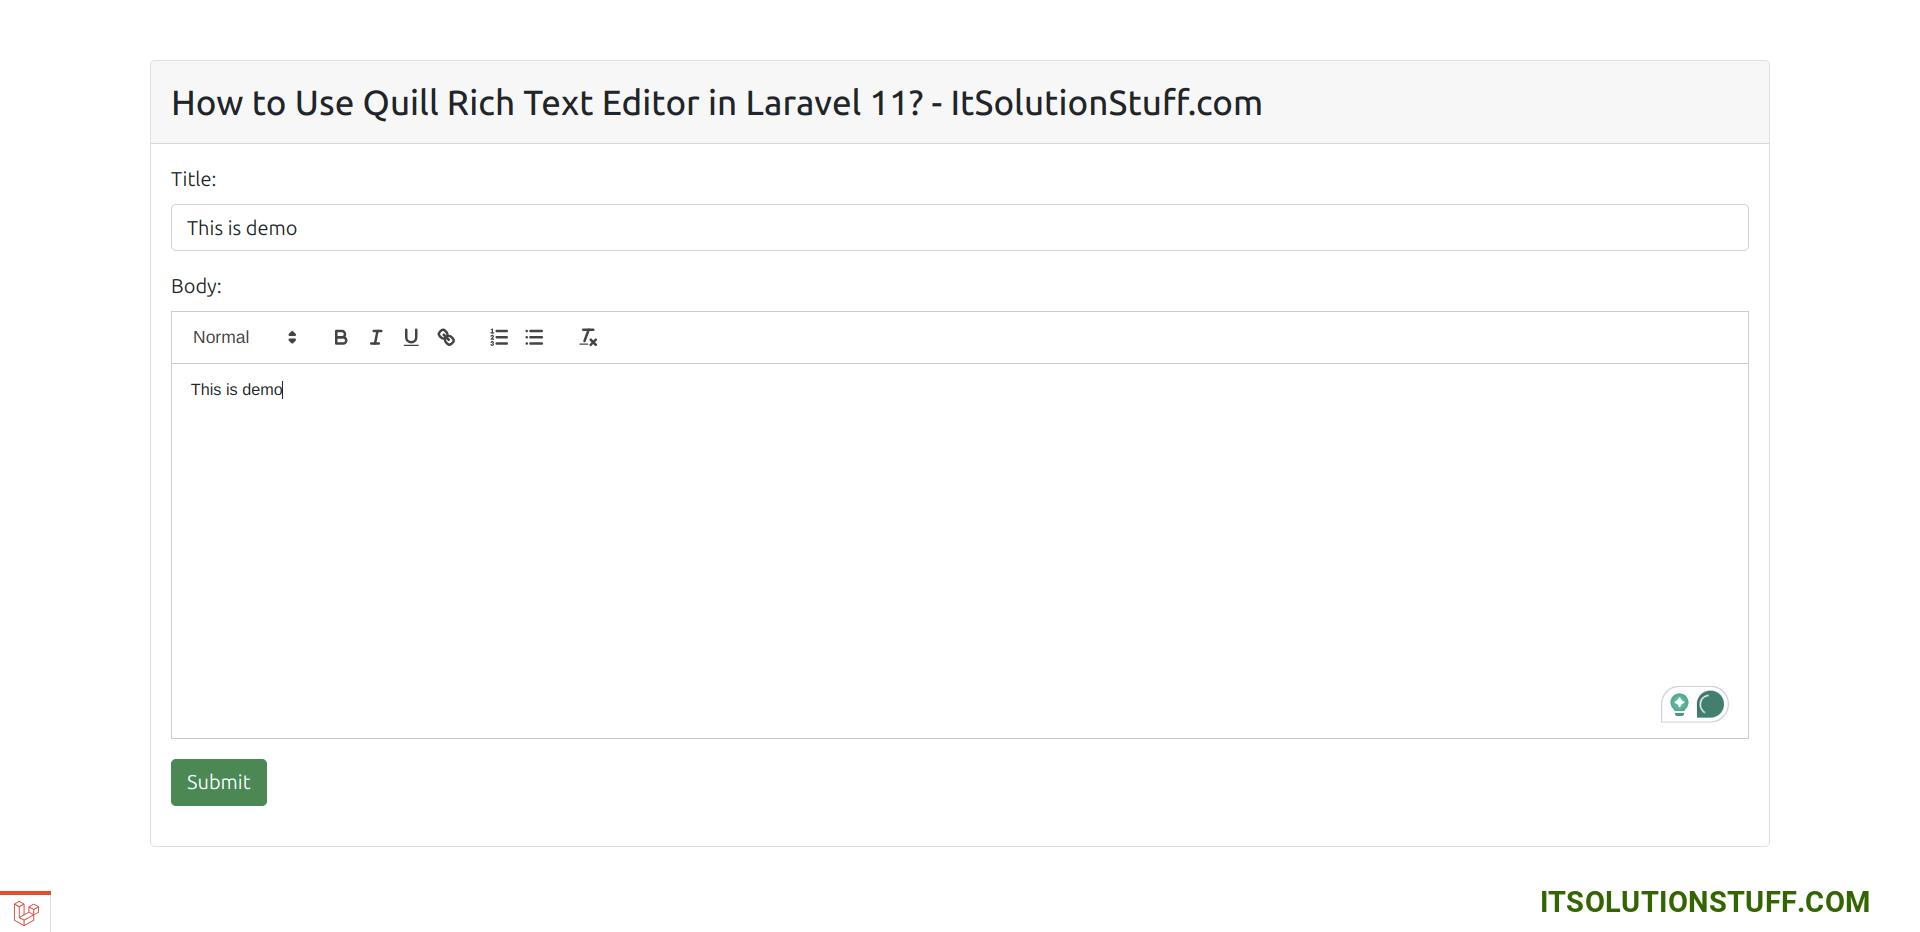
Step 4: Create View File
In Last step, let's create quill.blade.php for display form with quill and put following code, put code on it.
resources/views/quill.blade.php
<!DOCTYPE html>
<html>
<head>
    <title>How to Use Quill Rich Text Editor in Laravel 11? - ItSolutionStuff.com</title>
    <meta charset="utf-8">
    <meta http-equiv="X-UA-Compatible" content="IE=edge">
    <meta name="viewport" content="width=device-width, initial-scale=1">
    <link href="https://cdn.jsdelivr.net/npm/bootstrap@5.0.2/dist/css/bootstrap.min.css" rel="stylesheet">
    <link href="https://cdn.jsdelivr.net/npm/quill@2.0.2/dist/quill.snow.css" rel="stylesheet" />
</head>
<body>
<div class="container">
    <div class="card mt-5">
        <h3 class="card-header p-3">How to Use Quill Rich Text Editor in Laravel 11? - ItSolutionStuff.com</h3>
        <div class="card-body">
            <form method="POST" action="{{ route('quill.store') }}">
                @csrf

                <div class="mb-3">
                    <label class="form-label" for="inputName">Title:</label>
                    <input
                        type="text"
                        name="title"
                        id="inputName"
                        class="form-control @error('title') is-invalid @enderror"
                        placeholder="Name">

                    @error('title')
                        <span class="text-danger">{{ $message }}</span>
                    @enderror
                </div>

                <div class="mb-3">
                    <label class="form-label" for="inputEmail">Body:</label>
                    <div id="quill-editor" class="mb-3" style="height: 300px;">
                    </div>
                    <textarea
                        rows="3"
                        class="mb-3 d-none"
                        name="body"
                        id="quill-editor-area"></textarea>


                    @error('body')
                        <span class="text-danger">{{ $message }}</span>
                    @endif
                </div>

                <div class="mb-3">
                    <button class="btn btn-success btn-submit">Submit</button>
                </div>
            </form>
        </div>
    </div>
</div>
</body>

<script src="https://cdn.jsdelivr.net/npm/quill@2.0.2/dist/quill.js"></script>

<!-- Initialize Quill editor -->
<script type="text/javascript">
    document.addEventListener('DOMContentLoaded', function() {
        if (document.getElementById('quill-editor-area')) {
            var editor = new Quill('#quill-editor', {
                theme: 'snow'
            });
            var quillEditor = document.getElementById('quill-editor-area');
            editor.on('text-change', function() {
                quillEditor.value = editor.root.innerHTML;
            });

            quillEditor.addEventListener('input', function() {
                editor.root.innerHTML = quillEditor.value;
            });
        }
    });
</script>
</html>
Run Laravel App:
All the required steps have been done, now you have to type the given below command and hit enter to run the Laravel app:
php artisan serveNow, Go to your web browser, type the given URL and view the app output:
http://localhost:8000/quill-editorOutput:
I hope it can help you...

