Angular 18 Reactive Forms with Validation Example
In this tutorial, I will show you how to create reactive forms with validation in angular 18 application.
Reactive forms offer a model-driven strategy for managing form inputs with dynamic value changes. To implement Reactive forms in Angular 18, it is essential to import "ReactiveFormsModule" from the Angular Forms library. Utilizing FormControl, FormGroup, FormArray, and Validation classes, we can effectively integrate Reactive forms into Angular 18 applications.
For uncomplicated and fundamental forms within your Angular 18 application, opting for Reactive forms is recommended. Here's a straightforward illustration showcasing Reactive forms with validation in Angular 18.
Step for Reactive Form in Angular 18
- Step 1: Create Angular 18 Project
- Step 2: Update Component ts File
- Step 3:Form with ngModel
- Run Angular App
You need to follow the below steps to create reactive forms in angular 18.
Step 1: Create Angular 18 Project
To begin, create a new Angular app for this demonstration. If you've already created one, there's no need to initiate a new Angular 18 app.
ng new my-new-appStep 2: Update Component ts File
Import the necessary modules, including FormsModule and ReactiveFormsModule from the '@angular/forms' library, in the app.component.ts file.
src/app/app.component.ts
import { Component } from '@angular/core';
import { CommonModule } from '@angular/common';
import { RouterOutlet } from '@angular/router';

import { FormsModule, ReactiveFormsModule, FormGroup, FormControl, Validators } from '@angular/forms';

@Component({
  selector: 'app-root',
  standalone: true,
  imports: [CommonModule, RouterOutlet, FormsModule, ReactiveFormsModule],
  templateUrl: './app.component.html',
  styleUrls: ['./app.component.css']
})
export class AppComponent {
  title = 'boot-app';

  form = new FormGroup({
    name: new FormControl('', [Validators.required, Validators.minLength(3)]),
    email: new FormControl('', [Validators.required, Validators.email]),
    body: new FormControl('', Validators.required)
  });

  get f(){
    return this.form.controls;
  }

  submit(){
    console.log(this.form.value);
  }
}
Step 3: Form with ngModel
Implement the HTML form with ngModel. Bootstrap classes have been applied for styling.
I used bootstrap class on this form. if you want to add than then follow this link too: Install Bootstrap 5 to Angular 18.
src/app/app.component.html
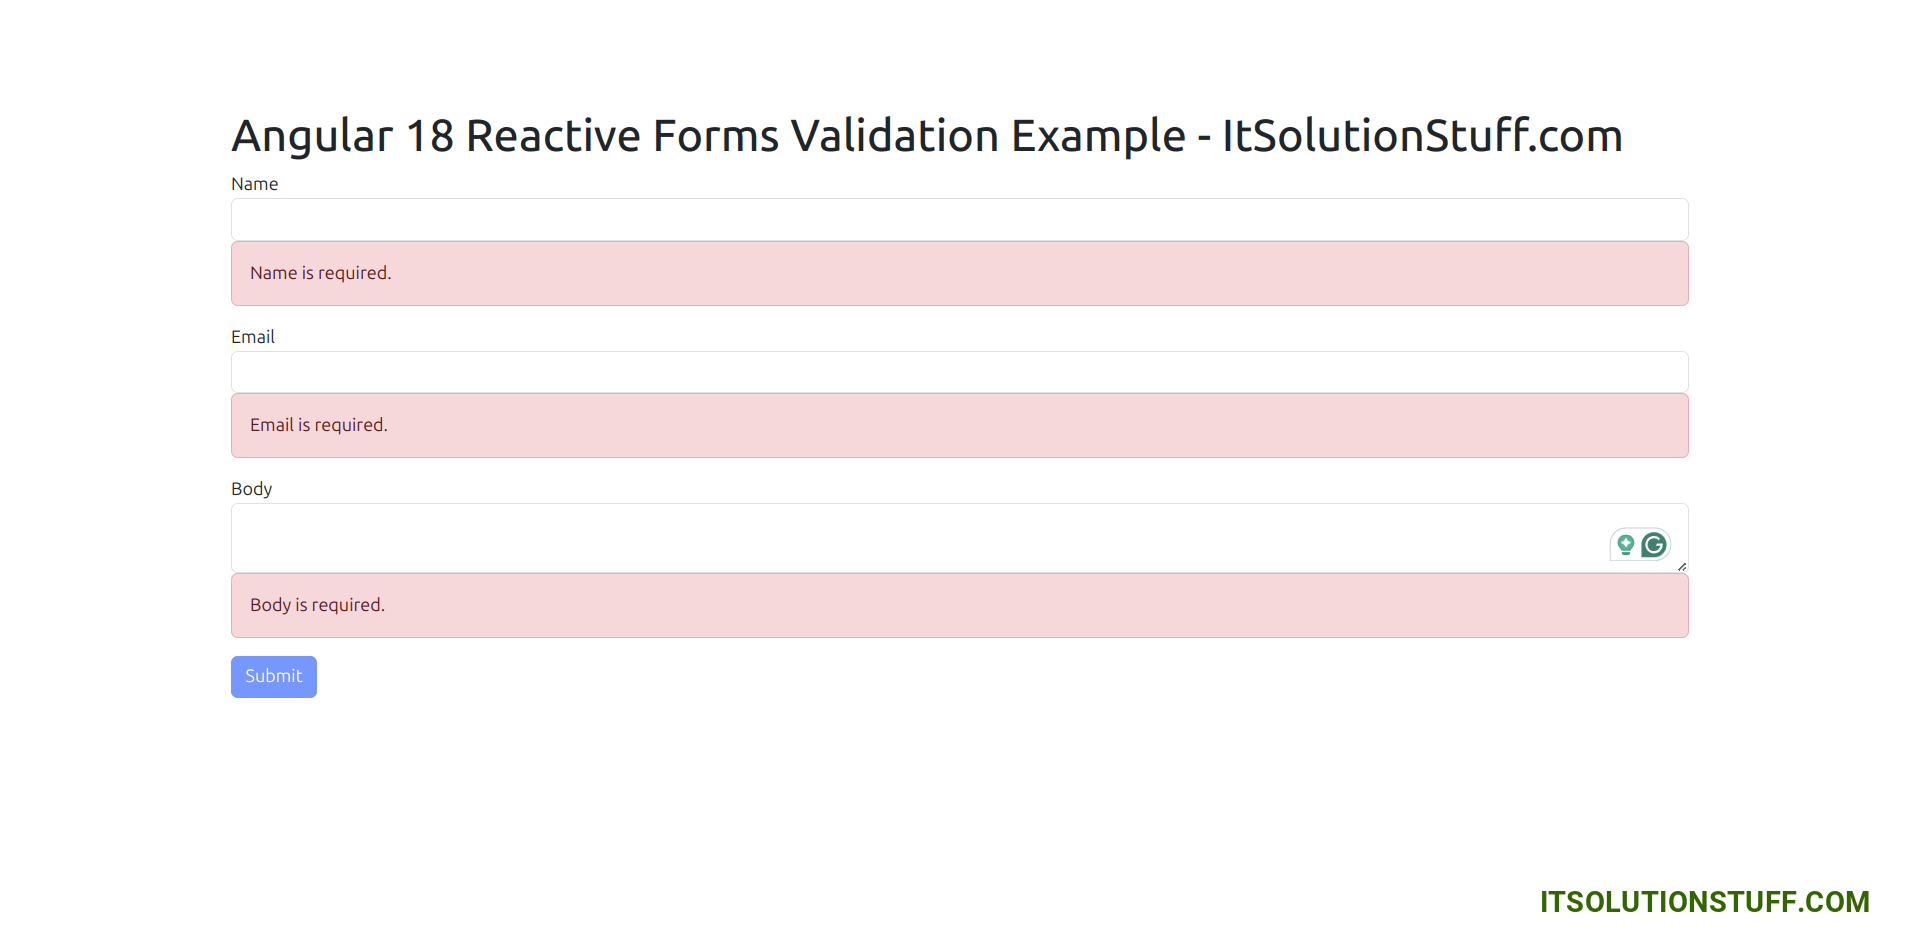
<h1>Angular 18 Reactive Forms Validation Example - ItSolutionStuff.com</h1>

<form [formGroup]="form" (ngSubmit)="submit()">

    <div class="form-group">
        <label for="name">Name</label>
        <input
            formControlName="name"
            id="name"
            type="text"
            class="form-control">
        <div *ngIf="f['name'].touched & f['name'].invalid" class="alert alert-danger">
            <div *ngIf="f['name'].errors & f['name'].errors['required']">
            Name is required.
            </div>
            <div *ngIf="f['name'].errors & f['name'].errors['minlength']">
            Name should be 3 character.
            </div>
        </div>
    </div>

    <div class="form-group">
        <label for="email">Email</label>
        <input
            formControlName="email"
            id="email"
            type="text"
            class="form-control">
        <div *ngIf="f['email'].touched & f['email'].invalid" class="alert alert-danger">
            <div *ngIf="f['email'].errors & f['email'].errors['required']">
            Email is required.
            </div>
            <div *ngIf="f['email'].errors & f['email'].errors['email']">
            Please, enter valid email address.
            </div>
        </div>
    </div>

    <div class="form-group">
        <label for="body">Body</label>
        <textarea
            formControlName="body"
            id="body"
            type="text"
            class="form-control">
        </textarea>
        <div *ngIf="f['body'].touched & f['body'].invalid" class="alert alert-danger">
            <div *ngIf="f['body'].errors & f['body'].errors['required']">
            Body is required.
            </div>
        </div>
    </div>

    <button class="btn btn-primary" [disabled]="form.invalid" type="submit">Submit</button>
</form>
Run Angular App:
All the required steps have been done, now you have to type the given below command and hit enter to run the Angular app:
ng serveNow, Go to your web browser, type the given URL and view the app output:
http://localhost:4200Output
{name: "Hardik Savani", email: "itsolutionstuff@gmail.com", body: "This is a test"}I hope it can help you...

