Angular 16 Service Tutorial with Example
Hey Developer,
In this quick guide, we will teach you how to create service in angular 16. We will look at an example of angular 16 create service in folder. It's a simple example of angular 16 create service httpclient. step by step explain angular 16 cli command to create service.
Every App must important to send API requests to another server. we can use HTTP client requests and get data and store data information to our server. as especially when you are working with angular, vue, and react applications. you must have to learn how to run HTTP client requests with angular 16.
Here, I will give you a very simple example to get all data using API and storing data using API. we will use jsonplaceholder api for testing now. so we don't require creating a new API for it.
So, let's see the below example step on step how to create an HTTP service and how to use it.
Step 1: Create New App
You can easily create your angular app using below command:
ng new my-new-app
Step 2: Import HttpClientModule
In this step, we need to import HttpClientModule to app.module.ts file. so let's import it as like bellow:
src/app/app.module.ts
import { BrowserModule } from '@angular/platform-browser';
import { NgModule } from '@angular/core';
import { AppComponent } from './app.component';
import { HttpClientModule } from '@angular/common/http';
@NgModule({
declarations: [
AppComponent
],
imports: [
BrowserModule,
HttpClientModule
],
providers: [],
bootstrap: [AppComponent]
})
export class AppModule { }
Step 3: Create Service for API
Here, we need to create service for http client request. we will create service file and write client http request code. this service will use in our component file. So let's create service and put bellow code:
ng g s services/post
Now let's add code as like bellow:
src/app/services/post.service.ts
import { Injectable } from '@angular/core';
import { HttpClient } from '@angular/common/http';
@Injectable({
providedIn: 'root'
})
export class PostService {
private url = 'http://jsonplaceholder.typicode.com/posts';
constructor(private httpClient: HttpClient) { }
getPosts(){
return this.httpClient.get(this.url);
}
}
Step 4: Use Service to Component
Now we have to use this services to our app component. So let's updated code as like bellow:
src/app/app.component.ts
import { Component, OnInit } from '@angular/core';
import { PostService } from './services/post.service';
@Component({
selector: 'app-root',
templateUrl: './app.component.html',
styleUrls: ['./app.component.css']
})
export class AppComponent implements OnInit {
posts:any;
constructor(private service:PostService) {}
ngOnInit() {
this.service.getPosts()
.subscribe(response => {
this.posts = response;
});
}
}
Step 5: Updated View File
Now here, we will updated our html file. let's put bellow code:
src/app/app.component.html
<h1>Angular 16 HttpClient for Sending Http Request Example - ItSolutionStuff.com</h1>
<ul class="list-group">
<li
*ngFor="let post of posts"
class="list-group-item">
{{ post.title }}
</li>
</ul>
Run Angular App:
All the required steps have been done, now you have to type the given below command and hit enter to run the Angular app:
ng serve
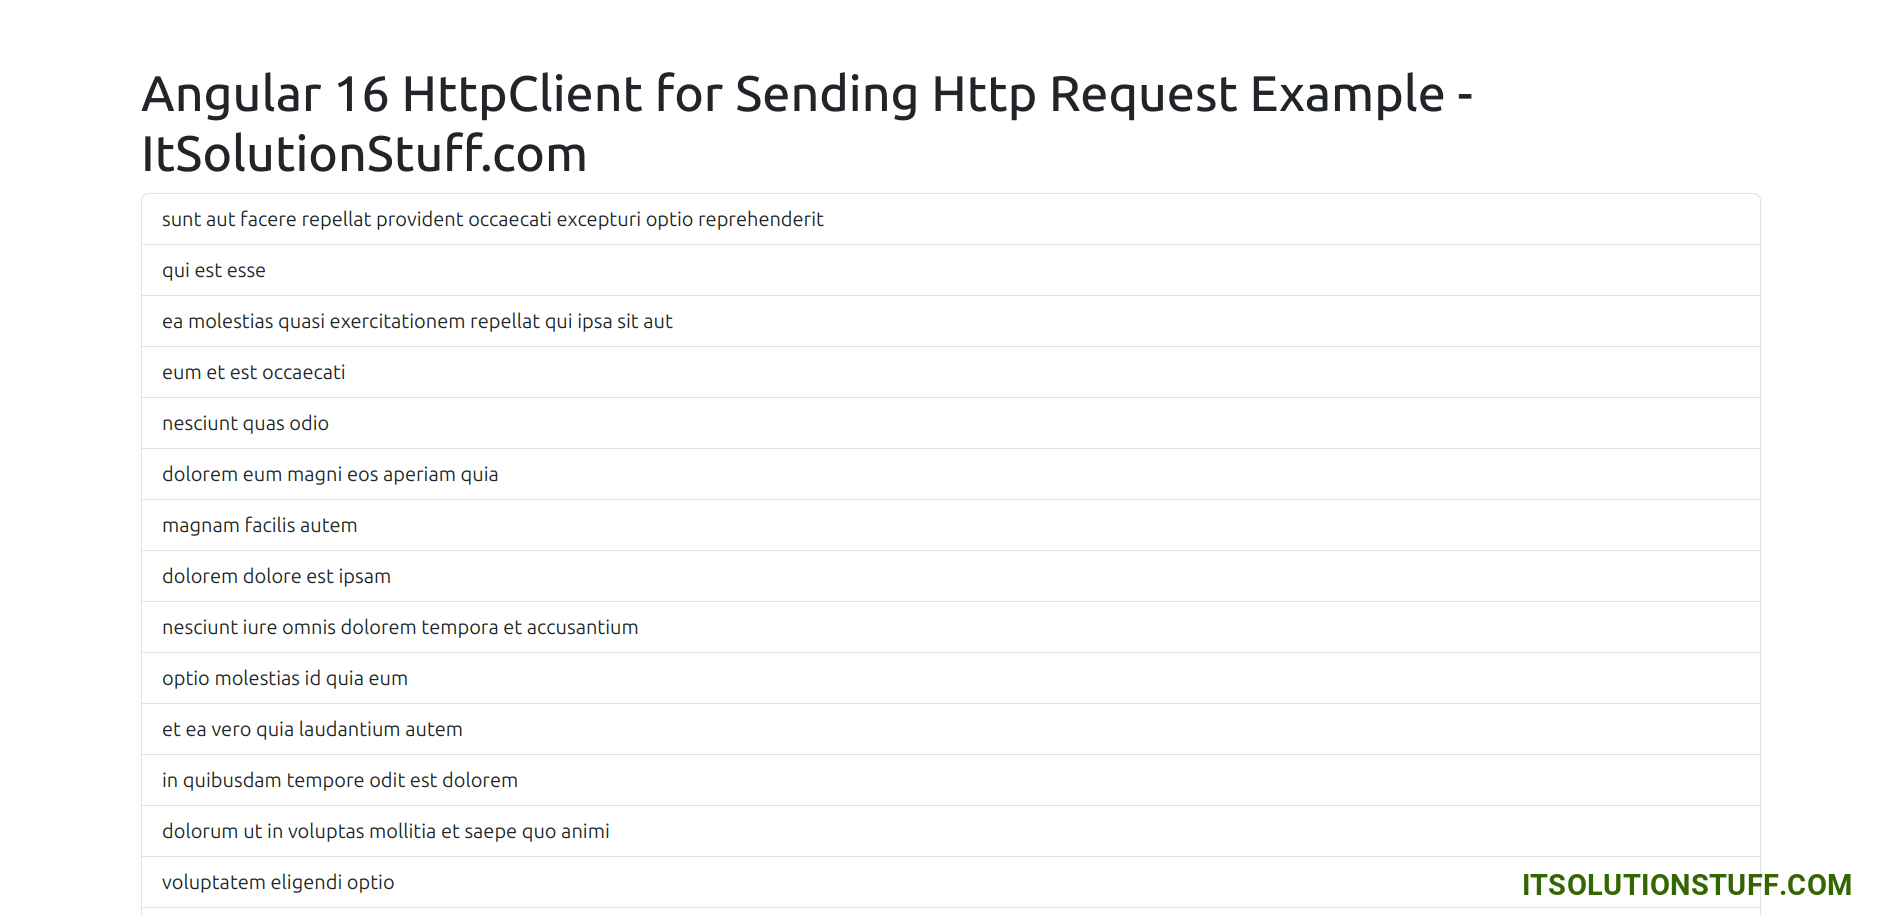
Now, Go to your web browser, type the given URL and view the app output:
http://localhost:4200
you will see the layout below:
I hope it can help you...

