Node JS CRUD with MySQL Tutorial Example
Hello,
Today, node js crud example with mysql is our main topic. i explained simply step by step node.js express mysql crud example. you'll learn crud operation in node js using express mysql. this example will help you node js crud api with mysql. you will do the following things for node js crud api tutorial.
In this tutorial, we will create very simple way crud rest API using node js and mysql. we will use express, mysql, body-parser npm package for creating crud api with node.js and mysql. you will find following apis after follow full this example:
CRUD APIs
| Method | EndPoint | Description |
|---|---|---|
| GET | api/items | Get All Items |
| GET | api/items/{id} | Get Single Item |
| POST | api/items | Create New Item |
| PUT | api/items/{id} | Update Item |
| Delete | api/items/{id} | Delete Item |
Now you have to follow few step to create rest api with node js. we are giving you step by step from scratch so let's follow bellow step.
Step 1: Create Database and Table
In first step, you must have installed mysql in your system. You can use tools like SQLyog, PHPMyAdmin or similar tools.
Now you have to create new database using bellow step query, so we will use this database in our example:
Create Database:
CREATE DATABASE node_restapi;
After creating database we need to create items table with following query in "node_restapi" database:
Create Table:
CREATE TABLE `items` (
`id` bigint UNSIGNED NOT NULL,
`title` varchar(255) COLLATE utf8mb4_unicode_ci NOT NULL,
`body` text COLLATE utf8mb4_unicode_ci NOT NULL
) ENGINE=InnoDB DEFAULT CHARSET=utf8mb4 COLLATE=utf8mb4_unicode_ci;
ALTER TABLE `items`
ADD PRIMARY KEY (`id`);
ALTER TABLE `items`
MODIFY `id` bigint UNSIGNED NOT NULL AUTO_INCREMENT, AUTO_INCREMENT=3;
After created successfully items table, you can add some dummy records as like bellow:
Add Dummy Records to Table:
INSERT INTO `items` (`id`, `title`, `body`) VALUES
(1, 'Title 1', 'Body 1'),
(2, 'Title 2', 'Body 2'),
(3, 'Title 3', 'Body 3'),
(4, 'Title 4', 'Body 4');
Step 2: Create Node App
run bellow command and create node app.
mkdir my-app
cd my-app
npm init
Step 3: Install express mysql body-parser
Here we will install express, mysql, body-parser npm package.
npm install --save express mysql body-parser
Step 4: Create app.js file
app.js
const express = require('express');
const bodyParser = require('body-parser');
const app = express();
const mysql = require('mysql');
/*------------------------------------------
--------------------------------------------
parse application/json
--------------------------------------------
--------------------------------------------*/
app.use(bodyParser.json());
/*------------------------------------------
--------------------------------------------
Database Connection
--------------------------------------------
--------------------------------------------*/
const conn = mysql.createConnection({
host: 'localhost',
user: 'root', /* MySQL User */
password: 'root', /* MySQL Password */
database: 'node_restapi' /* MySQL Database */
});
/*------------------------------------------
--------------------------------------------
Shows Mysql Connect
--------------------------------------------
--------------------------------------------*/
conn.connect((err) =>{
if(err) throw err;
console.log('Mysql Connected with App...');
});
/**
* Get All Items
*
* @return response()
*/
app.get('/api/items',(req, res) => {
let sqlQuery = "SELECT * FROM items";
let query = conn.query(sqlQuery, (err, results) => {
if(err) throw err;
res.send(apiResponse(results));
});
});
/**
* Get Single Item
*
* @return response()
*/
app.get('/api/items/:id',(req, res) => {
let sqlQuery = "SELECT * FROM items WHERE id=" + req.params.id;
let query = conn.query(sqlQuery, (err, results) => {
if(err) throw err;
res.send(apiResponse(results));
});
});
/**
* Create New Item
*
* @return response()
*/
app.post('/api/items',(req, res) => {
let data = {title: req.body.title, body: req.body.body};
let sqlQuery = "INSERT INTO items SET ?";
let query = conn.query(sqlQuery, data,(err, results) => {
if(err) throw err;
res.send(apiResponse(results));
});
});
/**
* Update Item
*
* @return response()
*/
app.put('/api/items/:id',(req, res) => {
let sqlQuery = "UPDATE items SET title='"+req.body.title+"', body='"+req.body.body+"' WHERE id="+req.params.id;
let query = conn.query(sqlQuery, (err, results) => {
if(err) throw err;
res.send(apiResponse(results));
});
});
/**
* Delete Item
*
* @return response()
*/
app.delete('/api/items/:id',(req, res) => {
let sqlQuery = "DELETE FROM items WHERE id="+req.params.id+"";
let query = conn.query(sqlQuery, (err, results) => {
if(err) throw err;
res.send(apiResponse(results));
});
});
/**
* API Response
*
* @return response()
*/
function apiResponse(results){
return JSON.stringify({"status": 200, "error": null, "response": results});
}
/*------------------------------------------
--------------------------------------------
Server listening
--------------------------------------------
--------------------------------------------*/
app.listen(3000,() =>{
console.log('Server started on port 3000...');
});
Run Node App:
All the required steps have been done, now you have to type the given below command and hit enter to run the Node app:
node app.js
Now, Go to your web browser, type the given URL and check it's working:
http://localhost:3000
Now, Go to your web Postman and check all APIs as like bellow:
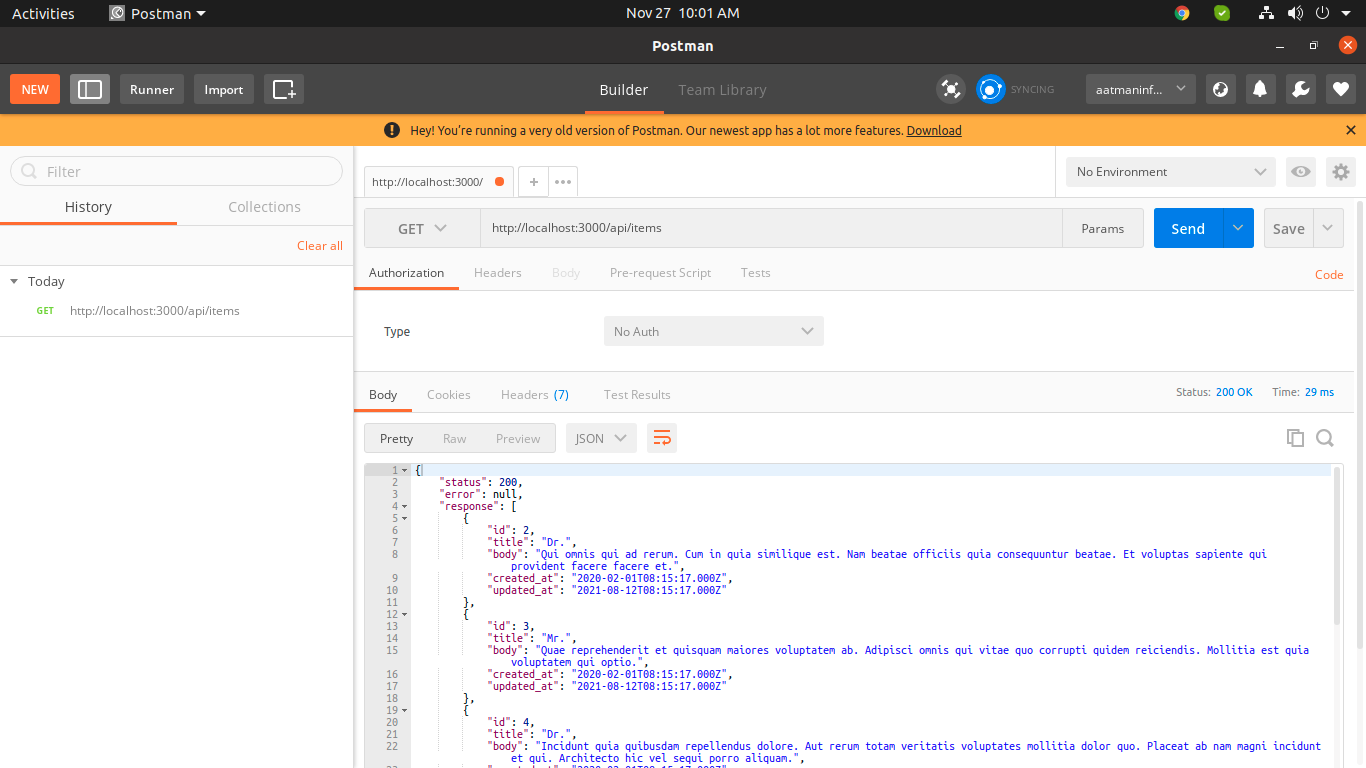
1) Get Item API:
Method:GET
URL: http://localhost:3000/api/items
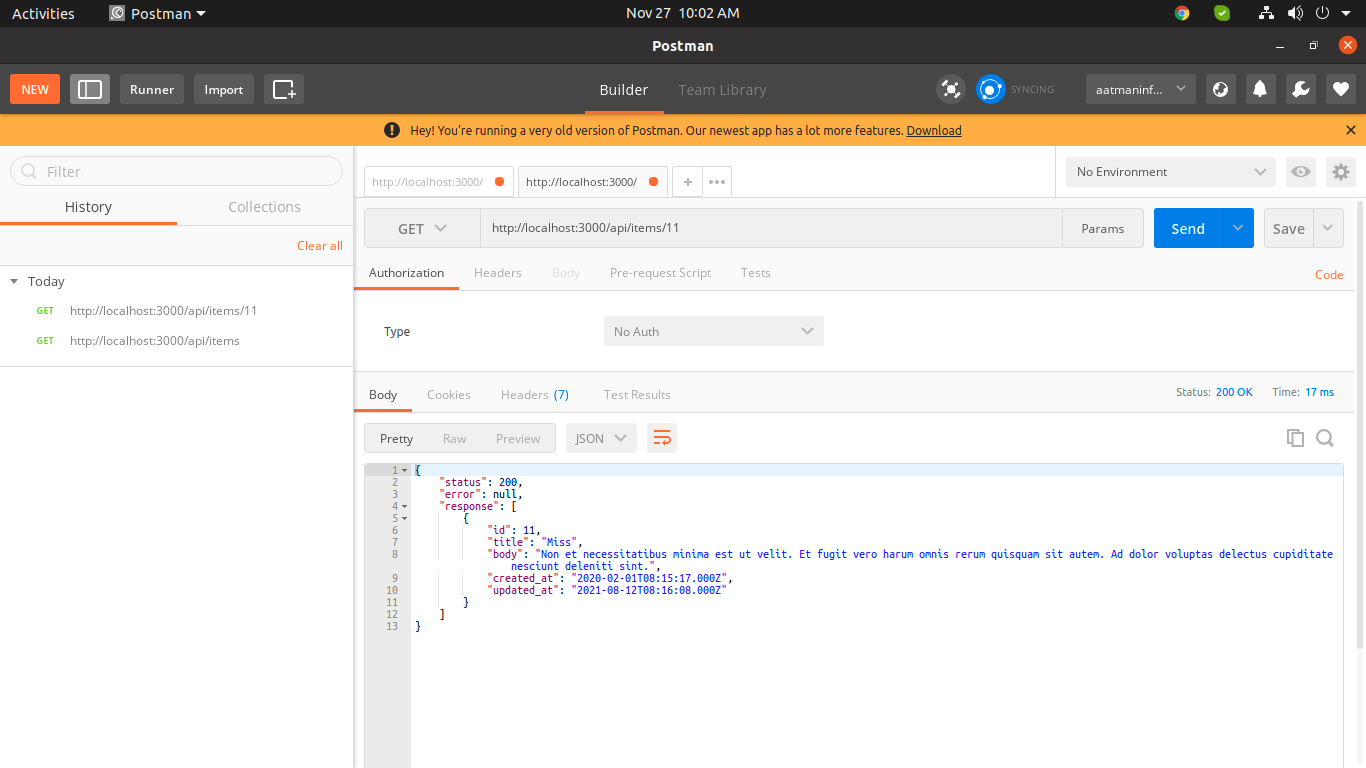
2) Get Single Item API:
Method:GET
URL: http://localhost:3000/api/items/{id}
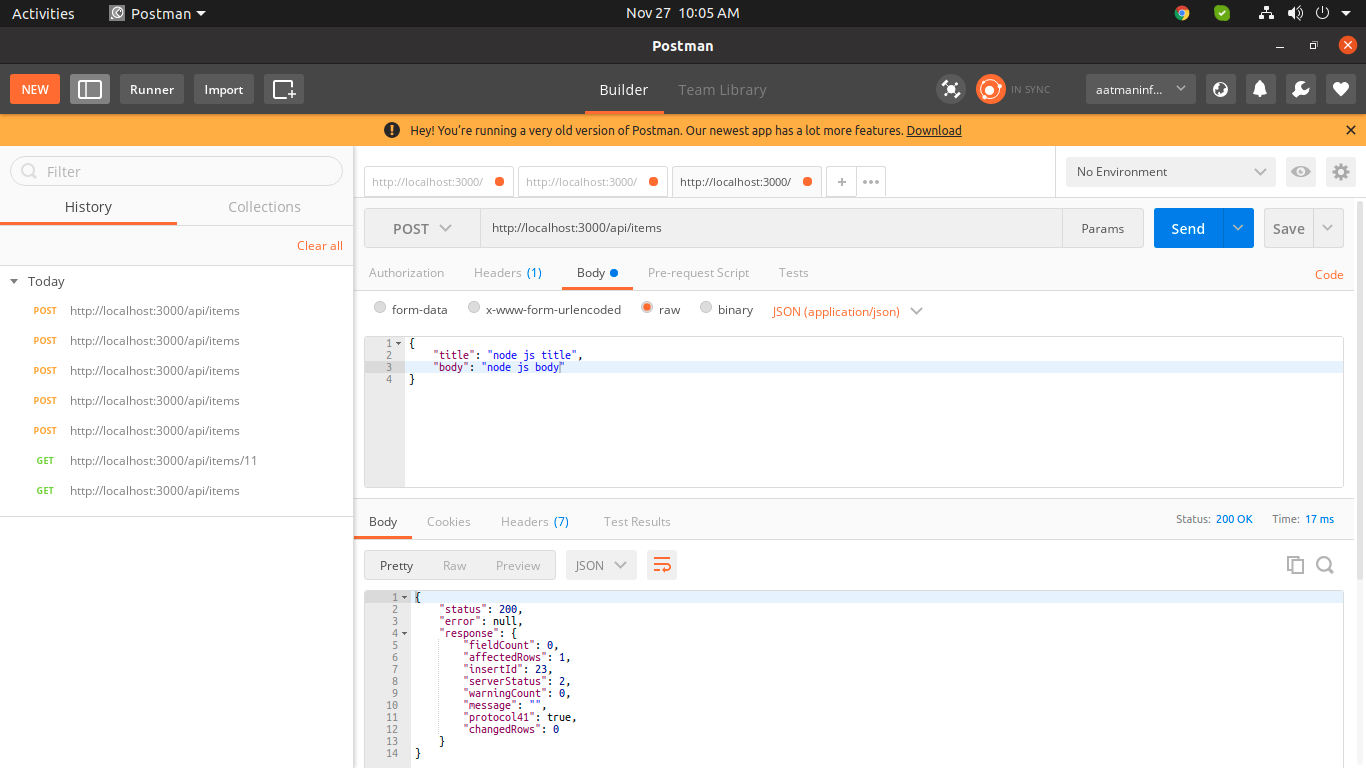
3) Create Item API:
Method:POST
URL: http://localhost:3000/api/items
Data:
{
"title": "node js title",
"body": "node js body"
}
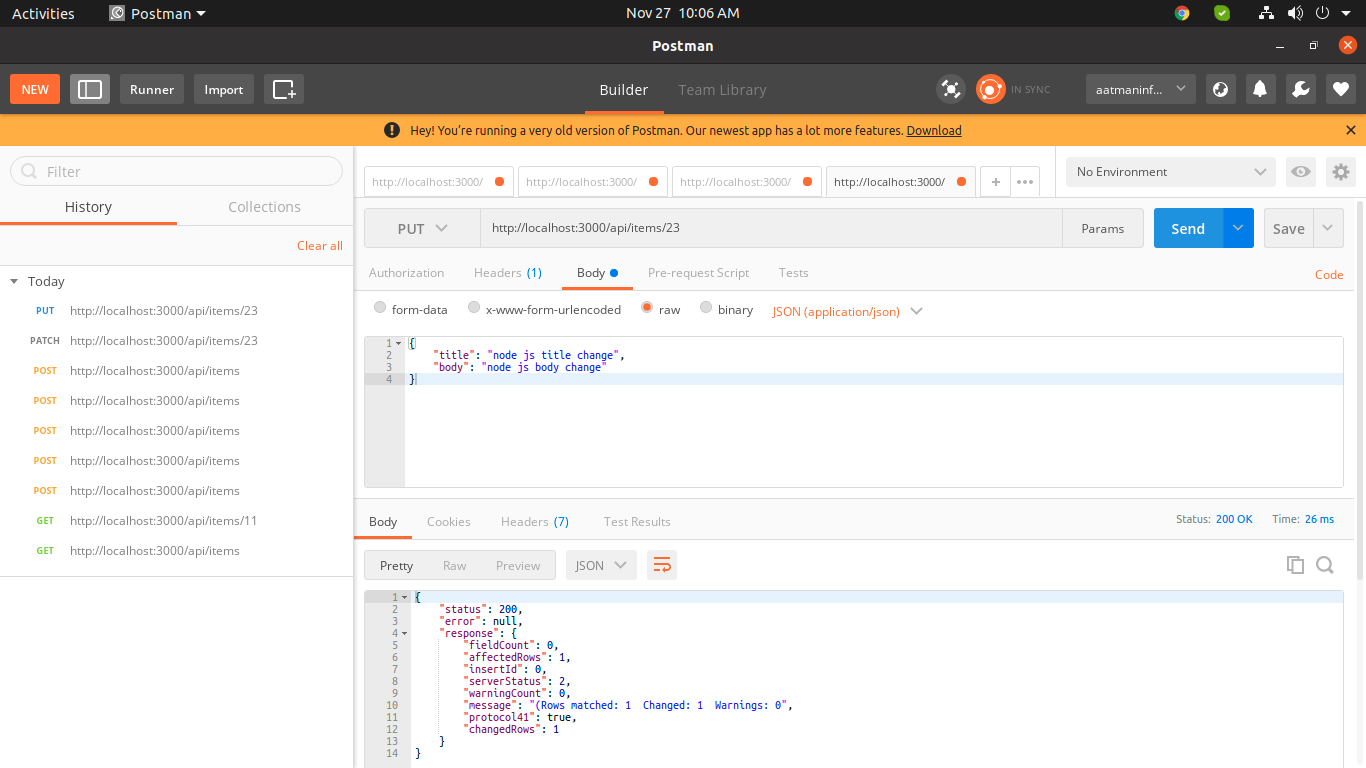
4) Update Item API:
Method:PUT
URL: http://localhost:3000/api/items/{id}
Data:
{
"title": "node js title",
"body": "node js body"
}
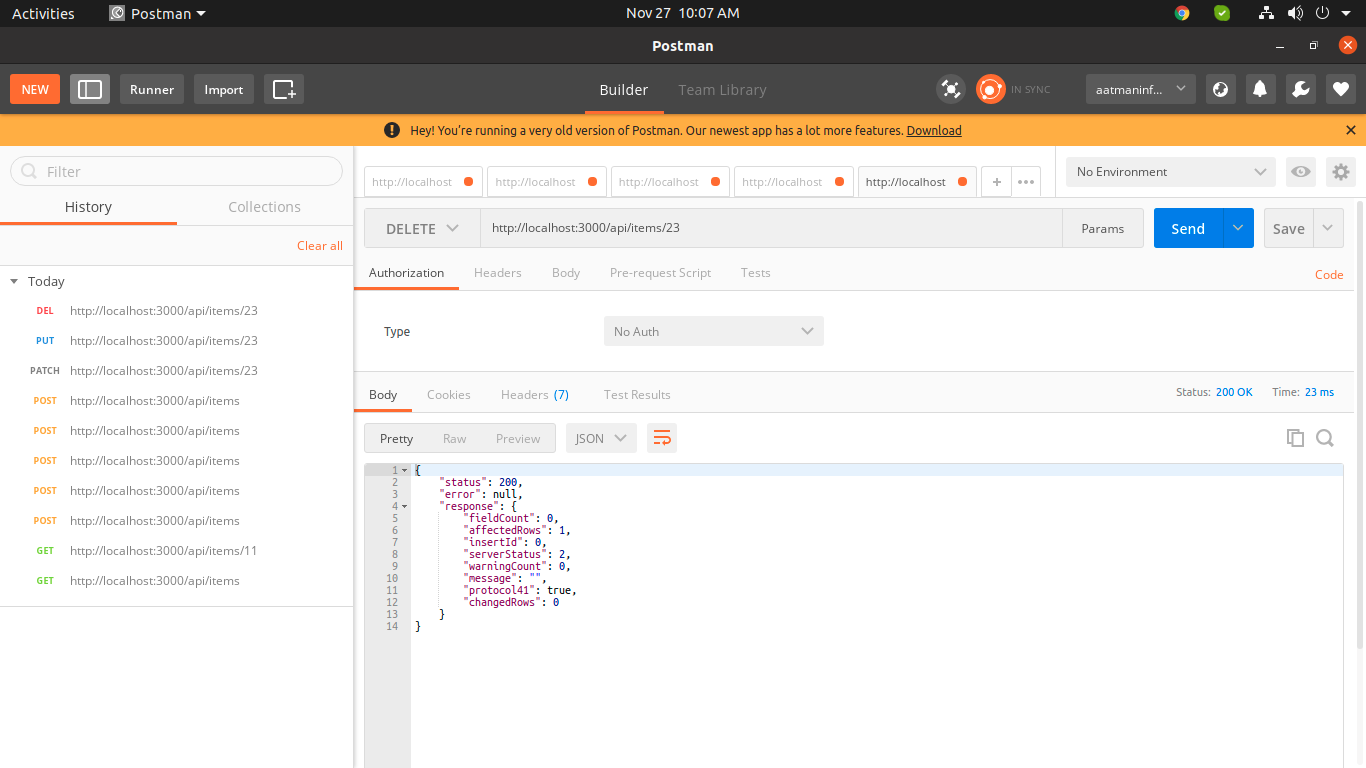
5) Delete Item API:
Method:DELETE
URL: http://localhost:3000/api/items/{id}
Now you can check your own.
I hope it can help you...

