Laravel JQuery Show Hide Div with Radio Button Example
Hi Friends,
This article goes in detailed on laravel jquery radio button hide show div. I explained simply about laravel jquery show hide div with radio button. Here you will learn show hide div with radio button jquery laravel. I’m going to show you about laravel blade show hide div based on radio button.
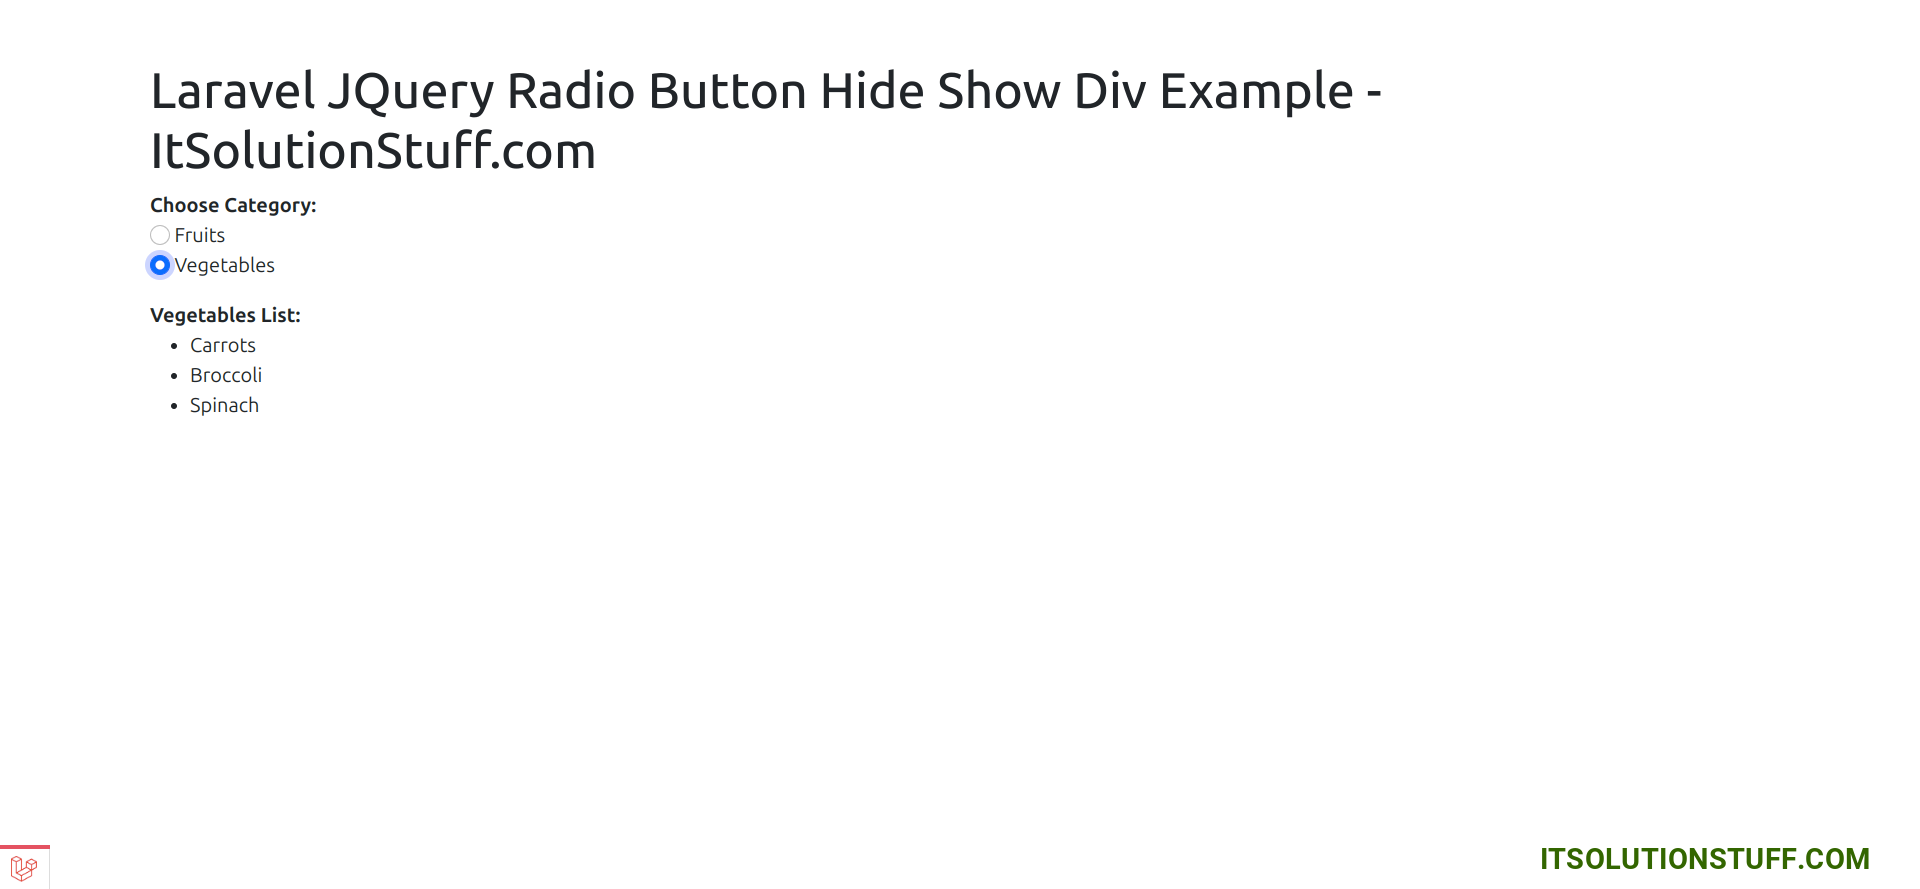
In this example, we will create simple blade file with one form. form has radio button with "Fruits" and "Vegetables". if you select "Fruits" then it will show fruits list in div and it you selecr "Vegetables" then it will show vegetables list in div. so, let's follow the simple example:
Preview:
Step 1: Install Laravel
This is optional; however, if you have not created the laravel app, then you may go ahead and execute the below command:
composer create-project laravel/laravel example-app
Step 2: Create Route
In this is step we need to create some routes for google autocomplete address example view.
routes/web.php
<?php
use Illuminate\Support\Facades\Route;
use App\Http\Controllers\HomeController;
/*
|--------------------------------------------------------------------------
| Web Routes
|--------------------------------------------------------------------------
|
| Here is where you can register web routes for your application. These
| routes are loaded by the RouteServiceProvider within a group which
| contains the "web" middleware group. Now create something great!
|
*/
Route::get('example', [HomeController::class, 'index']);
Step 3: Create Controller
in this step, we need to create HomeController and add following code on that file:
app/Http/Controllers/HomeController.php
<?php
namespace App\Http\Controllers;
use Illuminate\Http\Request;
class HomeController extends Controller
{
/**
* Write code on Method
*
* @return response()
*/
public function index(Request $request)
{
return view('example');
}
}
Step 4: Create Blade Files
here, we need to create blade file with form. so let's create one by one files:
resources/views/example.blade.php
<!DOCTYPE html>
<html lang="en">
<head>
<meta charset="UTF-8">
<meta name="viewport" content="width=device-width, initial-scale=1.0">
<title>Your Laravel App</title>
<link href="https://cdn.jsdelivr.net/npm/bootstrap@5.0.2/dist/css/bootstrap.min.css" rel="stylesheet" integrity="sha384-EVSTQN3/azprG1Anm3QDgpJLIm9Nao0Yz1ztcQTwFspd3yD65VohhpuuCOmLASjC" crossorigin="anonymous">
<script src="https://code.jquery.com/jquery-3.5.1.slim.min.js"></script>
</head>
<body>
<div class="container mt-5">
<h1>Laravel JQuery Radio Button Hide Show Div Example - ItSolutionStuff.com</h1>
<form>
<strong>Choose Category:</strong>
<div class="form-group">
<input class="form-check-input" type="radio" value="1" id="option1" name="options">
<label class="form-check-label" for="option1">
Fruits
</label>
</div>
<div class="form-group">
<input class="form-check-input" type="radio" value="2" id="option2" name="options">
<label class="form-check-label" for="option2">
Vegetables
</label>
</div>
</form>
<div id="option1Div" style="display: none;" class="mt-3">
<!-- Content for Option 1 -->
<strong>Fruits List: </strong>
<ul>
<li>Banana</li>
<li>Mango</li>
<li>Apple</li>
</ul>
</div>
<div id="option2Div" style="display: none;" class="mt-3">
<!-- Content for Option 2 -->
<strong>Vegetables List: </strong>
<ul>
<li>Carrots</li>
<li>Broccoli</li>
<li>Spinach</li>
</ul>
</div>
</div>
<script>
$(document).ready(function () {
$('input[name="options"]').change(function () {
var selectedOption = $('input[name="options"]:checked').val();
/* Hide all divs */
$('#option1Div, #option2Div').hide();
/* Show the selected div */
$('#option' + selectedOption + 'Div').show();
});
});
</script>
</body>
</html>
Now we are ready to run our example. so run bellow command so quick run:
php artisan serve
Now you can open bellow URL on your browser:
localhost:8000/example
I hope it can help you...

