How to use Bootstrap Datepicker in Angular?
In this tutorial, we will see how to add bootstrap datepicker in angular. we will create example of angular bootstrap datepicker. we will use bootstrap 4 datepicker in angular application. it's very simple example of bootstrap datepicker in angular.
You can easily use bootstrap 4 datepicker in angular 6, angular 7, angular 8, angular 9, angular 10, angular 11, angular 12, angular 13, angular 14, angular 15, angular 16 and angular 17 application.
Today, i would like to share with you how to use bootstrap datepicker in angular. i will give you simple example of angular bootstrap 4 datepicker. you can easily use bootstrap 4 datepicker in angular. we will use ngx-bootstrap for datepicker in angular.
Ng Bootstrap is developed from bootstrap and they provide all bootstrap 3 and bootstrap 4 native Angular directives like model, pagination, datepicker, buttons etc. Ng Bootstrap will help to easily use bootstrap ui.
In this example we will simply create one input field with datepicker, so you can use in your angular application. we will use model step by step, so you can easily understand.
So, let's follow this tutorial step by step.
Step 1: Create New App
You can easily create your angular app using bellow command:
ng new my-new-app
Step 2: Install Bootstrap 4
In this step, we will install bootstrap core package. so we can use bootstrap css so let's install by following command:
npm install bootstrap --save
Now, we need to include bootstrap css like "node_modules/bootstrap/dist/css/bootstrap.min.css", so let's add it on angular.json file.
angular.json
.....
"styles": [
"node_modules/bootstrap/dist/css/bootstrap.min.css",
"src/styles.css"
],
.....
Step 3: Install Ng Bootstrap
In this step, we will install Ng Bootstrap package. so we can use bootstrap ui so let's install by following command:
npm install --save @ng-bootstrap/ng-bootstrap
Step 4: Import Module
In this step, we need to import NgbModule and FormsModule to app.module.ts file. so let's import it as like bellow:
src/app/app.module.ts
import { BrowserModule } from '@angular/platform-browser';
import { NgModule } from '@angular/core';
import { AppComponent } from './app.component';
import { NgbModule } from '@ng-bootstrap/ng-bootstrap';
import { FormsModule } from '@angular/forms';
@NgModule({
declarations: [
AppComponent
],
imports: [
BrowserModule,
NgbModule,
FormsModule
],
providers: [],
bootstrap: [AppComponent]
})
export class AppModule { }
Step 5: Updated View File
Now here, we will updated our html file. we will create simple bootstrap input fields for datepicker.
so let's put bellow code:
src/app/app.component.html
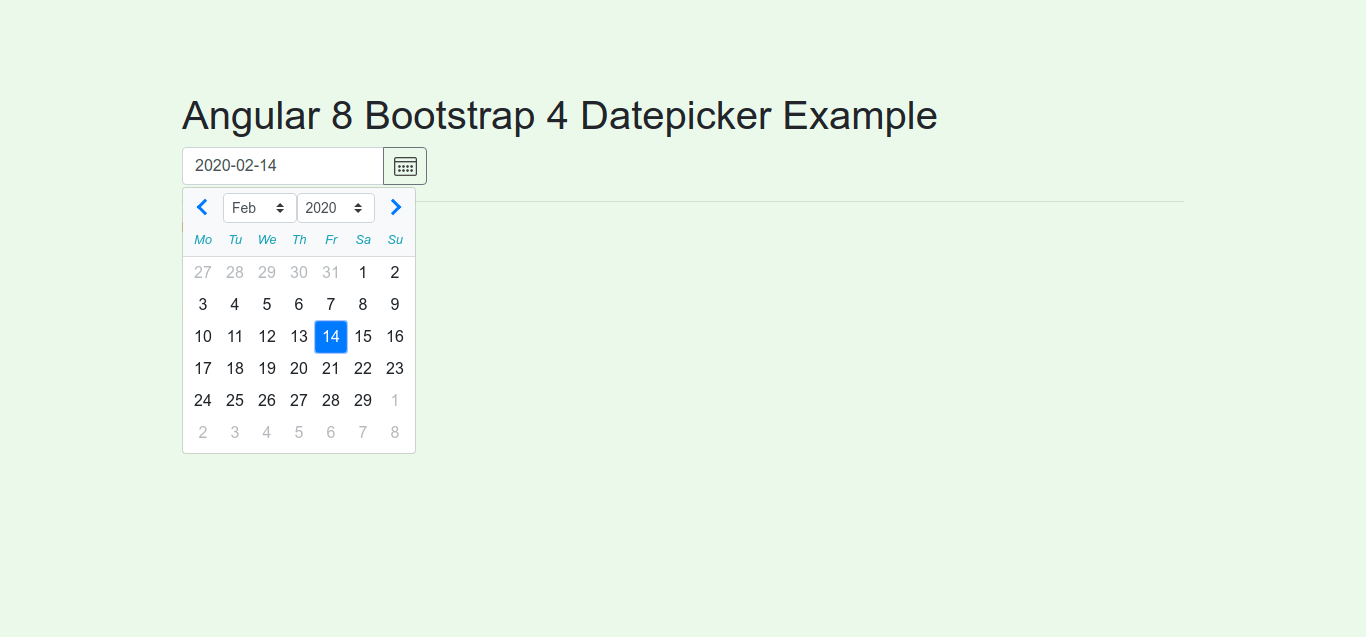
<h1>Angular Bootstrap 4 Datepicker Example - ItSolutionStuff.com</h1>
<form class="form-inline">
<div class="form-group">
<div class="input-group">
<input class="form-control" placeholder="yyyy-mm-dd"
name="dp" [(ngModel)]="model" ngbDatepicker #d="ngbDatepicker">
<div class="input-group-append">
<button class="btn btn-outline-secondary calendar" (click)="d.toggle()" type="button"></button>
</div>
</div>
</div>
</form>
<hr/>
<pre>Model: {{ model | json }}</pre>
Step 4: Use Component ts File
Now we need to update our component.ts file here we will write code of bootstrap datepicker model, let's update as like bellow:
src/app/app.component.ts
import { Component } from '@angular/core';
@Component({
selector: 'app-root',
templateUrl: './app.component.html',
styleUrls: ['./app.component.css']
})
export class AppComponent {
title = 'appBootstrap';
model;
constructor() {}
}
Now we are ready to run both:
Run Angular App:
ng serve
I hope it can help you...

