How to Install and Configuration Telescope in Laravel 11?
In this tutorial, we will learn how to install and configuration in laravel 11 application.
Laravel Telescope is a powerful debugging assistant tool for Laravel applications, developed by the Laravel team. It provides insight into the inner workings of an application during development, making it easier for developers to debug and optimize their code. Telescope provides a web interface that allows developers to monitor various aspects of their application in real-time, including requests, queries, jobs, exceptions, and logs. It also allows for the creation of custom monitoring tools that can be used to track any aspect of the application.
Here, I will give you simple steps on how to install Telescope in your Laravel app and how it looks after installation.
Install Laravel Telescope Package
Install Telescope with the following command:
composer require laravel/telescopeYou can also install for a specific environment:
composer require laravel/telescope --devInstall Telescope
After installing the package, we have to install Telescope using the following command, which will create migration files and a configuration file.
php artisan telescope:installNow, let's run the following command to create tables for the telescope.
php artisan migrateNow you are ready to run the telescope. So let's run the project.
php artisan serveopen bellow url
localhost:8000/telescope/requestsYou can see below a screenshot of the telescope:
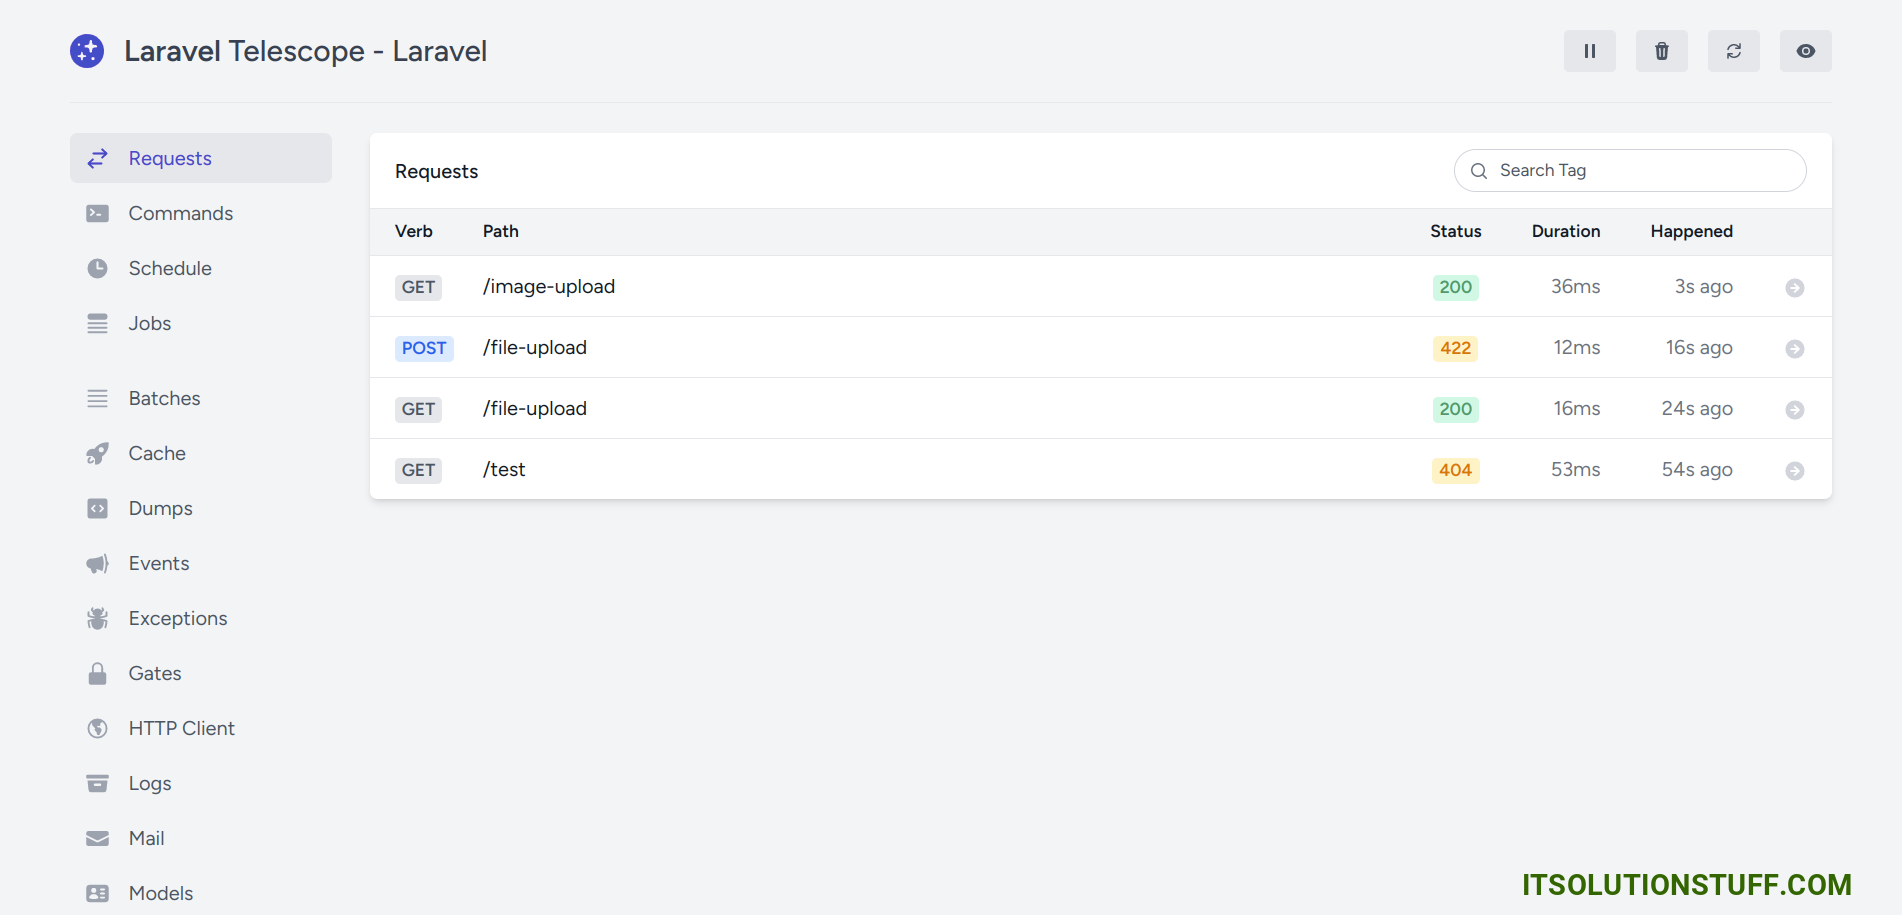
What features provide by telescope?
- Requests
- Commands
- Schedule
- Jobs
- Batches
- Cache
- Dumps
- Events
- Exceptions
- Gates
- Logs
- Models
- Notifications
- Queries
- Redis
- Views
I hope it can help you...

