How to Define Global Variables in Angular 18?
In this post, we will learn how to define global variables in angular 18 application.
For our Angular 18 application, it's essential to have a global variable file. This file allows us to define global variables such as the site title and API URL. These variables become easily accessible throughout the entire application.
In this instance, we'll create a GlobalConstants file to house our global variables. I've included two variables in this file: appURL and appTitle. I'll demonstrate how to access the values of these variables in my AppComponent file, and you can apply the same approach to access them in any component you need.

Step for Angular 18 Declare Global Variables
- Step 1: Create Angular 18 Project
- Step 2: Create GlobalConstants File
- Step 3: Use Global Constants in ts File
- Step 4: Update HTML File
- Run Angular App
Let's follow following steps:
Step 1: Create Angular 18 Project
To begin, create a new Angular app for this demonstration. If you've already created one, there's no need to initiate a new Angular 18 app.
ng new my-new-appStep 2: Create GlobalConstants File
Now, bellow we will create GlobalConstants as created bellow and We will use that variable as like used in the AppComponent file.
src/app/common/global-constants.ts
export class GlobalConstants {

    public static appURL: string = "https://itsolutionstuff.com/";
    public static appTitle: string = "This is example of ItSolutionStuff.com";
    public static appLogo: string = "assets/images/logo.png";
    public static appEmail: string = "example@gmail.com";

}
Step 3: Use Global Constants in ts File
Here, simply update your "app.component.ts" with following code:
src/app/app.component.ts
import { Component } from '@angular/core';
import { CommonModule } from '@angular/common';
import { RouterOutlet } from '@angular/router';

import{ GlobalConstants } from './common/global-constants';

@Component({
  selector: 'app-root',
  standalone: true,
  imports: [CommonModule, RouterOutlet],
  templateUrl: './app.component.html',
  styleUrls: ['./app.component.css']
})
export class AppComponent {

    title = GlobalConstants.appTitle;

    url = GlobalConstants.appURL;

    email = GlobalConstants.appEmail;

}
Step 4: Update HTML File
Here, simply update your "app.component.html" with following code:
src/app/app.component.html
<div class="container">

  <h1>How to Define Global Variable in Angular 18? - ItSolutionStuff.com</h1>

  <p><strong>App Title: </strong>{{ title }}</p>
  <p><strong>App URL: </strong>{{ url }}</p>
  <p><strong>App Email: </strong>{{ email }}</p>

</div>
Run Angular App:
All the required steps have been done, now you have to type the given below command and hit enter to run the Angular app:
ng serveNow, Go to your web browser, type the given URL and view the app output:
http://localhost:4200Output:
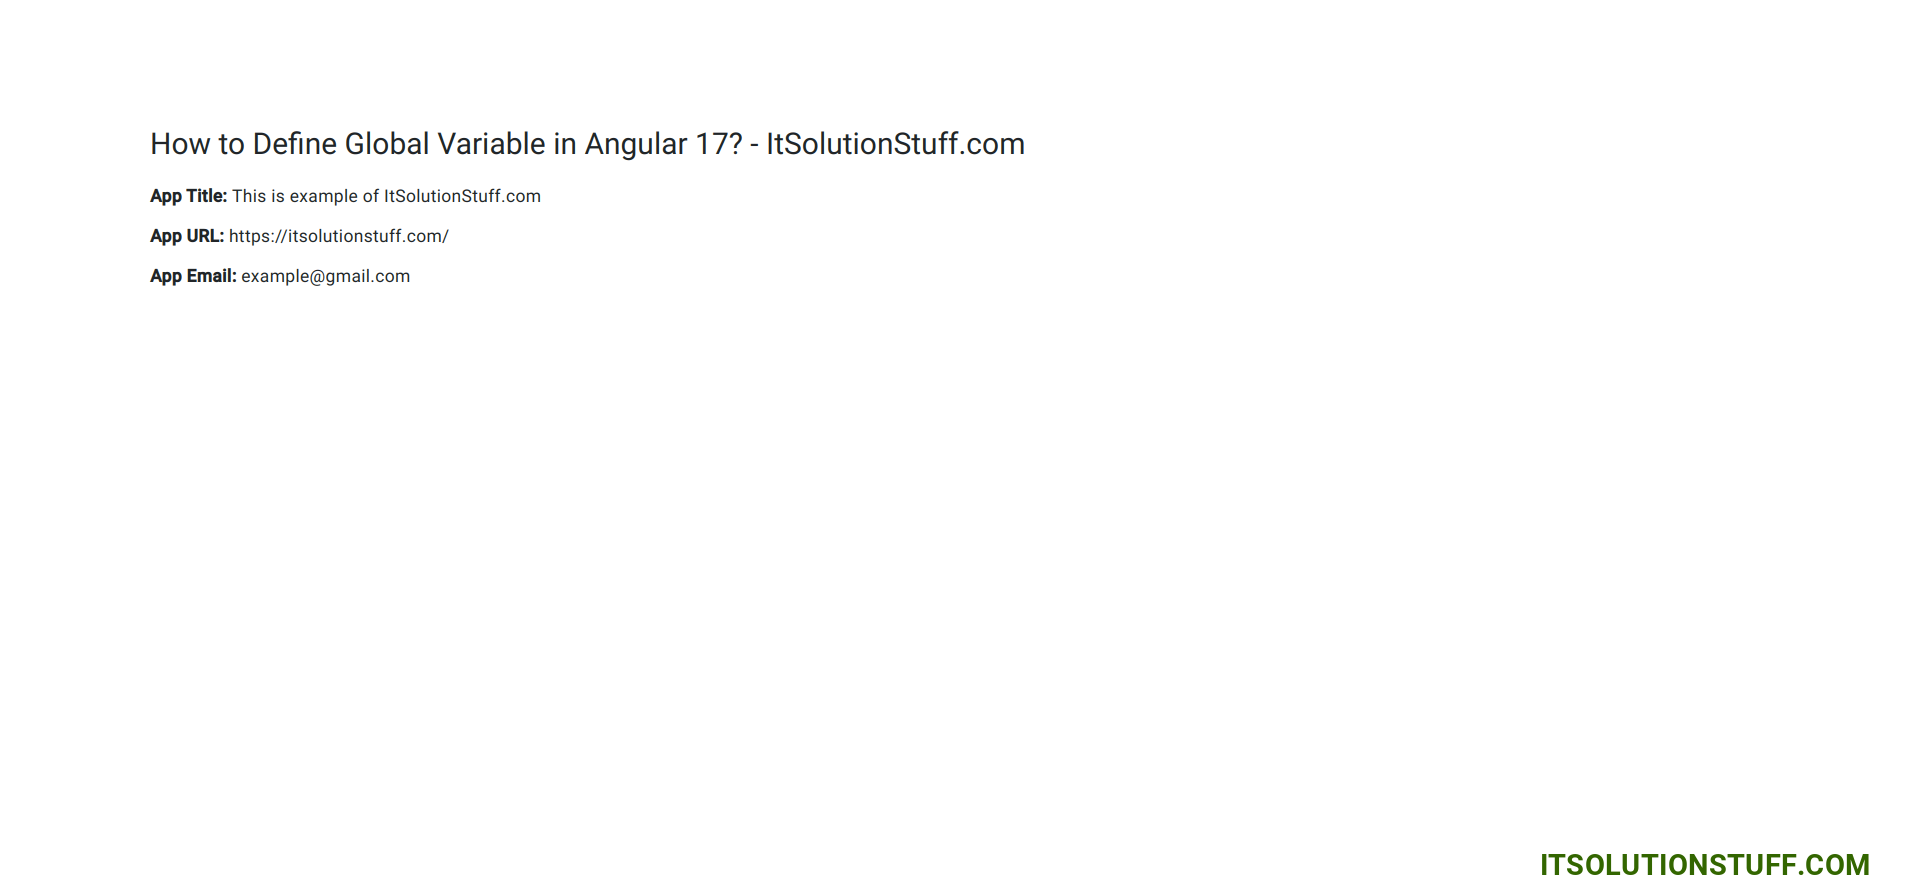
Now you can see layout as like bellow screen shot:
I hope it can help you...

