How to Convert an Image to Webp in Laravel?
Hey Friends,
This simple article demonstrates of how to convert image to webp in laravel. you can see how to convert image to webp format in laravel. you will learn laravel convert png to webp. step by step explain laravel convert jpg to webp. Here, Create a basic example of how to convert jpg to webp in laravel.
In this illustration, we will demonstrate how to utilize the "intervention/image" composer package to transform images in JPEG and PNG formats into the WebP format. This conversion is advantageous because the WebP format is designed to enhance the loading speed of your web page, resulting in faster load times for your website visitors.
To achieve this conversion, we'll employ the "ImageManagerStatic" class, a component of the "intervention/image" package. This class facilitates the process of converting images to the WebP format.
Now, let's delve into a clear and concise example of the code, dissecting it step by step for a better understanding.
You can use this example with laravel 6, laravel 7, laravel 8, laravel 9, laravel 10 and laravel 11 versions.
Step 1: Install Laravel
This step is not required; however, if you have not created the laravel app, then you may go ahead and execute the below command:
composer create-project laravel/laravel example-app
Step 2: Install intervention/image Package
Here, we will install intervention/image composer package to use image functions. we will convert image to webp format using this composer package. so, let's run following command:
composer require intervention/image
Step 3: Create Controller
In this step, we will create a new ImageController; in this file, we will add two method index() and store() for render view and store image logic.
Let's create ImageController by following command:
php artisan make:controller ImageController
next, let's update the following code to Controller File.
app/Http/Controllers/ImageController.php
<?php
namespace App\Http\Controllers;
use Illuminate\Http\Request;
use Illuminate\View\View;
use Illuminate\Http\RedirectResponse;
use Intervention\Image\ImageManagerStatic;
use Illuminate\Support\Str;
use Illuminate\Support\Facades\Storage;
class ImageController extends Controller
{
/**
* Display a listing of the resource.
*
* @return \Illuminate\Http\Response
*/
public function index(): View
{
return view('imageUpload');
}
/**
* Display a listing of the resource.
*
* @return \Illuminate\Http\Response
*/
public function store(Request $request): RedirectResponse
{
$this->validate($request, [
'image' => ['required',
'image',
'mimes:jpg,png,jpeg,gif,svg',
'max:2048'],
]);
$input = $request->all();
$image = ImageManagerStatic::make($request->file('image'))->encode('webp');
$imageName = Str::random().'.webp';
/*
Save Image using Storage facade
$path = Storage::disk('public')->put('images/'. $imageName, $image);
*/
$image->save(public_path('images/'. $imageName));
$input['image_name'] = $imageName;
/*
Store Image to Database
*/
return back()
->with('success', 'Image Upload successful')
->with('imageName', $imageName);
}
}
Step 4: Create and Add Routes
Furthermore, open routes/web.php file and add the routes to manage GET and POST requests for render view and store image logic.
routes/web.php
<?php
use Illuminate\Support\Facades\Route;
use App\Http\Controllers\ImageController;
/*
|--------------------------------------------------------------------------
| Web Routes
|--------------------------------------------------------------------------
|
| Here is where you can register web routes for your application. These
| routes are loaded by the RouteServiceProvider within a group which
| contains the "web" middleware group. Now create something great!
|
*/
Route::controller(ImageController::class)->group(function(){
Route::get('image-upload', 'index');
Route::post('image-upload', 'store')->name('image.store');
});
Step 5: Create Blade File
At last step we need to create imageUpload.blade.php file and in this file we will create form with file input button. So copy bellow and put on that file.
resources/views/imageUpload.blade.php
<!DOCTYPE html>
<html>
<head>
<title>How to Convert an Image to webp in Laravel? - ItSolutionStuff.com</title>
<link href="https://cdnjs.cloudflare.com/ajax/libs/twitter-bootstrap/5.0.1/css/bootstrap.min.css" rel="stylesheet">
</head>
<body>
<div class="container">
<h1>How to Convert an Image to webp in Laravel? - ItSolutionStuff.com</h1>
@if (count($errors) > 0)
<div class="alert alert-danger">
<strong>Whoops!</strong> There were some problems with your input.<br><br>
<ul>
@foreach ($errors->all() as $error)
<li>{{ $error }}</li>
@endforeach
</ul>
</div>
@endif
@if ($message = Session::get('success'))
<div class="alert alert-success alert-dismissible fade show" role="alert">
<strong>{{ $message }}</strong>
<button type="button" class="btn-close" data-bs-dismiss="alert" aria-label="Close"></button>
</div>
<div class="row">
<div class="col-md-4">
<strong>Original Image:</strong>
<br/>
<img src="/images/{{ Session::get('imageName') }}" width="300px" />
</div>
</div>
@endif
<form action="{{ route('image.store') }}" method="post" enctype="multipart/form-data">
@csrf
<div class="row">
<div class="col-md-12">
<br/>
<input type="file" name="image" class="image">
</div>
<div class="col-md-12">
<br/>
<button type="submit" class="btn btn-success">Upload Image</button>
</div>
</div>
</form>
</div>
</body>
</html>
Run Laravel App:
All the required steps have been done, now you have to type the given below command and hit enter to run the Laravel app:
php artisan serve
Now, Go to your web browser, type the given URL and view the app output:
http://localhost:8000/image-upload
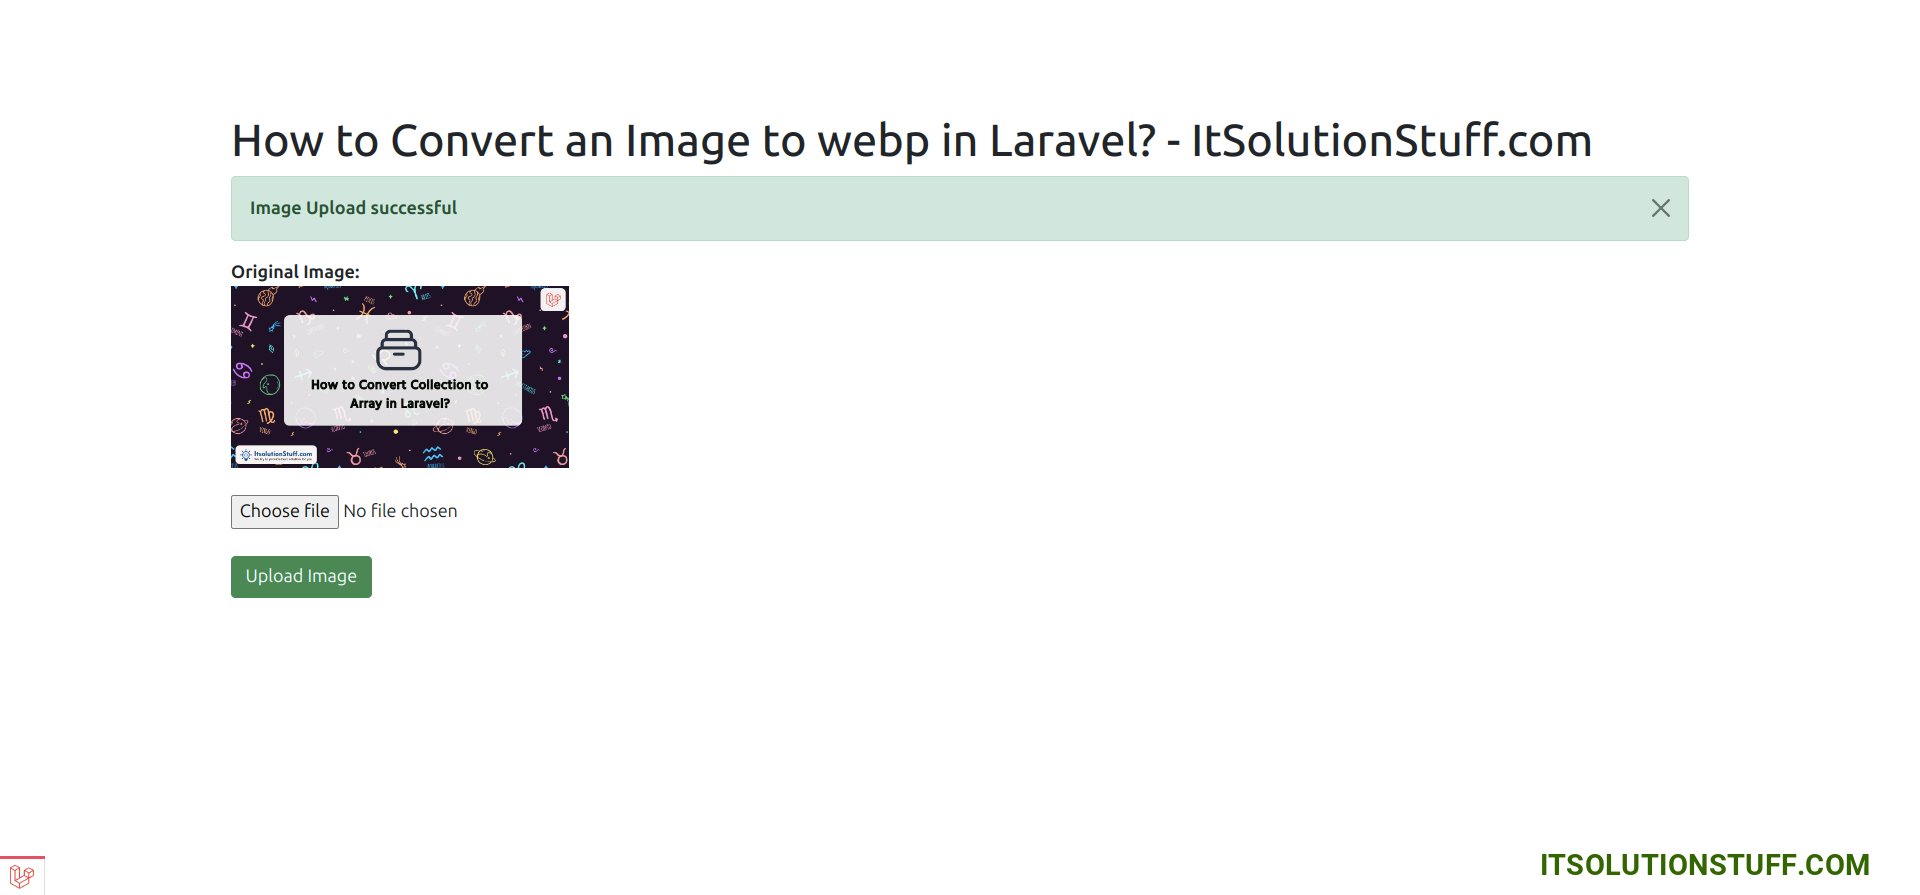
Output:
I hope it can help you...

