Laravel Livewire Image Upload Example
Hi Dev,
In this example, i will show you laravel livewire image upload example. i would like to share with you image upload with laravel livewire. you can understand a concept of laravel livewire store upload image. I’m going to show you about upload image in laravel livewire example. Alright, let’s dive into the steps.
In this tutorial, we will create simple image upload example using laravel livewire. you can use laravel livewire image upload with laravel 6, laravel 7, laravel 8, laravel 9, laravel 10 and laravel 11 version.
Here, i will give you very simple example to creating images upload form with title and name and i will store that data to database without refresh page and too many lines of code in blade file. we will use only livewire/livewire package.
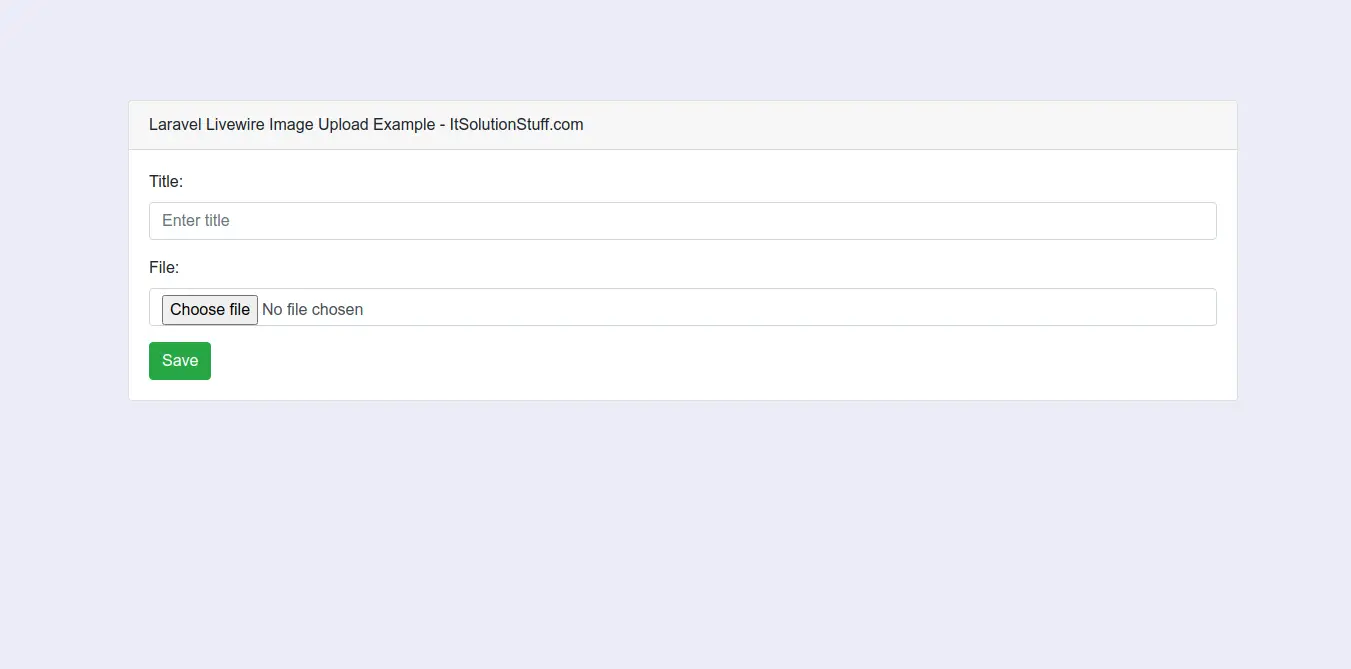
So, let's follow bellow step and you will get bellow layout:
Step 1 : Install Laravel 8
first of all we need to get fresh Laravel 8 version application using bellow command, So open your terminal OR command prompt and run bellow command:
composer create-project --prefer-dist laravel/laravel blog
Step 2 : Create Migration and Model
Here, we need create database migration for files table and also we will create model for files table.
php artisan make:migration create_files_table
Migration:
<?php
use Illuminate\Database\Migrations\Migration;
use Illuminate\Database\Schema\Blueprint;
use Illuminate\Support\Facades\Schema;
class CreateFilesTable extends Migration
{
/**
* Run the migrations.
*
* @return void
*/
public function up()
{
Schema::create('files', function (Blueprint $table) {
$table->id();
$table->string('title');
$table->string('name');
$table->timestamps();
});
}
/**
* Reverse the migrations.
*
* @return void
*/
public function down()
{
Schema::dropIfExists('files');
}
}
php artisan migrate
now we will create File model by using following command:
php artisan make:model File
App/Models/File.php
<?php
namespace App\Models;
use Illuminate\Database\Eloquent\Factories\HasFactory;
use Illuminate\Database\Eloquent\Model;
class File extends Model
{
use HasFactory;
protected $fillable = [
'title','name'
];
}
Step 3: Install Livewire
now in this step, we will simply install livewire to our laravel 8 application using bellow command:
composer require livewire/livewire
Step 4: Create Component
Now here we will create livewire component using their command. so run bellow command to create image upload form component.
php artisan make:livewire file-upload
Now they created fies on both path:
app/Http/Livewire/FileUpload.php
resources/views/livewire/file-upload.blade.php
Now both file we will update as bellow for our contact us form.
app/Http/Livewire/FileUpload.php
<?php
namespace App\Http\Livewire;
use Livewire\Component;
use Livewire\WithFileUploads;
use App\Models\File;
class FileUpload extends Component
{
use WithFileUploads;
public $file, $title;
/**
* Write code on Method
*
* @return response()
*/
public function submit()
{
$validatedData = $this->validate([
'title' => 'required',
'file' => 'required|image|mimes:jpeg,png,jpg,gif,svg|max:2048',
]);
$validatedData['name'] = $this->file->store('files', 'public');
File::create($validatedData);
session()->flash('message', 'Image successfully Uploaded.');
}
/**
* Write code on Method
*
* @return response()
*/
public function render()
{
return view('livewire.file-upload');
}
}
resources/views/livewire/file-upload.blade.php
<form wire:submit.prevent="submit" enctype="multipart/form-data">
<div>
@if(session()->has('message'))
<div class="alert alert-success">
{{ session('message') }}
</div>
@endif
</div>
<div class="form-group">
<label for="exampleInputName">Title:</label>
<input type="text" class="form-control" id="exampleInputName" placeholder="Enter title" wire:model="title">
@error('title') <span class="text-danger">{{ $message }}</span> @enderror
</div>
<div class="form-group">
<label for="exampleInputName">File:</label>
<input type="file" class="form-control" id="exampleInputName" wire:model="file">
@error('name') <span class="text-danger">{{ $message }}</span> @enderror
</div>
<button type="submit" class="btn btn-success">Save</button>
</form>
Step 5: Create Route
now we will create one route for calling our example, so let's add new route to web.php file as bellow:
routes/web.php
Route::get('image-upload', function () {
return view('default');
});
Step 6: Create View File
here, we will create blade file for call form route. in this file we will use @livewireStyles, @livewireScripts and @livewire('contact-form'). so let's add it.
resources/views/default.blade.php
<!DOCTYPE html>
<html>
<head>
<title>Laravel Livewire Example - ItSolutionStuff.com</title>
@livewireStyles
<link rel="stylesheet" href="https://stackpath.bootstrapcdn.com/bootstrap/4.5.2/css/bootstrap.min.css" integrity="sha384-JcKb8q3iqJ61gNV9KGb8thSsNjpSL0n8PARn9HuZOnIxN0hoP+VmmDGMN5t9UJ0Z" crossorigin="anonymous">
</head>
<body>
<div class="container">
<div class="card">
<div class="card-header">
Laravel Livewire Example - ItSolutionStuff.com
</div>
<div class="card-body">
@livewire('file-upload')
</div>
</div>
</div>
</body>
@livewireScripts
</html>
Now you can run using bellow command:
php artisan serve
Open bellow URL:
http://localhost:8000/image-upload
I hope it can help you...

