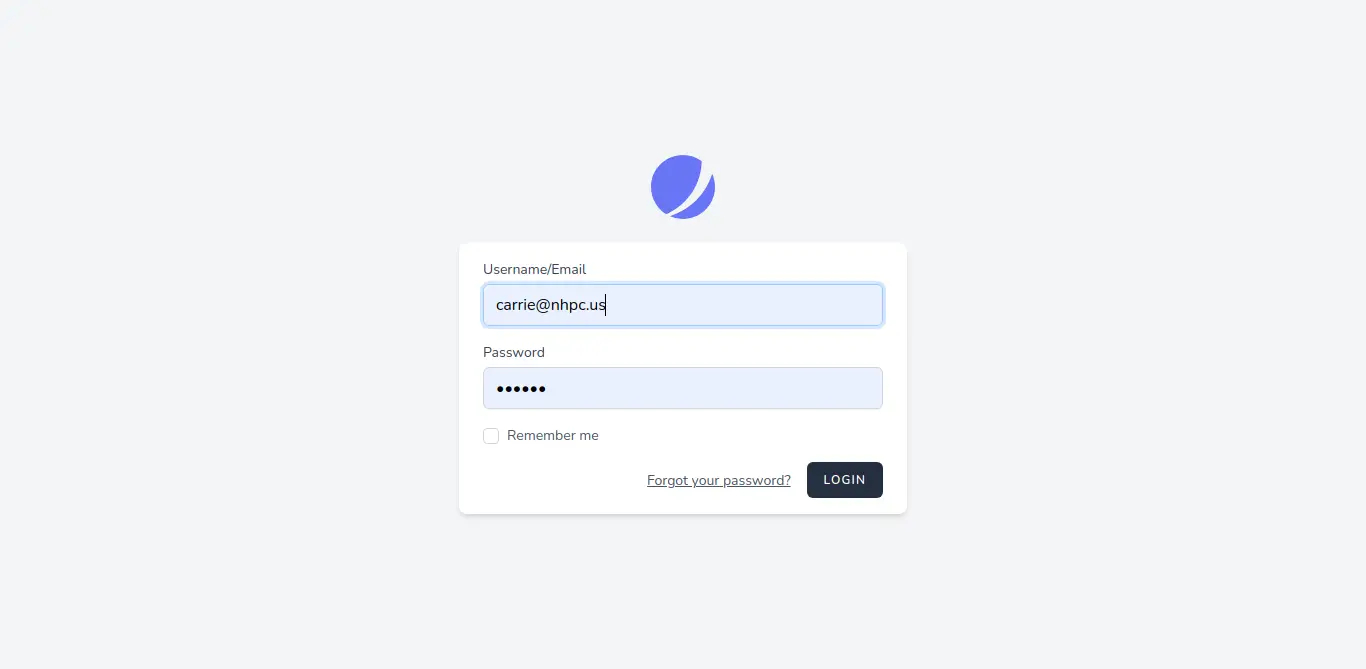
Laravel Jetstream Login with Username or Email Example
This article will provide example of laravel jetstream login with username. This article goes in detailed on login with username and password in laravel jetstream. In this article, we will implement a laravel jetstream login with username or email. i would like to share with you laravel jetstream login with username example.
I will give you step by step adding login with email or username in laravel jetstream. you can easily integrate with laravel 6, laravel 7, laravel 8, laravel 9, laravel 10 and laravel 11 version.
after installing laravel jetstream successfully. you need to do following changes on that files:
app/Providers/FortifyServiceProvider.php
<?php
namespace App\Providers;
use App\Actions\Fortify\CreateNewUser;
use App\Actions\Fortify\ResetUserPassword;
use App\Actions\Fortify\UpdateUserPassword;
use App\Actions\Fortify\UpdateUserProfileInformation;
use Illuminate\Support\ServiceProvider;
use Laravel\Fortify\Fortify;
use Laravel\Fortify\Http\Requests\LoginRequest;
use App\Models\User;
use Hash;
class FortifyServiceProvider extends ServiceProvider
{
/**
* Register any application services.
*
* @return void
*/
public function register()
{
}
/**
* Bootstrap any application services.
*
* @return void
*/
public function boot()
{
Fortify::createUsersUsing(CreateNewUser::class);
Fortify::updateUserProfileInformationUsing(UpdateUserProfileInformation::class);
Fortify::updateUserPasswordsUsing(UpdateUserPassword::class);
Fortify::resetUserPasswordsUsing(ResetUserPassword::class);
Fortify::authenticateUsing(function (LoginRequest $request) {
$user = User::where('email', $request->identity)
->orWhere('username', $request->identity)->first();
if (
$user &&
Hash::check($request->password, $user->password)
) {
return $user;
}
});
}
}
config/fortify.php
'username' => 'email',
to
'username' => 'identity',
resources/views/auth/login.blade.php
<x-guest-layout>
<x-jet-authentication-card>
<x-slot name="logo">
<x-jet-authentication-card-logo />
</x-slot>
<x-jet-validation-errors class="mb-4" />
@if (session('status'))
<div class="mb-4 font-medium text-sm text-green-600">
{{ session('status') }}
</div>
@endif
<form method="POST" action="{{ route('login') }}">
@csrf
<div>
<x-jet-label value="{{ __('Username/Email') }}" />
<x-jet-input class="block mt-1 w-full" type="text" name="identity" :value="old('email')" required autofocus />
</div>
<div class="mt-4">
<x-jet-label value="{{ __('Password') }}" />
<x-jet-input class="block mt-1 w-full" type="password" name="password" required autocomplete="current-password" />
</div>
<div class="block mt-4">
<label class="flex items-center">
<input type="checkbox" class="form-checkbox" name="remember">
<span class="ml-2 text-sm text-gray-600">{{ __('Remember me') }}</span>
</label>
</div>
<div class="flex items-center justify-end mt-4">
@if (Route::has('password.request'))
<a class="underline text-sm text-gray-600 hover:text-gray-900" href="{{ route('password.request') }}">
{{ __('Forgot your password?') }}
</a>
@endif
<x-jet-button class="ml-4">
{{ __('Login') }}
</x-jet-button>
</div>
</form>
</x-jet-authentication-card>
</x-guest-layout>
Now you can run and check it.
it will works as like bellow:

i hope it can help you...

