Laravel Fullcalendar Example Tutorial
Hello Dev,
In this tutorial we will go over the demonstration of laravel fullcalendar example. We will look at example of laravel fullcalendar crud example. let’s discuss about laravel fullcalendar ajax. this example will help you laravel fullcalendar event click. You just need to some step to done laravel fullcalendar tutorial.
you can easily use fullcalender in laravel 6, laravel 7, laravel 8, laravel 9, laravel 10 and laravel 11 version using this tutorial.
In this example, we will simply create crud application with fullcalender so you can easily create event, edit event by drag and drop and delete event. in this example we will create events table with start, edit date and title column. then you can add, edit and delete that event with database.
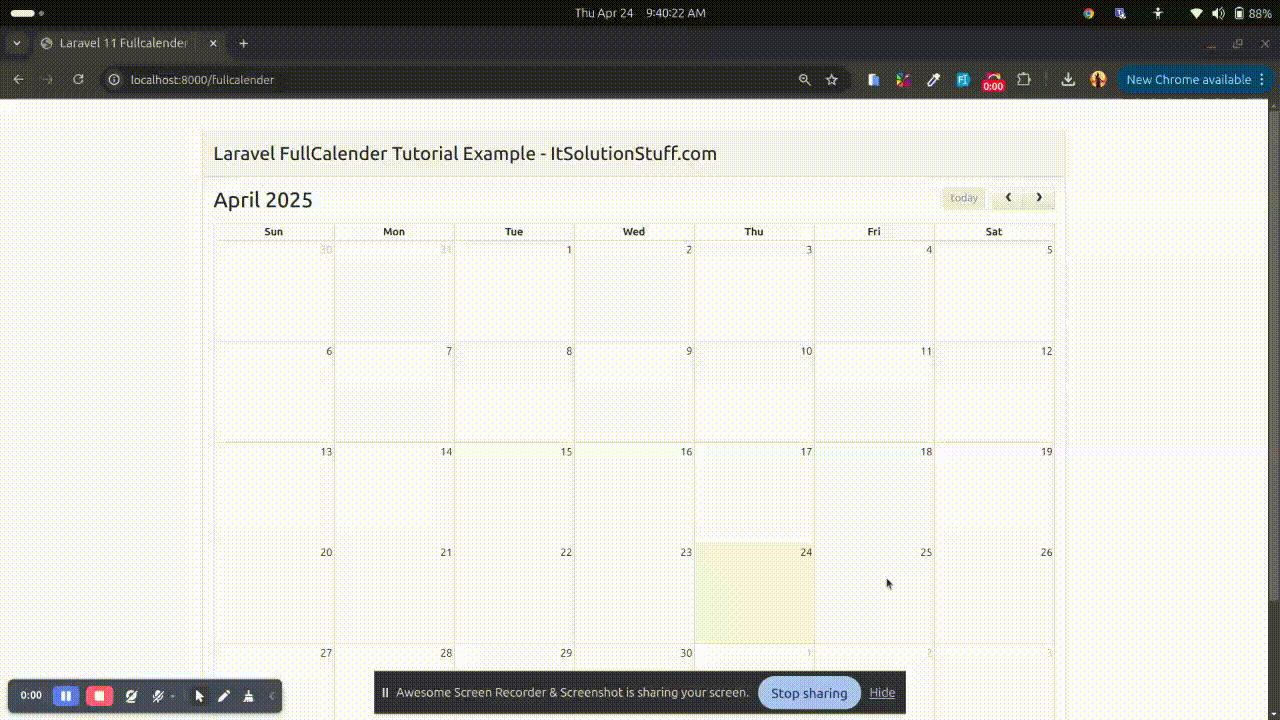
Let's follow few step to make it laravel fullcalender crud app. you can see bellow preview:
Preview:
Step 1: Install Laravel 8
In this step, if you haven't laravel 8 application setup then we have to get fresh laravel 8 application. So run bellow command and get clean fresh laravel 8 application.
composer create-project --prefer-dist laravel/laravel blog
Step 2: Create Migration and Model
In this step we have to create migration for events table using Laravel 8 php artisan command, so first fire bellow command:
php artisan make:migration create_events_table
After this command you will find one file in following path "database/migrations" and you have to put bellow code in your migration file for create events table.
<?php
use Illuminate\Database\Migrations\Migration;
use Illuminate\Database\Schema\Blueprint;
use Illuminate\Support\Facades\Schema;
class CreateEventsTable extends Migration
{
/**
* Run the migrations.
*
* @return void
*/
public function up()
{
Schema::create('events', function (Blueprint $table) {
$table->id();
$table->string('title');
$table->date('start');
$table->date('end');
$table->timestamps();
});
}
/**
* Reverse the migrations.
*
* @return void
*/
public function down()
{
Schema::dropIfExists('events');
}
}
Then after, simply run migration:
php artisan migrate
After create "events" table you should create Event model for items, so first create file in this path "app/Models/Event.php" and put bellow content in Event.php file:
app/Models/Event.php
<?php
namespace App\Models;
use Illuminate\Database\Eloquent\Factories\HasFactory;
use Illuminate\Database\Eloquent\Model;
class Event extends Model
{
use HasFactory;
protected $fillable = [
'title', 'start', 'end'
];
}
Step 3: Create Routes
In this step we will add routes and controller file so first add bellow route in your routes.php file.
routes/web.php
<?php
use Illuminate\Support\Facades\Route;
use App\Http\Controllers\FullCalenderController;
/*
|--------------------------------------------------------------------------
| Web Routes
|--------------------------------------------------------------------------
|
| Here is where you can register web routes for your application. These
| routes are loaded by the RouteServiceProvider within a group which
| contains the "web" middleware group. Now create something great!
|
*/
Route::get('fullcalender', [FullCalenderController::class, 'index']);
Route::post('fullcalenderAjax', [FullCalenderController::class, 'ajax']);
Step 4: Create Controller File
Now require to create new FullCalenderController for index and ajax method so first run bellow command :
php artisan make:controller FullCalenderController
After this command you can find FullCalenderController.php file in your app/Http/Controllers directory. open FullCalenderController.php file and put bellow code in that file.
app/Http/Controllers/FullCalenderController.php
<?php
namespace App\Http\Controllers;
use Illuminate\Http\Request;
use App\Models\Event;
class FullCalenderController extends Controller
{
/**
* Write code on Method
*
* @return response()
*/
public function index(Request $request)
{
if($request->ajax()) {
$data = Event::whereDate('start', '>=', $request->start)
->whereDate('end', '<=', $request->end)
->get(['id', 'title', 'start', 'end']);
return response()->json($data);
}
return view('fullcalender');
}
/**
* Write code on Method
*
* @return response()
*/
public function ajax(Request $request)
{
switch ($request->type) {
case 'add':
$event = Event::create([
'title' => $request->title,
'start' => $request->start,
'end' => $request->end,
]);
return response()->json($event);
break;
case 'update':
$event = Event::find($request->id)->update([
'title' => $request->title,
'start' => $request->start,
'end' => $request->end,
]);
return response()->json($event);
break;
case 'delete':
$event = Event::find($request->id)->delete();
return response()->json($event);
break;
default:
# code...
break;
}
}
}
Step 5: Create Blade File
Ok, in this last step we will create fullcalender.blade.php file for display fullcalender and we will write js code for crud app. So first create fullcalender.blade.php file and put bellow code:
resources/views/fullcalender.blade.php
<!DOCTYPE html>
<html>
<head>
<title>Laravel Fullcalender Tutorial Tutorial - ItSolutionStuff.com</title>
<meta name="csrf-token" content="{{ csrf_token() }}">
<link rel="stylesheet" href="https://stackpath.bootstrapcdn.com/bootstrap/4.3.1/css/bootstrap.min.css" />
<script src="https://cdnjs.cloudflare.com/ajax/libs/jquery/3.1.1/jquery.min.js"></script>
<link rel="stylesheet" href="https://cdnjs.cloudflare.com/ajax/libs/fullcalendar/3.9.0/fullcalendar.css" />
<script src="https://cdnjs.cloudflare.com/ajax/libs/moment.js/2.24.0/moment.min.js"></script>
<script src="https://cdnjs.cloudflare.com/ajax/libs/fullcalendar/3.9.0/fullcalendar.js"></script>
<script src="https://cdnjs.cloudflare.com/ajax/libs/toastr.js/latest/toastr.min.js"></script>
<link rel="stylesheet" href="https://cdnjs.cloudflare.com/ajax/libs/toastr.js/latest/toastr.min.css" />
</head>
<body>
<div class="container">
<h1>Laravel FullCalender Tutorial Example - ItSolutionStuff.com</h1>
<div id='calendar'></div>
</div>
<script>
$(document).ready(function () {
var SITEURL = "{{ url('/') }}";
$.ajaxSetup({
headers: {
'X-CSRF-TOKEN': $('meta[name="csrf-token"]').attr('content')
}
});
var calendar = $('#calendar').fullCalendar({
editable: true,
events: SITEURL + "/fullcalender",
displayEventTime: false,
editable: true,
eventRender: function (event, element, view) {
if (event.allDay === 'true') {
event.allDay = true;
} else {
event.allDay = false;
}
},
selectable: true,
selectHelper: true,
select: function (start, end, allDay) {
var title = prompt('Event Title:');
if (title) {
var start = $.fullCalendar.formatDate(start, "Y-MM-DD");
var end = $.fullCalendar.formatDate(end, "Y-MM-DD");
$.ajax({
url: SITEURL + "/fullcalenderAjax",
data: {
title: title,
start: start,
end: end,
type: 'add'
},
type: "POST",
success: function (data) {
displayMessage("Event Created Successfully");
calendar.fullCalendar('renderEvent',
{
id: data.id,
title: title,
start: start,
end: end,
allDay: allDay
},true);
calendar.fullCalendar('unselect');
}
});
}
},
eventDrop: function (event, delta) {
var start = $.fullCalendar.formatDate(event.start, "Y-MM-DD");
var end = $.fullCalendar.formatDate(event.end, "Y-MM-DD");
$.ajax({
url: SITEURL + '/fullcalenderAjax',
data: {
title: event.title,
start: start,
end: end,
id: event.id,
type: 'update'
},
type: "POST",
success: function (response) {
displayMessage("Event Updated Successfully");
}
});
},
eventClick: function (event) {
var deleteMsg = confirm("Do you really want to delete?");
if (deleteMsg) {
$.ajax({
type: "POST",
url: SITEURL + '/fullcalenderAjax',
data: {
id: event.id,
type: 'delete'
},
success: function (response) {
calendar.fullCalendar('removeEvents', event.id);
displayMessage("Event Deleted Successfully");
}
});
}
}
});
});
function displayMessage(message) {
toastr.success(message, 'Event');
}
</script>
</body>
</html>
Now you can run and check it will same as like bellow screen shot.
I hope it can help you...

