Laravel 9 Webcam a Take Photo and Save From Camera Example
Hi Dev,
This article will give you example of laravel 9 webcam capture image and save from camera. you can see capture image from webcam and store in database in laravel 9. we will help you to give example of webcam take a photo laravel 9. This tutorial will give you simple example of laravel 9 webcam take screenshot. Follow bellow tutorial step of laravel 9 webcam take screenshot and save from camera.
If you need to start user webcam and take picture from there. Then i will help you how to do it with laravel. we will use webcam.js to capture photo from camera.
In this example we will create two routes with GET and POST to store image. In blade file we will write code about start webcam and capture image, Then we will store image from camera using post method. so let's see simple example how it's done.
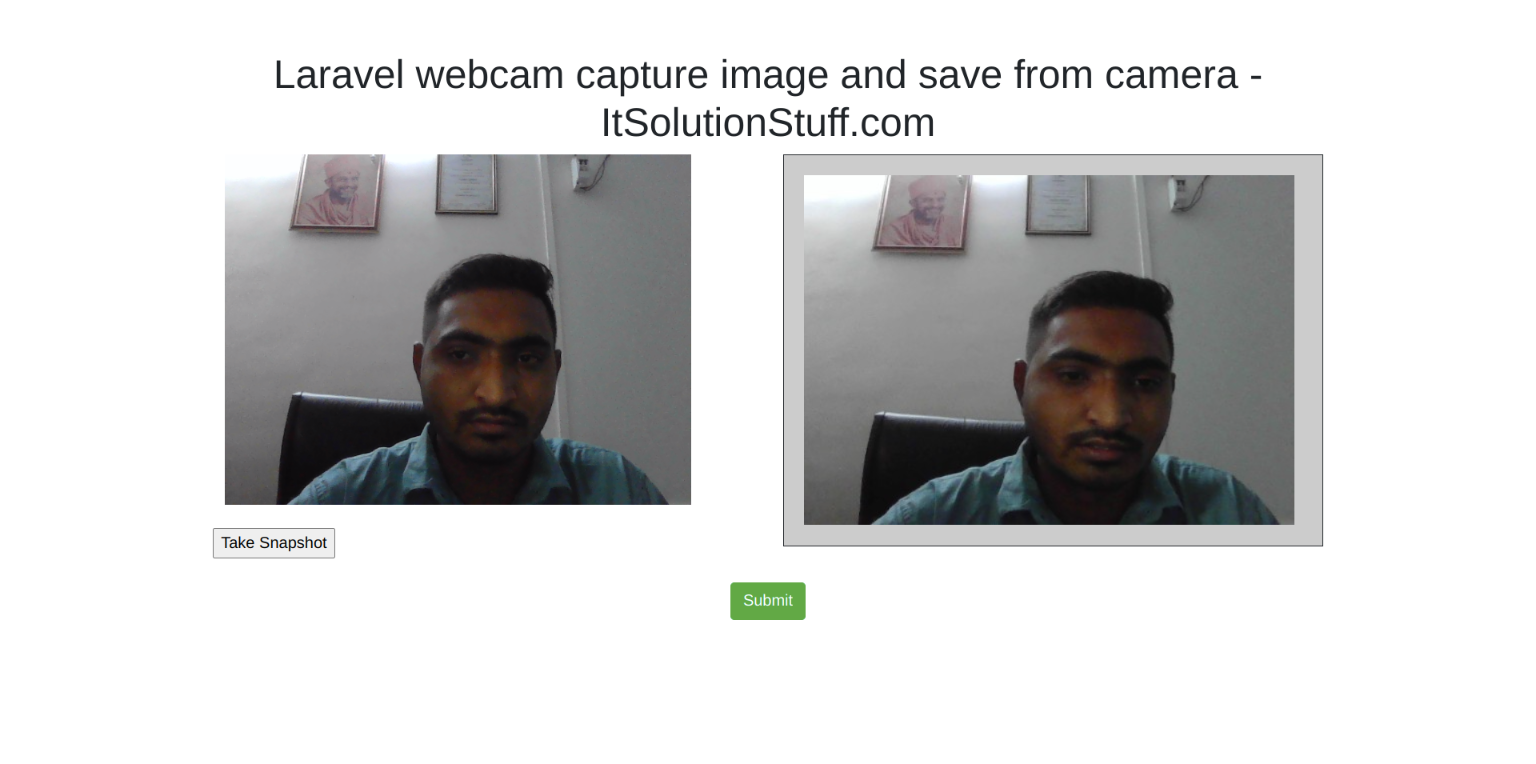
Preview:

Step 1: Install Laravel 9
This is optional; however, if you have not created the laravel app, then you may go ahead and execute the below command:
composer create-project laravel/laravel example-app
Step 2: Create Route
In this is step we need to add route for generate view. so open your route file and add following route.
routes/web.php
<?php
use Illuminate\Support\Facades\Route;
use App\Http\Controllers\WebcamController;
/*
|--------------------------------------------------------------------------
| Web Routes
|--------------------------------------------------------------------------
|
| Here is where you can register web routes for your application. These
| routes are loaded by the RouteServiceProvider within a group which
| contains the "web" middleware group. Now create something great!
|
*/
Route::get('webcam', [WebcamController::class, 'index']);
Route::post('webcam', [WebcamController::class, 'store'])->name('webcam.capture');
Step 3: Create Controller
In this file we will write code about store image into storage folder. so let's copy below code and create new controller:
app/Http/Controllers/WebcamController.php
<?php
namespace App\Http\Controllers;
use Illuminate\Http\Request;
use Storage;
class WebcamController extends Controller
{
/**
* Write code on Method
*
* @return response()
*/
public function index()
{
return view('webcam');
}
/**
* Write code on Method
*
* @return response()
*/
public function store(Request $request)
{
$img = $request->image;
$folderPath = "uploads/";
$image_parts = explode(";base64,", $img);
$image_type_aux = explode("image/", $image_parts[0]);
$image_type = $image_type_aux[1];
$image_base64 = base64_decode($image_parts[1]);
$fileName = uniqid() . '.png';
$file = $folderPath . $fileName;
Storage::put($file, $image_base64);
dd('Image uploaded successfully: '.$fileName);
}
}
Step 5: Create View File
In last step, we have to create view file "webcam.blade.php" for start webcam, so create webcam file and put bellow code:
resources/view/webcam.blade.php
<!DOCTYPE html>
<html>
<head>
<title>laravel webcam capture image and save from camera - ItSolutionStuff.com</title>
<script src="https://cdnjs.cloudflare.com/ajax/libs/jquery/3.3.1/jquery.min.js"></script>
<script src="https://cdnjs.cloudflare.com/ajax/libs/webcamjs/1.0.25/webcam.min.js"></script>
<link rel="stylesheet" href="https://cdnjs.cloudflare.com/ajax/libs/twitter-bootstrap/4.1.3/css/bootstrap.min.css" />
<style type="text/css">
#results { padding:20px; border:1px solid; background:#ccc; }
</style>
</head>
<body>
<div class="container">
<h1 class="text-center">Laravel webcam capture image and save from camera - ItSolutionStuff.com</h1>
<form method="POST" action="{{ route('webcam.capture') }}">
@csrf
<div class="row">
<div class="col-md-6">
<div id="my_camera"></div>
<br/>
<input type=button value="Take Snapshot" onClick="take_snapshot()">
<input type="hidden" name="image" class="image-tag">
</div>
<div class="col-md-6">
<div id="results">Your captured image will appear here...</div>
</div>
<div class="col-md-12 text-center">
<br/>
<button class="btn btn-success">Submit</button>
</div>
</div>
</form>
</div>
<script language="JavaScript">
Webcam.set({
width: 490,
height: 350,
image_format: 'jpeg',
jpeg_quality: 90
});
Webcam.attach( '#my_camera' );
function take_snapshot() {
Webcam.snap( function(data_uri) {
$(".image-tag").val(data_uri);
document.getElementById('results').innerHTML = '<img src="'+data_uri+'"/>';
} );
}
</script>
</body>
</html>
Run Laravel App:
All the required steps have been done, now you have to type the given below command and hit enter to run the Laravel app:
php artisan serve
Now, Go to your web browser, type the given URL and view the app output:
http://localhost:8000/webcam
I hope it can help you...

