Laravel Create Quick Backend Admin Panel Tutorial
Today, I am going to share with you How to create admin panel in Laravel 5 Application. In this tutorial we will create quick simple back-end admin panel using voyager package.
We always require to create admin area for every website. Admin Panel keep dynamic our website. Admin Panel through admin user can handle website dynamically like change title, meta-data, posts and etc other modules. So If you are working on Laravel framework and you require to create quick admin panel then you can do it using voyager package. voyager package through we can make quick back-end in our Laravel 5. This package also support Laravel 5.0, Laravel 5.1, Laravel 5.2 and also current Laravel 5.3.
Today we will implement voyager package in Laravel 5.3 version from scratch. voyager package provide us there are several functionality like as bellow:
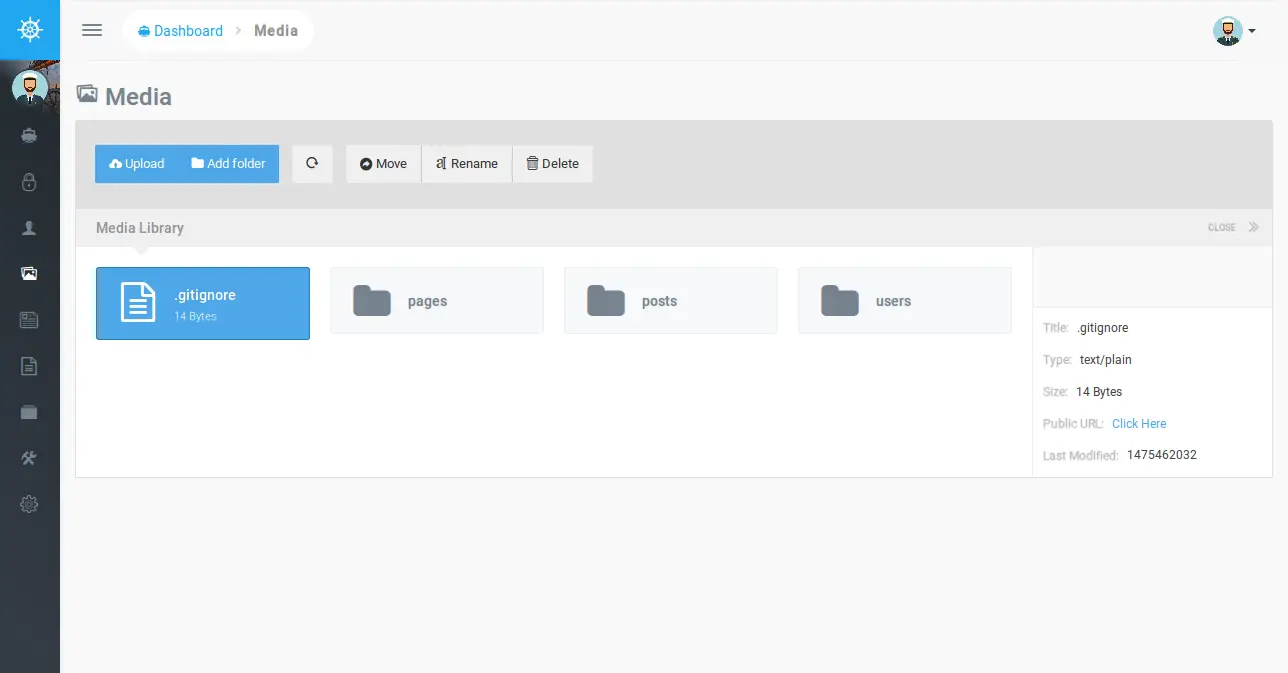
1.Media Manager
2.Menu Builder
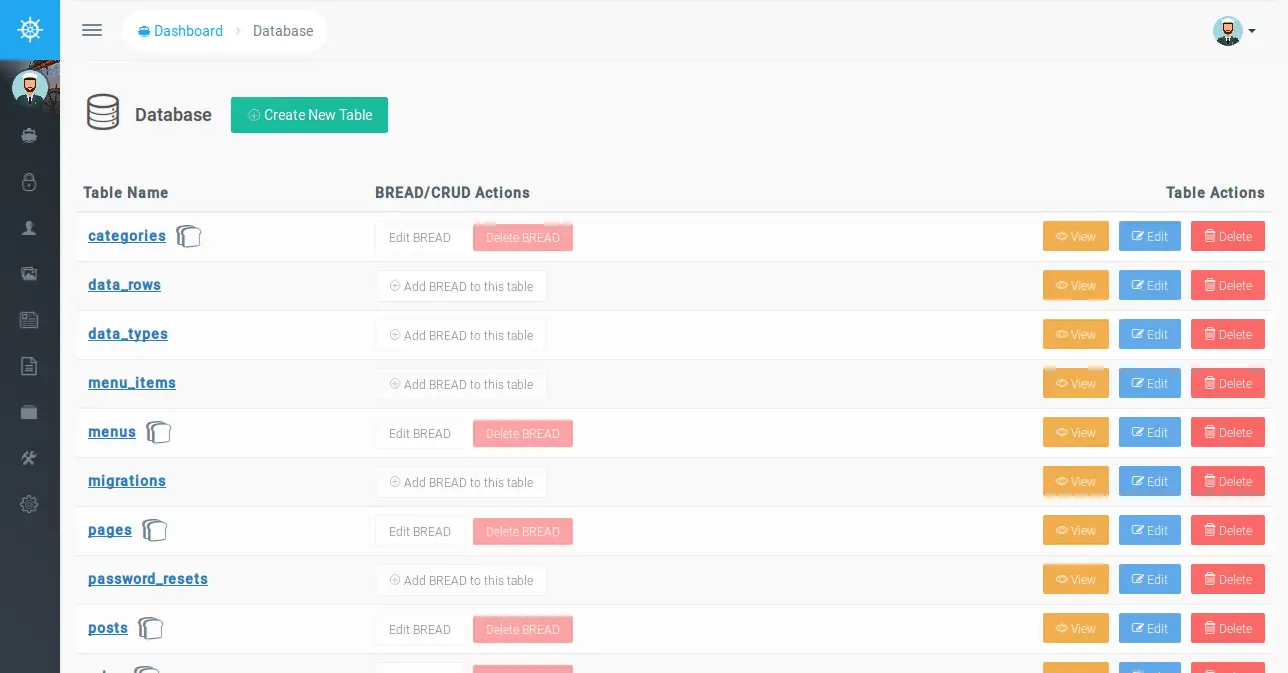
3.Database Manager
4.CRUD Builder
5.Setting Module
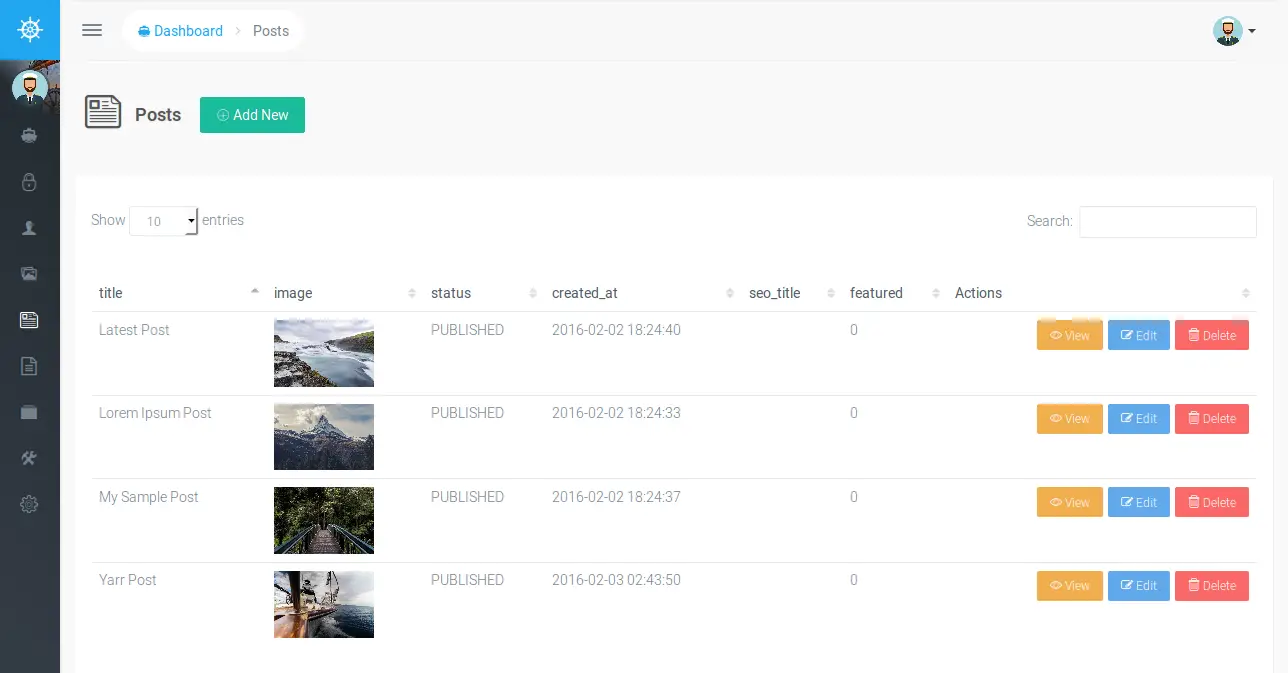
voyager package also provide several functionality, So In this tutorial we will implement admin panel only in six step, You have to just follow six step and you will find admin panel like as bellow screen shot, I also added more on bellow of tutorial:
Preview:

Step 1 : Install Laravel Application
This tutorial is from scratch, So we require to get fresh Laravel application using bellow command, So open your terminal OR command prompt and run bellow command:
composer create-project --prefer-dist laravel/laravel blog
Step 2 : Install voyager Package
Ok, now on second step we require to get voyager package using composer command, In this package through we can generate quick admin panel, So run bellow command:
composer require tcg/voyager
Step 3 : Database Configuration
In third step, we require to make database configuration, you have to add following details on your .env file.
1.Database Username
1.Database Password
1.Database Name
In .env file also available host and port details, you can configure all details as in your system, So you can put like as bellow:
.env
DB_HOST=localhost
DB_DATABASE=homestead
DB_USERNAME=homestead
DB_PASSWORD=secret
Step 4 : Add ServiceProvider
Ok, now we require to add service provider On app.php file, We have to add two serviceprovider, one for voyager and second for intervention image, So let's add both service provider on app.php file:
config/app.php
.....
'providers' => [
....
TCG\Voyager\VoyagerServiceProvider::class,
Intervention\Image\ImageServiceProvider::class,
]
.....
Step 5 : Install Voyager
Now, we will install Voyager in our application, After installation we have several defaults table and also they will create one admin user, So run bellow command for install Voyager:
php artisan voyager:install
Step 6 : Make Setting File
this step is optional but it's require if you want to customize your laravel application, In this step you have to run bellow command and you will find new file config/voyager.php for customize changes.
So, let's run bellow command:
php artisan vendor:publish --tag=voyager_assets --force
Ok, So finally we are ready to run our admin panel, So let's run bellow command for quick run laravel project:
php artisan serve
Ok, now open you browser and open bellow link:
http://localhost:8000/admin/login
You will have default email and password as listed bellow:
email: admin@admin.com
password: password
Ok, you can see also there are more screen shot of admin panel here:


You can also see video for how to install voyager package here:
Video:
You can get more information about voyager package from here : voyager site.
I hope it can help you....

