How to use Sqlite Database in Laravel?
Hi Artisan,
In this guide, we are going to learn how to use sqlite database in laravel. This post will give you a simple example of laravel database sqlite connection. we will help you to give an example of laravel sqlite database path. we will help you to give an example of laravel db_connection sqlite.
Laravel typically utilizes MySQL as its default database connection. However, if you wish to employ an SQLite database, you can easily configure Laravel to do so. In the following steps, I'll explain how to establish a connection to an SQLite database in Laravel. Let's get started.
You can use this example for sqlite database with laravel 6, laravel 7, laravel 8, laravel 9, laravel 10 and laravel 11 versions.
Step 1: Install Laravel
This step is not required; however, if you have not created the laravel app, then you may go ahead and execute the below command:
composer create-project laravel/laravel example-app
Step 2: Install php-sqlite3 Extension
In order to establish a connection with an SQLite database using PHP, you'll need to install the php-sqlite3 extension. You can do this by executing the following command:
sudo apt-get install php-sqlite3
You can install sqlite3 extension with specific php version.
sudo apt-get install php8.1-sqlite3
Step 3: Database Configuration
Now, we need to change database connection on .env file. you can change it as like the following .env file code:
.env
DB_CONNECTION=sqlite
DB_HOST=127.0.0.1
DB_PORT=3306
DB_DATABASE=db_laravel.sqlite
DB_USERNAME=root
DB_PASSWORD=root
Next, we will change database key value in sqlite connections as like the below:
config/database.php
...
'connections' => [
'sqlite' => [
...
'database' => database_path(env('DB_DATABASE')),
...
],
Now, we are ready to run migration command:
php artisan migrate
You will able to see db_laravel.sqlite file in database folder as like the following screenshot.
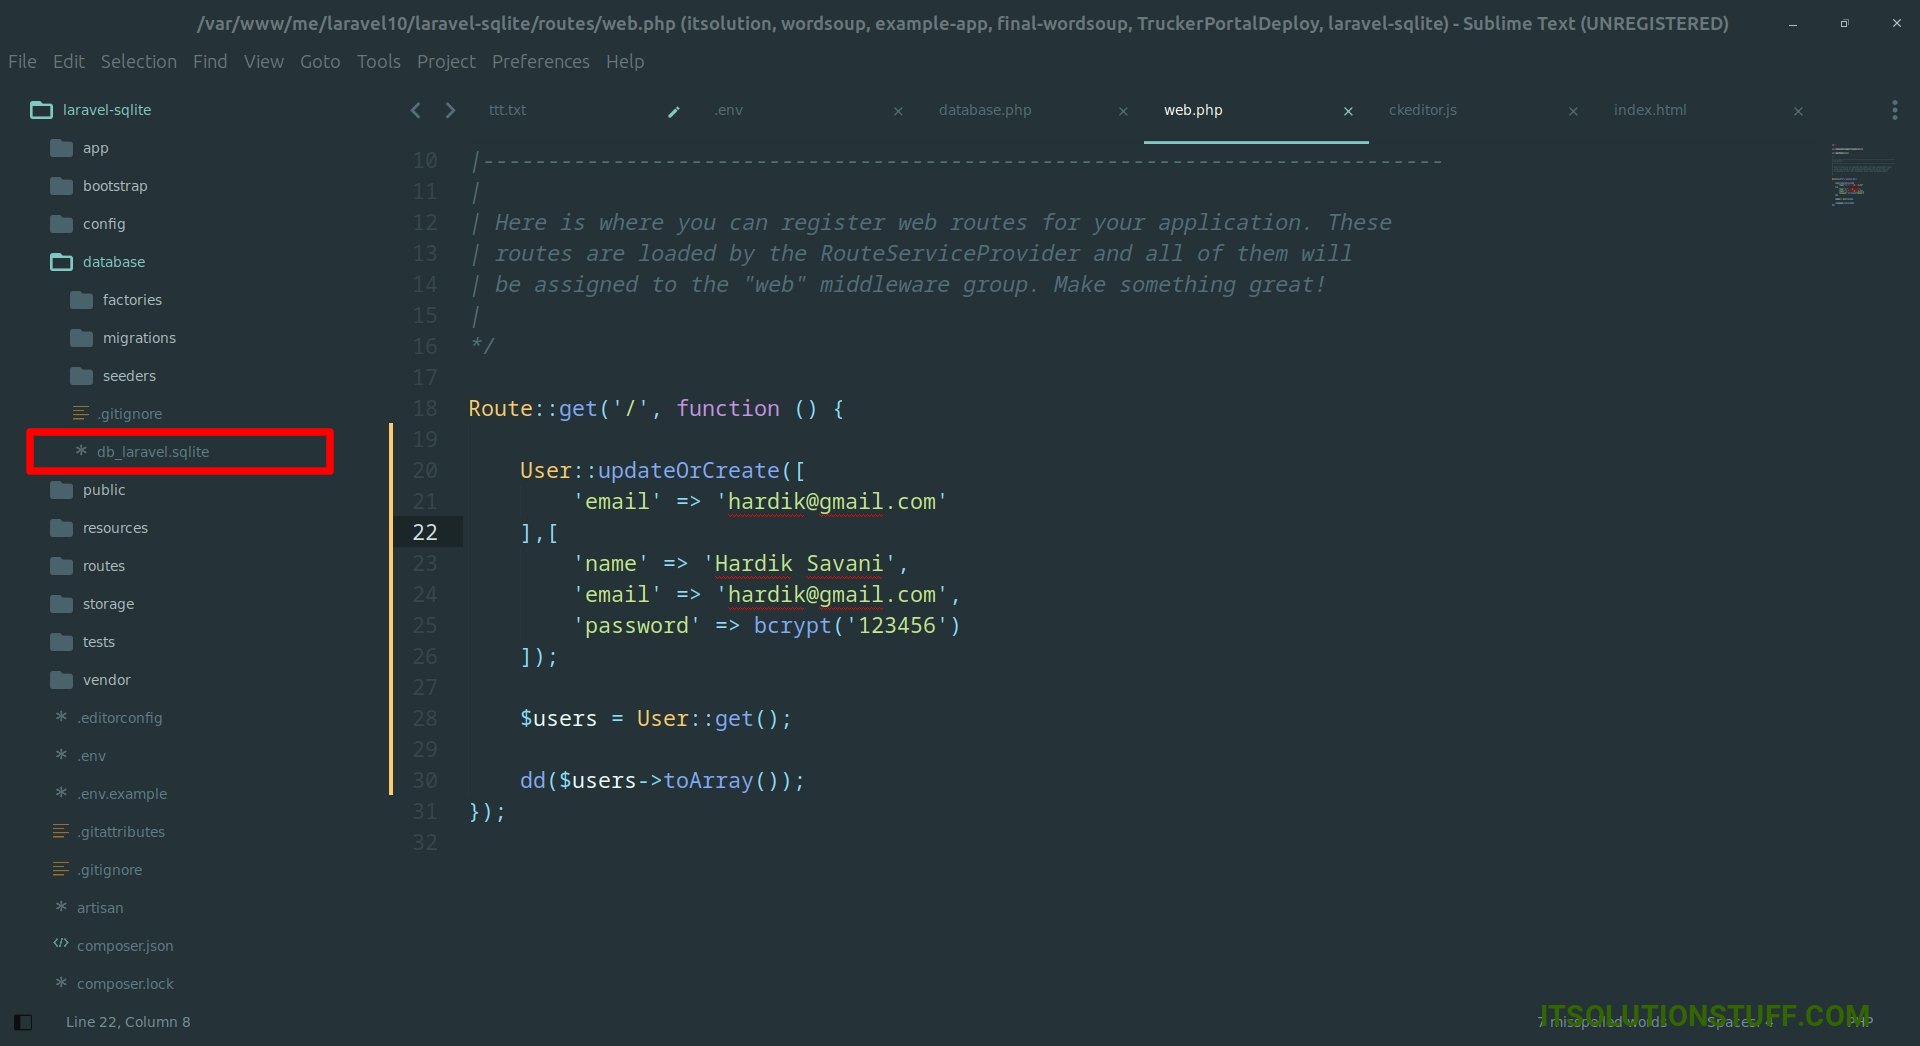
Step 4: Create Route
Furthermore, open routes/web.php file and update code on it.
routes/web.php
<?php
use Illuminate\Support\Facades\Route;
use App\Models\User;
/*
|--------------------------------------------------------------------------
| Web Routes
|--------------------------------------------------------------------------
|
| Here is where you can register web routes for your application. These
| routes are loaded by the RouteServiceProvider and all of them will
| be assigned to the "web" middleware group. Make something great!
|
*/
Route::get('/', function () {
User::updateOrCreate([
'email' => 'hardik@gmail.com'
],[
'name' => 'Hardik Savani',
'email' => 'hardik@gmail.com',
'password' => bcrypt('123456')
]);
$users = User::get();
dd($users->toArray());
});
Run Laravel App:
All the required steps have been done, now you have to type the given below command and hit enter to run the Laravel app:
php artisan serve
Now, Go to your web browser, type the given URL and view the app output:
http://localhost:8000/
Output:
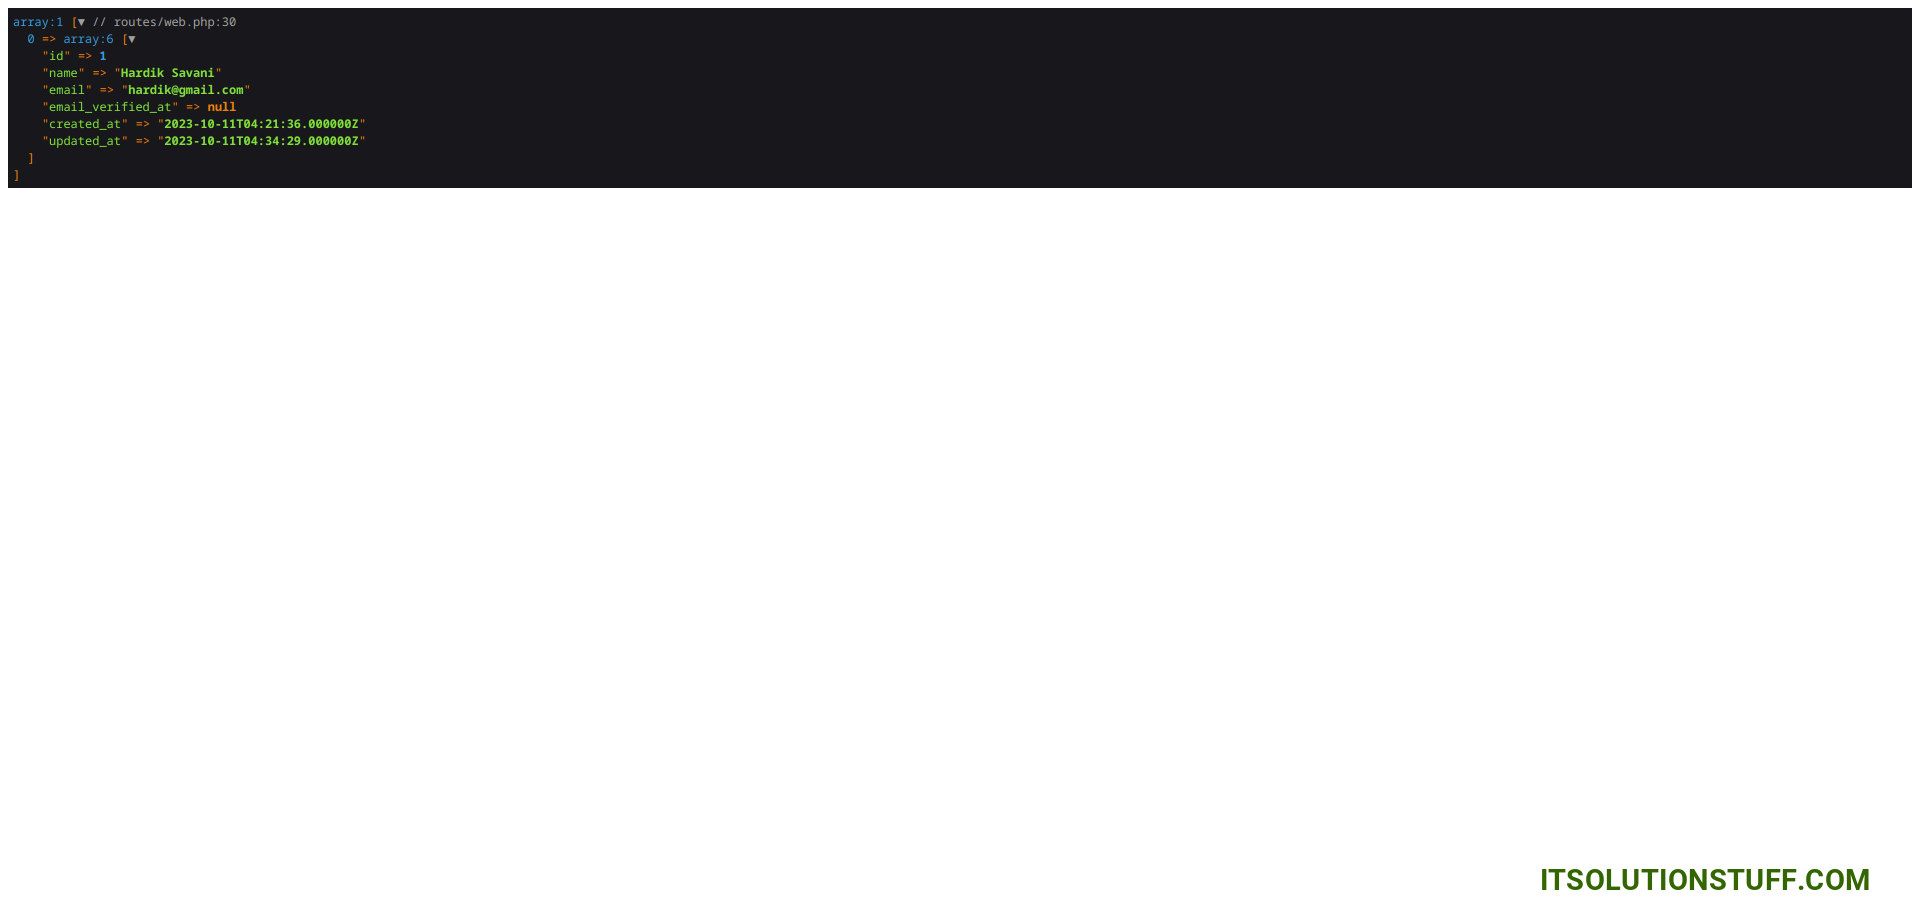
I hope it can help you...

