How to Use Google Translator in Laravel?
Hey Friends,
Now, let's see a tutorial on how to use google translator in laravel. Here you will learn laravel google translate package. In this article, we will implement a how to use google translate api in laravel. It's a simple example of laravel google translate multi language website. follow the below step for laravel multi language google translate.
Google Translate library used for multi language website without entering manually the translation of your website words. Laravel also provide multi language website using localization but you need to add every work on a configuration file. so using google translate you don't have to do anything.
In this example, I will show you step by step how to install google translate in laravel and you don't need to add any API key also. we will use stichoza/google-translate-php composer package. we will create a simple website page with a language dropdown. then you can switch languages from there and the content will display in the selected language. Without any further ado, let's see below code example steps.
You can use this example with laravel 6, laravel 7, laravel 8, laravel 9, laravel 10 and laravel 11 version.
Step 1: Install Laravel 9
This is optional; however, if you have not created the laravel app, then you may go ahead and execute the below command:
composer create-project laravel/laravel example-app
Step 2: Install Google Translate Package
In this step, we will install stichoza/google-translate-php composer package and add aliase on config file.
Let's run the below command with the config file.
composer require stichoza/google-translate-php
let's add aliase on app.php file:
config/app.php
<?PHP
...
...
...
'aliases' => Facade::defaultAliases()->merge([
'GoogleTranslate' => Stichoza\GoogleTranslate\GoogleTranslate::class
])->toArray(),
];
Step 3: Create Routes
In this step, we will create two routes one for displaying the dashboard page with a language drop-down and another for you can change language logic.
so add the below routes.
routes/web.php
<?php
use Illuminate\Support\Facades\Route;
use App\Http\Controllers\LangController;
/*
|--------------------------------------------------------------------------
| Web Routes
|--------------------------------------------------------------------------
|
| Here is where you can register web routes for your application. These
| routes are loaded by the RouteServiceProvider within a group which
| contains the "web" middleware group. Now create something great!
|
*/
Route::get('lang/home', [LangController::class, 'index']);
Route::get('lang/change', [LangController::class, 'change'])->name('changeLang');
Step 4: Create LangController Controller
At this point, now we should create a new controller as LangController. this controller will manage layout and change language dynamically logic, so put the below content in the controller file:
app/Http/Controllers/LangController.php
<?php
namespace App\Http\Controllers;
use Illuminate\Http\Request;
use App;
class LangController extends Controller
{
/**
* Display a listing of the resource.
*
* @return \Illuminate\Http\Response
*/
public function index()
{
return view('lang');
}
/**
* Display a listing of the resource.
*
* @return \Illuminate\Http\Response
*/
public function change(Request $request)
{
App::setLocale($request->lang);
session()->put('locale', $request->lang);
return redirect()->back();
}
}
Step 5: Create View
In Last step, let's create lang.blade.php(resources/views/lang.blade.php) for layout and we will write design code here and put following code:
resources/views/lang.blade.php
<!DOCTYPE html>
<html>
<head>
<title>How to Create Multi Language Website in Laravel - ItSolutionStuff.com</title>
<meta charset="utf-8">
<meta http-equiv="X-UA-Compatible" content="IE=edge">
<meta name="viewport" content="width=device-width, initial-scale=1">
<link href="https://cdn.jsdelivr.net/npm/bootstrap@5.0.2/dist/css/bootstrap.min.css" rel="stylesheet" integrity="sha384-EVSTQN3/azprG1Anm3QDgpJLIm9Nao0Yz1ztcQTwFspd3yD65VohhpuuCOmLASjC" crossorigin="anonymous">
<script src="https://cdnjs.cloudflare.com/ajax/libs/jquery/3.5.1/jquery.min.js"></script>
</head>
<body>
<div class="container">
<div class="card">
<div class="card-header">
<h1>Laravel Google Translate Example - ItSolutionStuff.com</h1>
</div>
<div class="card-body">
<div class="row">
<div class="col-md-2">
<strong>Select Language: </strong>
</div>
<div class="col-md-4">
<select class="form-select changeLang">
<option value="en" {{ session()->get('locale') == 'en' ? 'selected' : '' }}>English</option>
<option value="fr" {{ session()->get('locale') == 'fr' ? 'selected' : '' }}>France</option>
<option value="es" {{ session()->get('locale') == 'es' ? 'selected' : '' }}>Spanish</option>
</select>
</div>
</div>
<h3>{{ GoogleTranslate::trans('Welcome to ItSolutionStuff.com', app()->getLocale()) }}</h3>
<h3>{{ GoogleTranslate::trans('Hello World', app()->getLocale()) }}</h3>
</div>
</div>
</div>
</body>
<script type="text/javascript">
var url = "{{ route('changeLang') }}";
$(".changeLang").change(function(){
window.location.href = url + "?lang="+ $(this).val();
});
</script>
</html>
Step 6: Create Middleware
In this file, we need to create one middleware that will manage the dynamic language that we selected on the dropdown. so let's create middleware using the bellow language.
php artisan make:middleware LanguageManager
Now you have to update the middleware file like below:
app/Http/Middleware/LanguageManager.php
<?php
namespace App\Http\Middleware;
use Closure;
use App;
class LanguageManager
{
/**
* Handle an incoming request.
*
* @param \Illuminate\Http\Request $request
* @param \Closure $next
* @return mixed
*/
public function handle($request, Closure $next)
{
if (session()->has('locale')) {
App::setLocale(session()->get('locale'));
}
return $next($request);
}
}
Now we need to register it to the kernel file. so let's add it as below:
app/Http/Kernel.php
<?php
namespace App\Http;
use Illuminate\Foundation\Http\Kernel as HttpKernel;
class Kernel extends HttpKernel
{
....
/**
* The application's route middleware groups.
*
* @var array
*/
protected $middlewareGroups = [
'web' => [
\App\Http\Middleware\EncryptCookies::class,
\Illuminate\Cookie\Middleware\AddQueuedCookiesToResponse::class,
\Illuminate\Session\Middleware\StartSession::class,
\Illuminate\View\Middleware\ShareErrorsFromSession::class,
\App\Http\Middleware\VerifyCsrfToken::class,
\Illuminate\Routing\Middleware\SubstituteBindings::class,
\App\Http\Middleware\LanguageManager::class,
],
'api' => [
'throttle:60,1',
\Illuminate\Routing\Middleware\SubstituteBindings::class,
],
];
...
Run Laravel App:
All the required steps have been done, now you have to type the given below command and hit enter to run the Laravel app:
php artisan serve
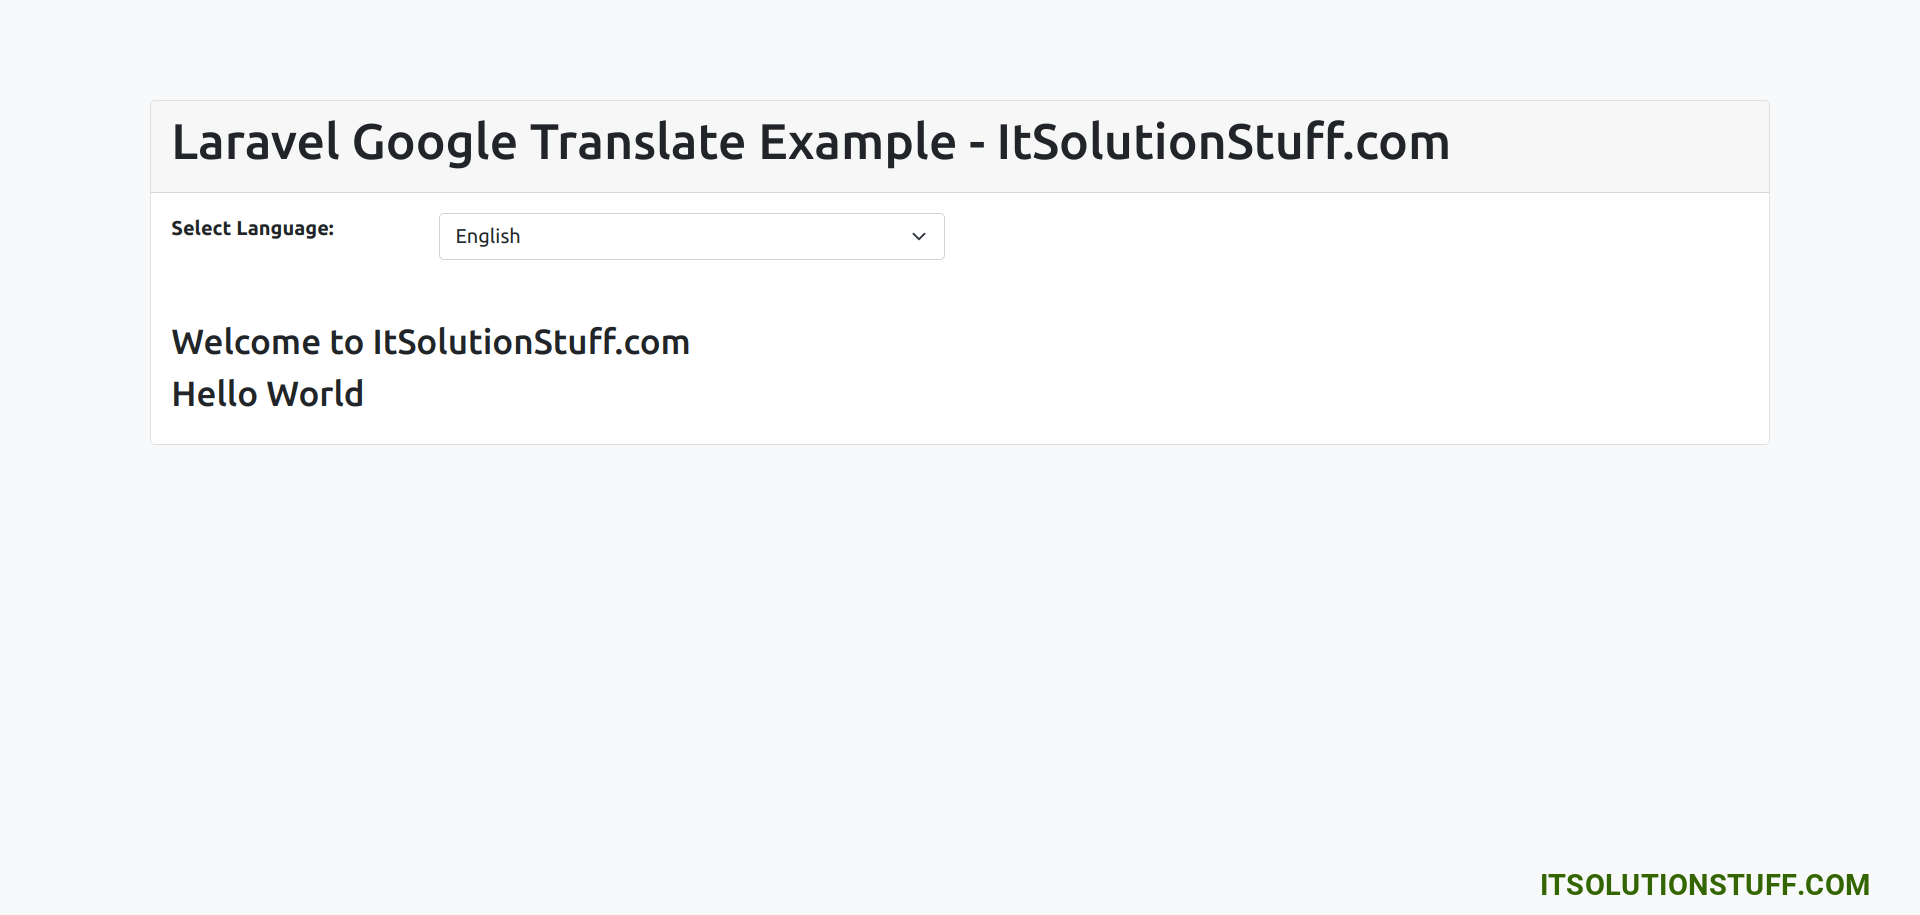
Now, Go to your web browser, type the given URL and view the app output:
http://localhost:8000/lang/home
English Language:
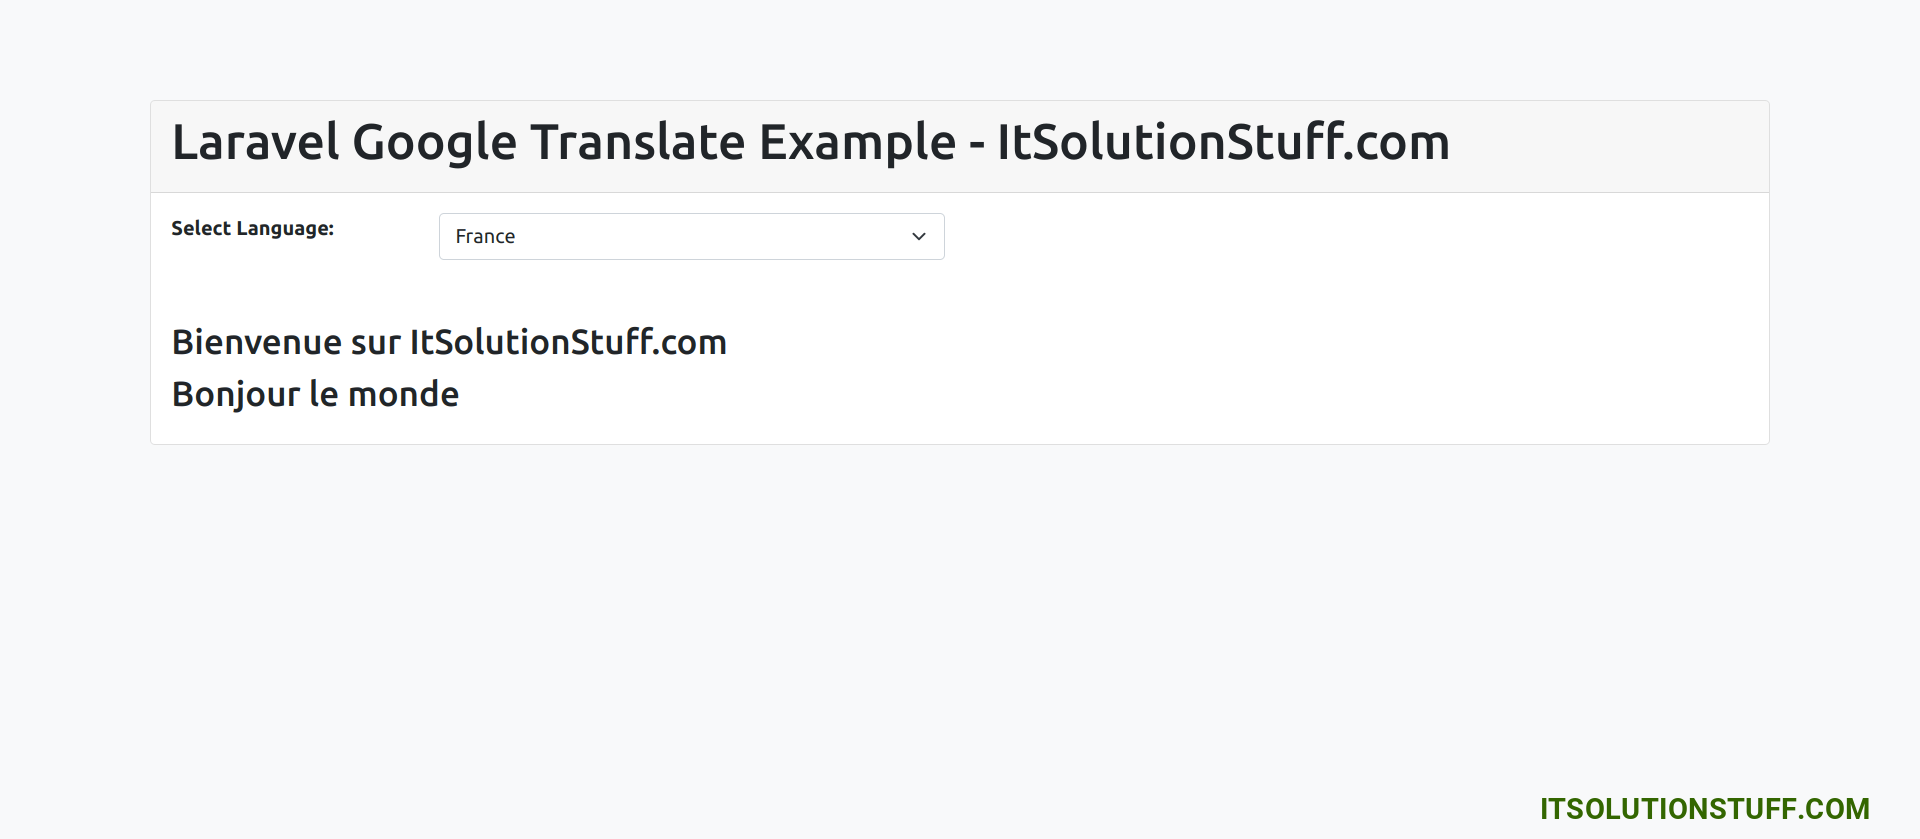
Franch Language:
Spanish Language:

I hope it can help you...

