How to Clone Laravel Project from Github on Server?
Hello Dev,
This tutorial will give you example of how to clone laravel project from github. let’s discuss about steps to clone laravel project from github. I explained simply about clone laravel project from github. This article goes in detailed on clone laravel project from github on server.
In this tutorial, i will show you step by step how to clone laravel project from github, gitlab or bitbucket and setup in ubuntu server from scratch. you can easily clone laravel 6, laravel 7, laravel 8, laravel 9, laravel 10 and laravel 11 project from this post.
So, let's follow bellow step by step and get done with clone laravel app.
Step 1: Install Apache
Update Local Package:
sudo apt update
Install apache2 Package:
sudo apt install apache2
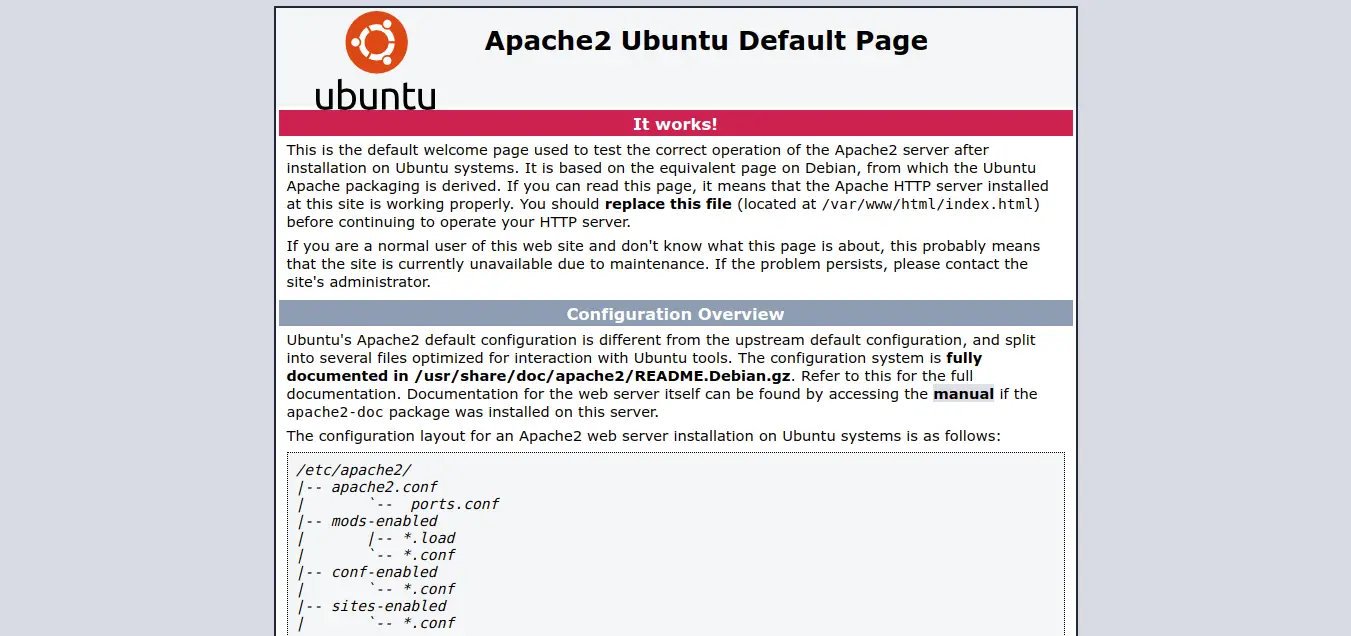
After install successfully apache2, you can go to browser and check your IP as like bellow and layout:
http://your_server_ip
OR
http://localhost
Output:
Step 2: Install PHP
Install software-properties-common:
sudo apt install software-properties-common
Add the ondrej/php PPA:
sudo add-apt-repository ppa:ondrej/php
Update Local Package:
sudo apt update
Install PHP:
sudo apt install php libapache2-mod-php php-mbstring php-cli php-bcmath php-json php-xml php-zip php-pdo php-common php-tokenizer php-mysql
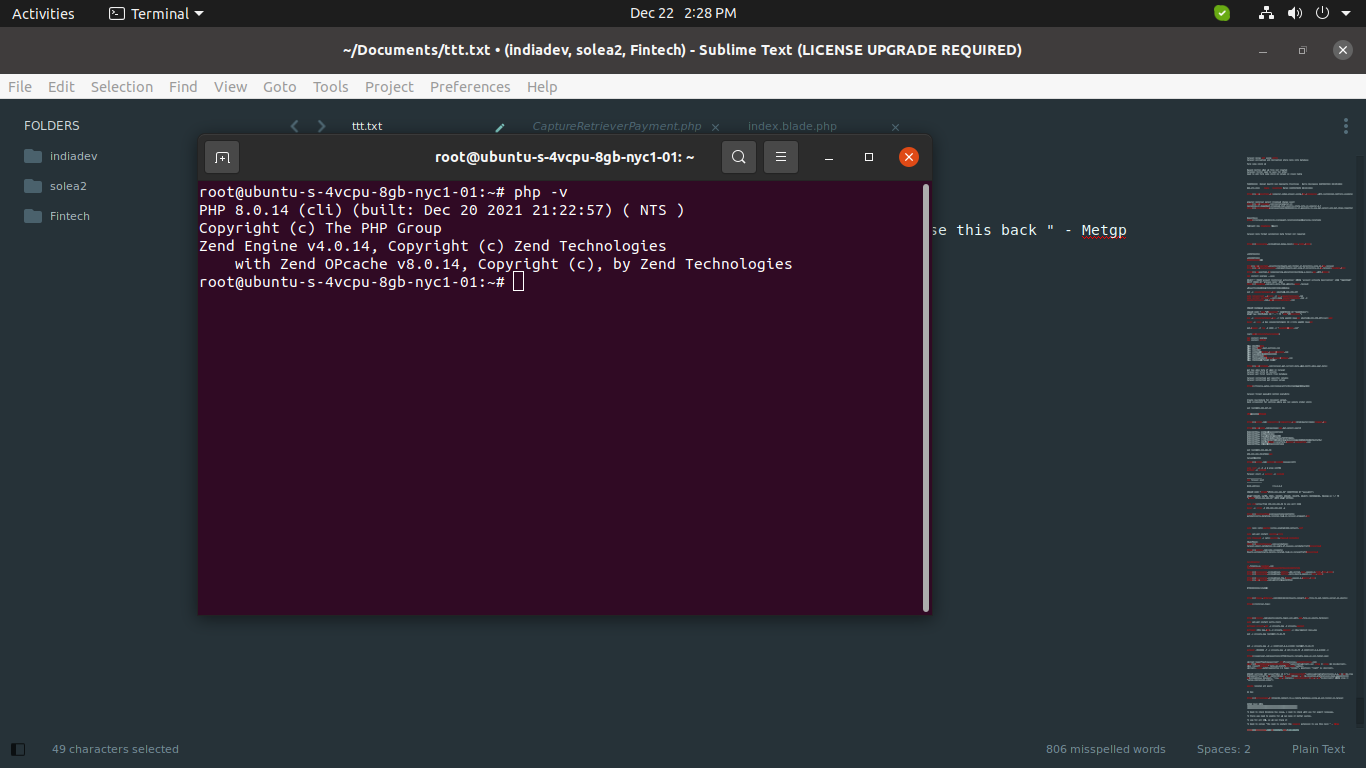
Now you can check php version by following command:
php -v
you can see terminal layout as bellow:
Set DirectoryIndex on Apache:
you have to set default index.php file for run. so let's run bellow command and update file:
sudo nano /etc/apache2/mods-enabled/dir.conf
/etc/apache2/mods-enabled/dir.conf
<IfModule mod_dir.c>
DirectoryIndex index.php index.html index.cgi index.pl index.xhtml index.htm
</IfModule>
Now let's restart apache server:
sudo systemctl reload apache2
Step 3: Install MySQL
Install MySQL Server:
sudo apt install mysql-server
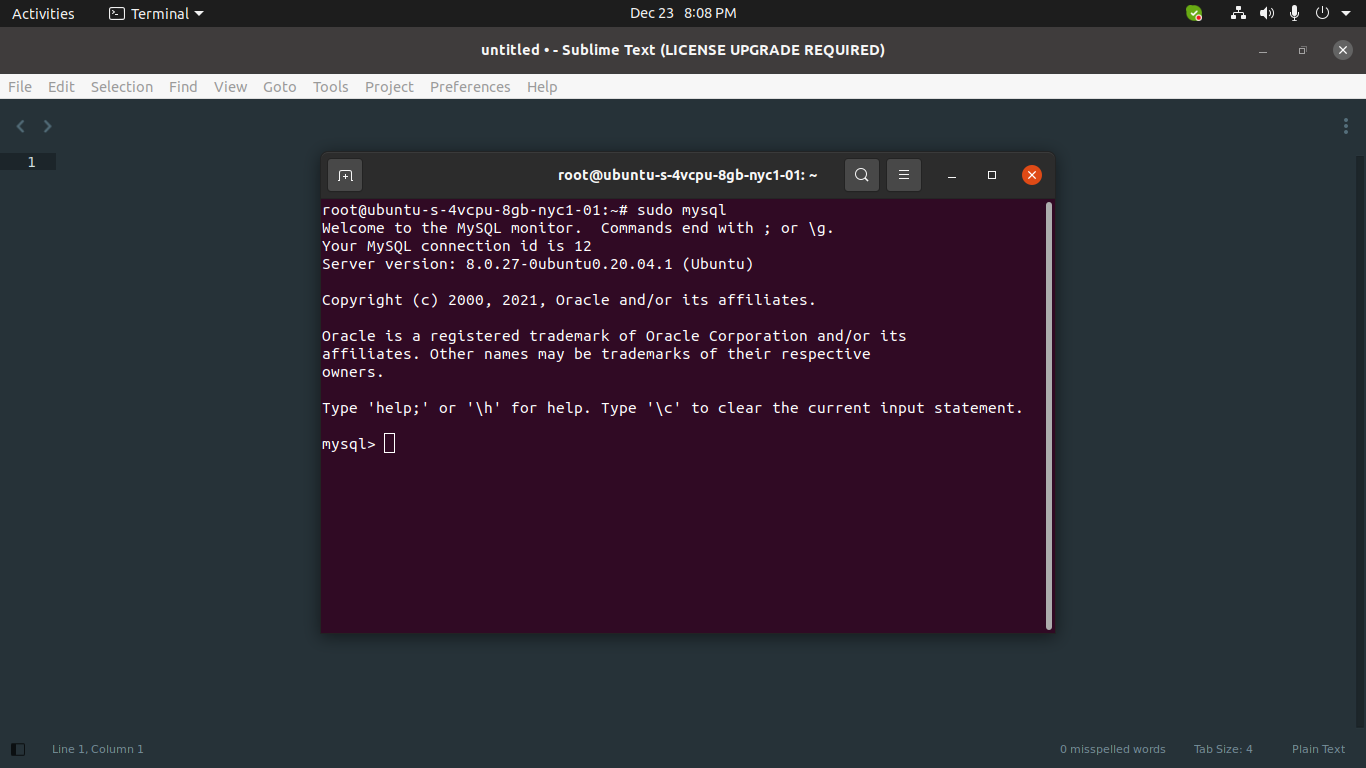
Access MySQL:
Now you can access mysql by using mysql command:
sudo mysql
OR
mysql -u root
you can see terminal layout as bellow:
Create User on MySQL:
you can create new user for mysql by using following query:
mysql -u root -p
CREATE USER 'demo'@'localhost' IDENTIFIED BY 'rootnewpassword';
GRANT ALL PRIVILEGES ON * . * TO 'demo'@'localhost';
FLUSH PRIVILEGES;
Create Database on MySQL:
CREATE DATABASE laravel_demo;
Step 4: Install Composer
Download Composer:
curl -sS https://getcomposer.org/installer -o /tmp/composer-setup.php
Move Composer:
sudo php /tmp/composer-setup.php --install-dir=/usr/local/bin --filename=composer
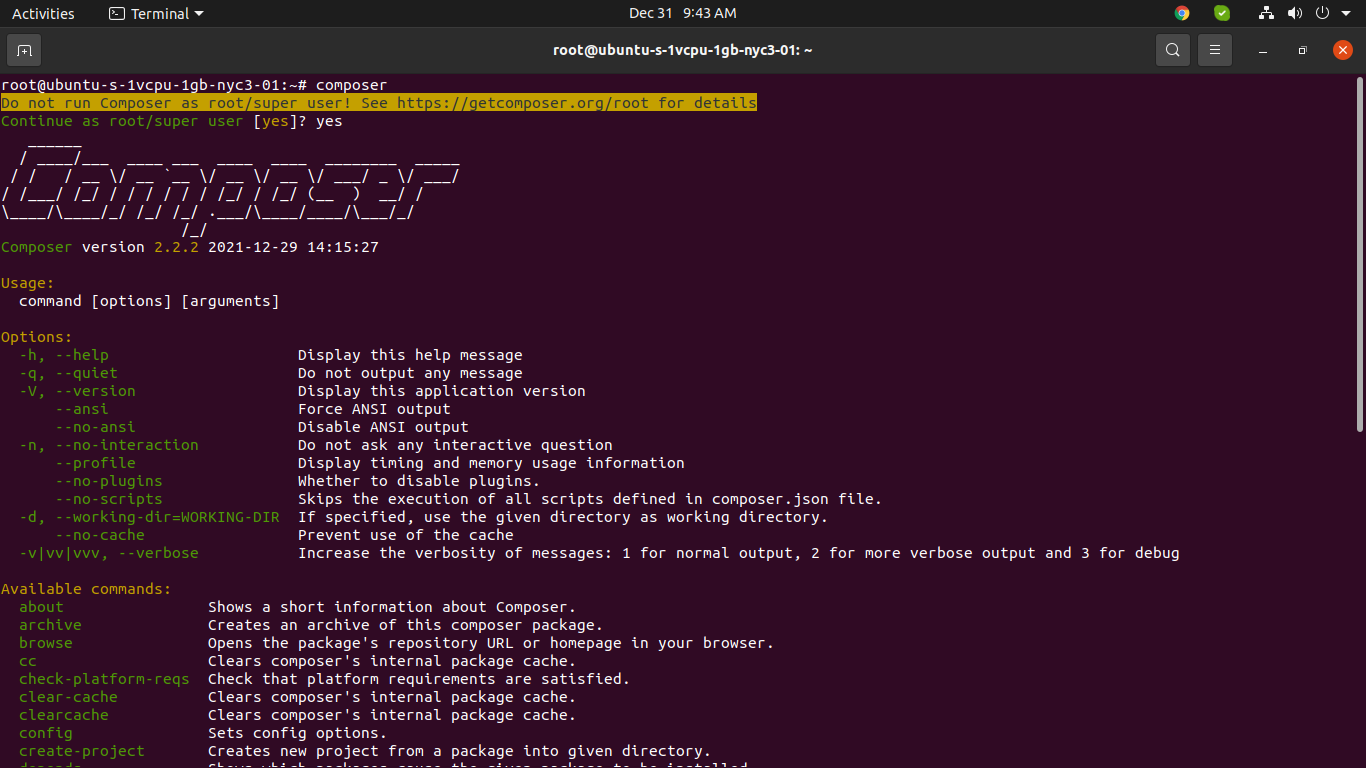
Composer Command:
composer
you can see composer command layout:
Step 5: Clone Laravel App
Setup SSH Key with Github or Gitlab:
Before clone laravel app, we must need to install git and setup with ssh key. so you can setup ssh key from bellow links:
How to Generate and Add SSH Key in Github?
How to Generate and Add SSH Key in Gitlab?
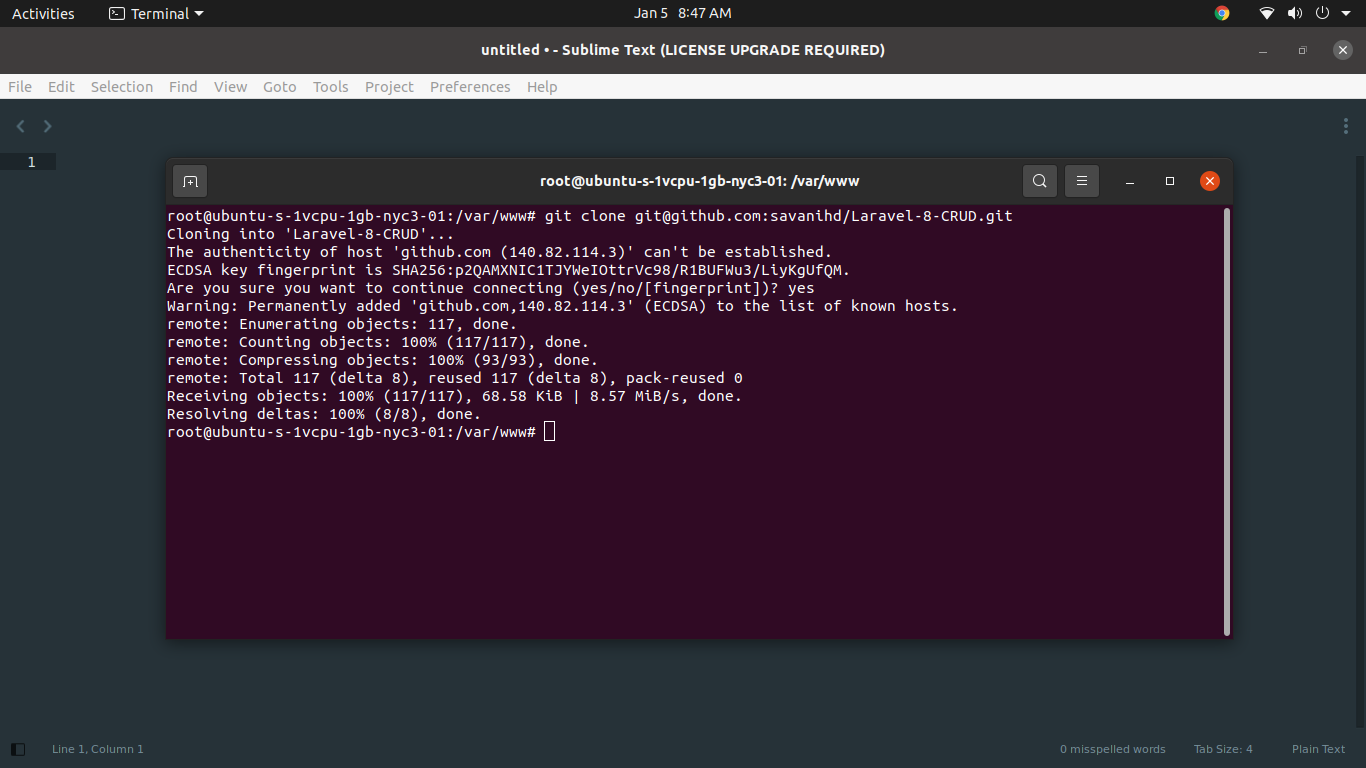
Clone Repository:
now, we are ready to clone laravel app using git command, so let's go to www directory and install laravel app:
cd /var/www
now let's add following command for clone laravel app laravel app:
git clone git@github.com:savanihd/Laravel-8-CRUD.git
Output:
Next, you must need to give permission to storage folder inside demo project folder as like bellow:
sudo chmod -R 777 /var/www/html/Laravel-8-CRUD/storage
Next, let's install composer using bellow command:
composer install
Next, we will copy .env from .env.example for configuration so let's run bellow command:
cp .env.example .env
now you can update database configuration on that file as like bellow:
.env
...
DB_DATABASE=laravel_demo
DB_USERNAME=demo
DB_PASSWORD=demo123456
...
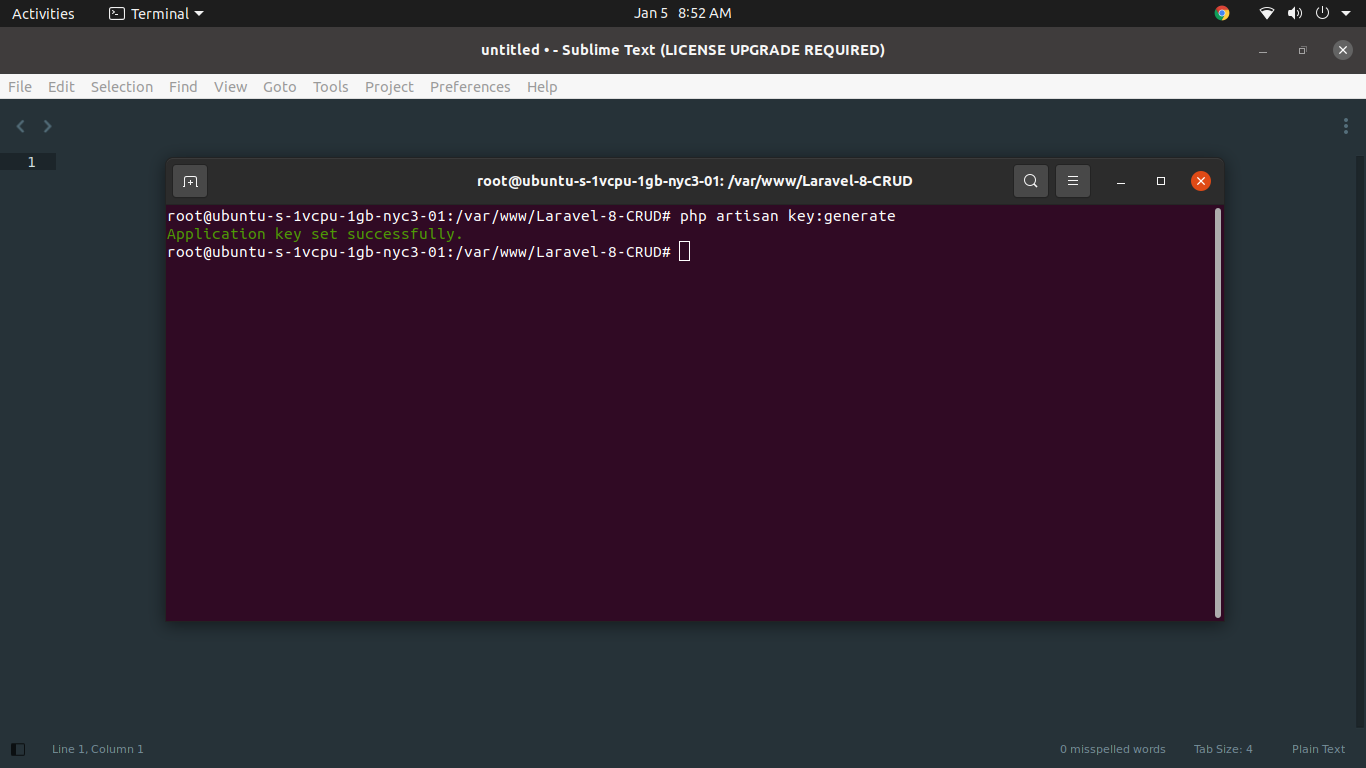
Next, we will generate key using bellow command:
php artisan key:generate
Now, it's optional command. you can run migration and seeder command as like bellow:
php artisan migrate
php artisan db:seed
Next, we need to change default folder path on apache for laravel app. so let's change default config file as bellow:
sudo nano /etc/apache2/sites-available/000-default.conf
<VirtualHost *:80>
# The ServerName directive sets the request scheme, hostname and port that
# the server uses to identify itself. This is used when creating
# redirection URLs. In the context of virtual hosts, the ServerName
# specifies what hostname must appear in the request's Host: header to
# match this virtual host. For the default virtual host (this file) this
# value is not decisive as it is used as a last resort host regardless.
# However, you must set it for any further virtual host explicitly.
#ServerName www.example.com
ServerAdmin webmaster@localhost
DocumentRoot /var/www/Laravel-8-CRUD/public
# Available loglevels: trace8, ..., trace1, debug, info, notice, warn,
# error, crit, alert, emerg.
# It is also possible to configure the loglevel for particular
# modules, e.g.
#LogLevel info ssl:warn
ErrorLog ${APACHE_LOG_DIR}/error.log
CustomLog ${APACHE_LOG_DIR}/access.log combined
# For most configuration files from conf-available/, which are
# enabled or disabled at a global level, it is possible to
# include a line for only one particular virtual host. For example the
# following line enables the CGI configuration for this host only
# after it has been globally disabled with "a2disconf".
#Include conf-available/serve-cgi-bin.conf
<Directory /var/www/html/Laravel-8-CRUD>
AllowOverride All
</Directory>
</VirtualHost>
Now, let's restart apache2.
sudo service apache2 reload
After install successfully, you can go to browser and check your IP as like bellow and layout:
http://your_server_ip
OR
http://localhost
Output:
I hope it can help you...

