Angular 11 Routing Tutorial with Example
Hello Dev,
Now, let's see post of angular 11 route example. you can see angular 11 nested route example. i explained simply step by step angular 11 routing example. We will look at example of nested routing in angular 11. Alright, let’s dive into the steps.
I will give you two simple examples that will easily understand you to work work with angular 11 routing and angular 11 nested routes example.
If you are creating single page application or you need to work big application you must need to use routing system in your application. in this tutorial, i will give you step by step explanation for how to create simple route and sub route in angular 11.
Example 1: Creating Simple Route
In this step, we will create very simple example with simple component. so you need to run following command to install new angular app.
ng new appSimpleRoute
After run this command, terminal will ask you for creating route module and you need to make yes as like bellow:
hari@hari-pc:/var/www/me/ang$ ng new appRoute
? Would you like to add Angular routing? Yes
Ok, after installed successfully app. you can install bootstrap for your application because i used it. you can install it by this link: Install Bootstrap to Angular 11.
After bootstrap successfully. we have to setup for header and container, so let's updated app.component.html file:
src/app/app.component.html
<nav class="navbar navbar-expand-lg navbar-dark bg-primary">
<a class="navbar-brand" href="#">Angular 11 Nested Routing Example - ItSolutionStuff.com</a>
<div class="collapse navbar-collapse" id="navbarText">
<ul class="navbar-nav mr-auto">
<li class="nav-item">
<a class="nav-link" routerLink="/">Home</a>
</li>
<li class="nav-item">
<a class="nav-link" routerLink="/posts">Posts</a>
</li>
</ul>
</div>
</nav>
<div class="container">
<br/>
<router-outlet></router-outlet>
</div>
Now we need to create two component one for home and another for post. So let's run following command to create two component:
ng g c home
ng g c posts
After generating successfully both of component we will create simple route using both of component, so let's change on route module file:
src/app/app-routing.module.ts
import { NgModule } from '@angular/core';
import { Routes, RouterModule } from '@angular/router';
import { HomeComponent } from './home/home.component';
import { PostsComponent } from './posts/posts.component';
const routes: Routes = [
{
path: '',
component: HomeComponent
},
{
path: 'posts',
component: PostsComponent
}
];
@NgModule({
imports: [RouterModule.forRoot(routes)],
exports: [RouterModule]
})
export class AppRoutingModule { }
Now we can run simple created routes:
you can check it by following command:
ng serve
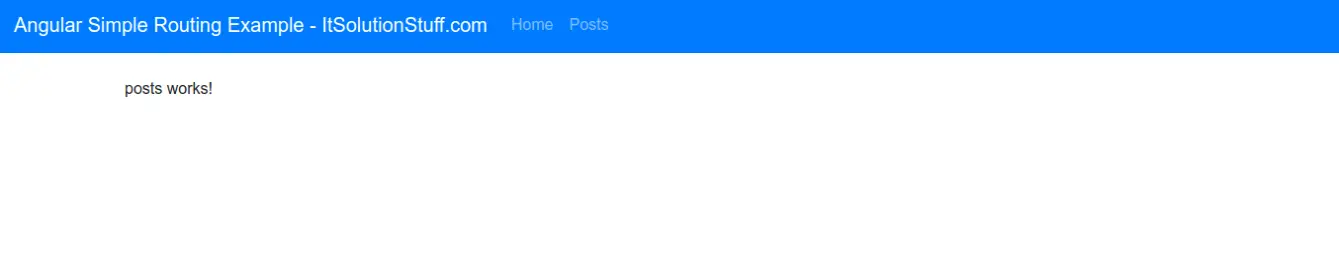
Now you can see layout as like bellow screen shot:
Example 2: Creating Nested Routes
In existing example, we will create child route for posts. so first of all we will create two more component with posts. we have to create component for post create and post detail. so you have to run following command:
ng g c posts/post-create
ng g c posts/post-detail
Now you can see you have total three component for posts, one for list, create and detail. so now you can register in route module as like bellow:
src/app/app-routing.module.ts
import { NgModule } from '@angular/core';
import { Routes, RouterModule } from '@angular/router';
import { HomeComponent } from './home/home.component';
import { PostsComponent } from './posts/posts.component';
import { PostCreateComponent } from './posts/post-create/post-create.component';
import { PostDetailComponent } from './posts/post-detail/post-detail.component';
const routes: Routes = [
{
path: '',
component: HomeComponent
},
{
path: 'posts',
children: [
{
path: '',
component: PostsComponent
},
{
path: 'create',
component: PostCreateComponent
},
{
path: 'detail',
component: PostDetailComponent
}
]
}
];
@NgModule({
imports: [RouterModule.forRoot(routes)],
exports: [RouterModule]
})
export class AppRoutingModule { }
Now simply we will just updated html component files so you can see better view, let's change as bellow:
src/app/home/home.component.html
<h1>Home Page (HomeComponent)</h1>
<p>home works!</p>
src/app/posts/posts.component.html
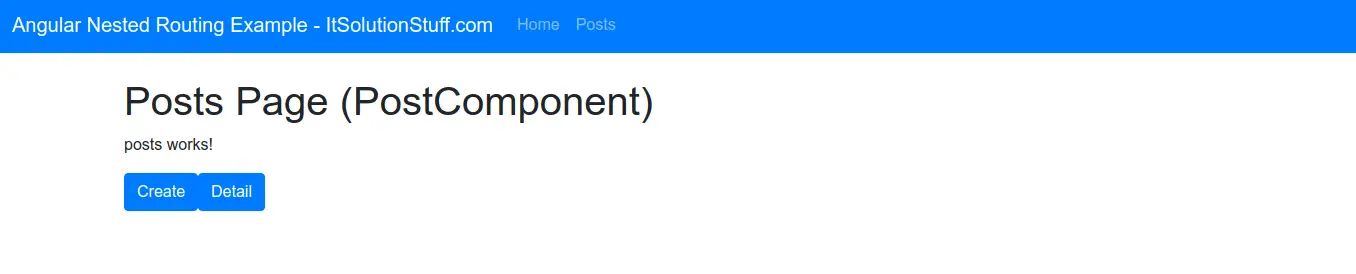
<h1>Posts Page (PostComponent)</h1>
<p>posts works!</p>
<a class="btn btn-primary" routerLink="/posts/create">Create</a>
<a class="btn btn-primary" routerLink="/posts/detail">Detail</a>
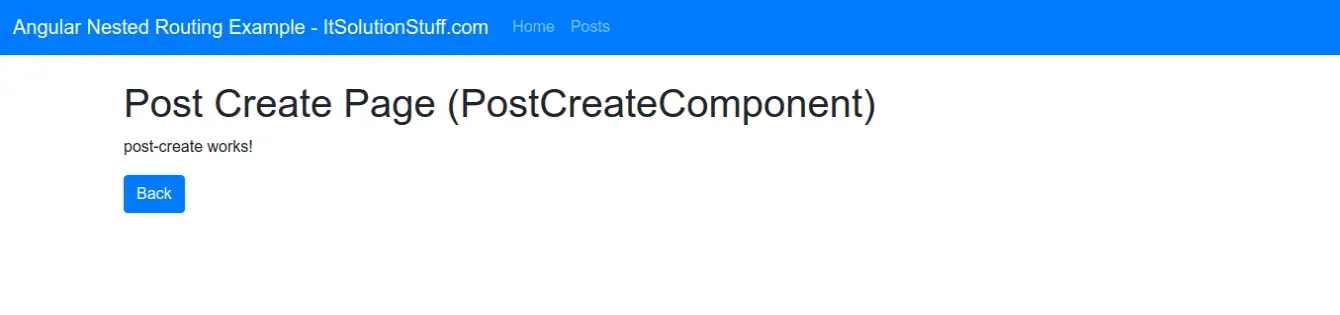
src/app/posts/post-create/post-create.component.html
<h1>Post Create Page (PostCreateComponent)</h1>
<p>post-create works!</p>
<a class="btn btn-primary" routerLink="/posts">Back</a>
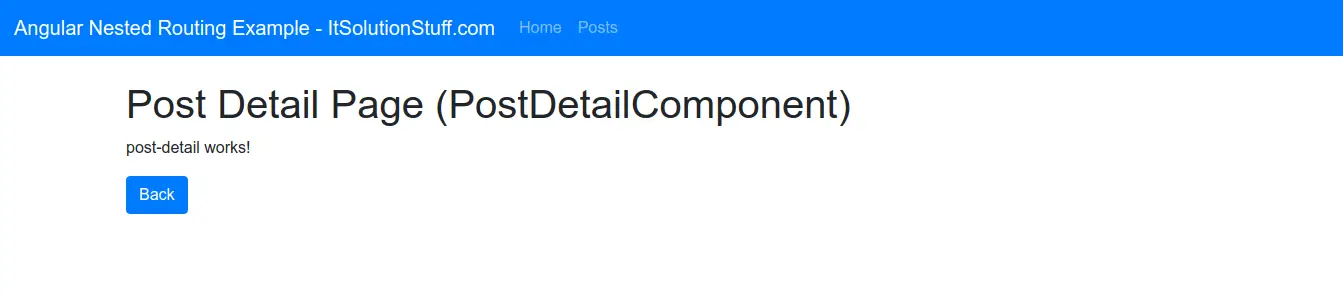
src/app/posts/post-detail/post-detail.component.html
<h1>Post Detail Page (PostDetailComponent)</h1>
<p>post-detail works!</p>
<a class="btn btn-primary" routerLink="/posts">Back</a>
you can check it by following command:
ng serve
Now you can see layout as like bellow screen shot:
Home Page

Post List Page
Post Create Page
Post Detail Page
I hope it can help you...

