Laravel Sweet Alert Confirm Delete Example
Hey,
This article goes in detailed on laravel sweet alert confirm delete example. Here you will learn laravel sweet alert delete confirmation. it's simple example of laravel delete record with confirmation sweet alert. if you have question about laravel sweet alert confirm delete example then i will give simple example with solution. Alright, let’s dive into the steps.
In this example, i will show you how to use sweet alert for delete confirmation in laravel app. you can also use sweet alert conform box with laravel 6, laravel 7, laravel 8, laravel 9, laravel 10 and laravel 11 version. here, we will display users list and add delete button. when you click on delete button it will confirm using sweet alert.
so let's follow bellow step and get done like as bellow screenshot.
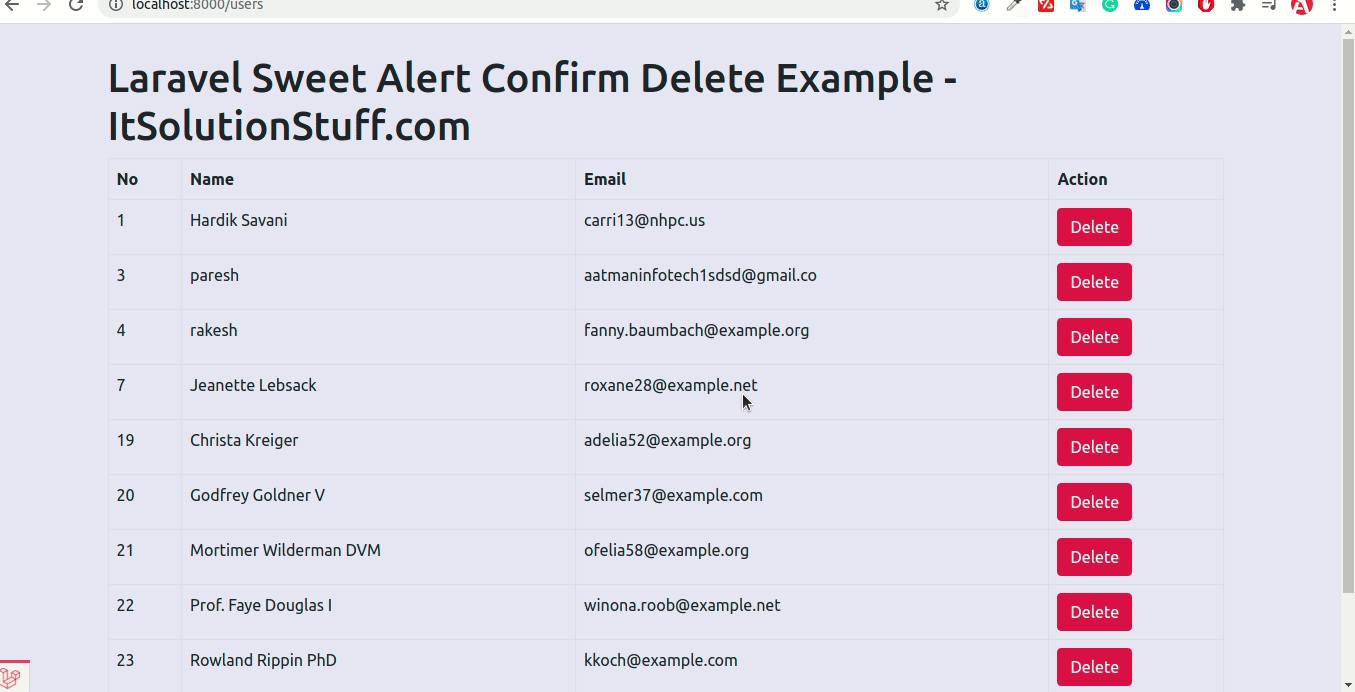
Preview:
Step 1: Install Laravel
first of all we need to get fresh Laravel 8 version application using bellow command, So open your terminal OR command prompt and run bellow command:
composer create-project --prefer-dist laravel/laravel blog
Step 2: Add Dummy Users
In this step, we need to create add some dummy users using factory.
php artisan tinker
User::factory()->count(10)->create()
Step 3: Create Route
In this is step we need to create some routes for add to cart function.
routes/web.php
<?php
use Illuminate\Support\Facades\Route;
use App\Http\Controllers\UserController;
/*
|--------------------------------------------------------------------------
| Web Routes
|--------------------------------------------------------------------------
|
| Here is where you can register web routes for your application. These
| routes are loaded by the RouteServiceProvider within a group which
| contains the "web" middleware group. Now create something great!
|
*/
Route::get('users', [UserController::class, 'index'])->name('users.index');
Route::delete('users/{id}', [UserController::class, 'delete'])->name('users.delete');
Step 4: Create Controller
in this step, we need to create UserController and add following code on that file:
app/Http/Controllers/UserController.php
<?php
namespace App\Http\Controllers;
use Illuminate\Http\Request;
use App\Models\User;
class UserController extends Controller
{
/**
* Display a listing of the resource.
*
* @return \Illuminate\Http\Response
*/
public function index(Request $request)
{
$users = User::select("*")->paginate(10);
return view('users', compact('users'));
}
/**
* Write code on Method
*
* @return response()
*/
public function delete($id)
{
User::find($id)->delete();
return back();
}
}
Step 5: Create Blade Files
here, we need to create blade files for users, products and cart page. so let's create one by one files:
resources/views/users.blade.php
<!DOCTYPE html>
<html>
<head>
<title>Laravel Sweet Alert Confirm Delete Example - ItSolutionStuff.com</title>
<meta name="csrf-token" content="{{ csrf_token() }}">
<link href="https://cdn.jsdelivr.net/npm/bootstrap@5.0.2/dist/css/bootstrap.min.css" rel="stylesheet">
<script src="//ajax.googleapis.com/ajax/libs/jquery/1.11.3/jquery.min.js"></script>
</head>
<body>
<div class="container">
<h1>Laravel Sweet Alert Confirm Delete Example - ItSolutionStuff.com</h1>
<table class="table table-bordered data-table">
<thead>
<tr>
<th>No</th>
<th>Name</th>
<th>Email</th>
<th>Action</th>
</tr>
</thead>
<tbody>
@foreach($users as $user)
<tr>
<td>{{ $user->id }}</td>
<td>{{ $user->name }}</td>
<td>{{ $user->email }}</td>
<td>
<form method="POST" action="{{ route('users.delete', $user->id) }}">
@csrf
<input name="_method" type="hidden" value="DELETE">
<button type="submit" class="btn btn-xs btn-danger btn-flat show_confirm" data-toggle="tooltip" title='Delete'>Delete</button>
</form>
</td>
</tr>
@endforeach
</tbody>
</table>
</div>
</body>
<script src="https://cdnjs.cloudflare.com/ajax/libs/sweetalert/2.1.0/sweetalert.min.js"></script>
<script type="text/javascript">
$('.show_confirm').click(function(event) {
var form = $(this).closest("form");
var name = $(this).data("name");
event.preventDefault();
swal({
title: `Are you sure you want to delete this record?`,
text: "If you delete this, it will be gone forever.",
icon: "warning",
buttons: true,
dangerMode: true,
})
.then((willDelete) => {
if (willDelete) {
form.submit();
}
});
});
</script>
</html>
Now we are ready to run our example so run bellow command so quick run:
php artisan serve
Now you can open bellow URL on your browser:
localhost:8000/users
i hope it can help you...

