Laravel Notify Flash Messages using Laravel Notify Example
In this tutorial, I will show you how to setup flash messages using laravel notify package in laravel application.
In a Laravel project, we often need to set up flash messages with sessions to show users success or error notifications. Using the mckenziearts/laravel-notify package, we can take these notifications to the next level with Laravel Notify.
Laravel Notify by mckenziearts/laravel-notify is a package for easily adding custom notification alerts to Laravel applications. It lets you display beautiful, customizable popup notifications to inform users about important events, like success, error, or warning messages, with simple code. Great for enhancing user experience in Laravel projects.
So, let us see the following steps:
Step 1: Install Laravel
This step is not required; however, if you have not created the Laravel app, then you may go ahead and execute the below command:
composer create-project laravel/laravel example-appStep 2: Install mckenziearts/laravel-notify
Now, in this step, we will install mckenziearts/laravel-notify composer package. So, run the following command:
composer require mckenziearts/laravel-notifyNow, we need to publish pcakage configuration file:
php artisan vendor:publish --provider="Mckenziearts\Notify\LaravelNotifyServiceProvider"Step 3: Setup Notify
Here, we will setup notify styles and script in default blade file. you need to setup in your theme configuration file. so, let us add the following way:
resources/views/theme/layout.php
<!DOCTYPE html>
<html>
<head>
    <title>Laravel 11 CRUD Application - ItSolutionStuff.com</title>
    <link href="https://cdn.jsdelivr.net/npm/bootstrap@5.3.2/dist/css/bootstrap.min.css" rel="stylesheet">
    <link rel="stylesheet" href="https://cdnjs.cloudflare.com/ajax/libs/font-awesome/6.5.1/css/all.min.css" />

    @notifyCss

    <style type="text/css">
        .notify{
            z-index: 1001 !important;
        }
    </style>
</head>
<body>

<div class="container">
    @yield('content')
</div>

@include('notify::components.notify')

@notifyJs

</body>
</html>
Step 4: Type of notifications
Now, in this step, we will see the examples of notifications. so, we can see one by one example:
1. Toast Notification
toast notification, (The default notification for Laravel Notify)
<?php
namespace App\Http\Controllers;
use Illuminate\Http\Request;
use App\Models\User;
class UserController extends Controller
{
/**
* Display a listing of the resource.
*
* @return \Illuminate\Http\Response
*/
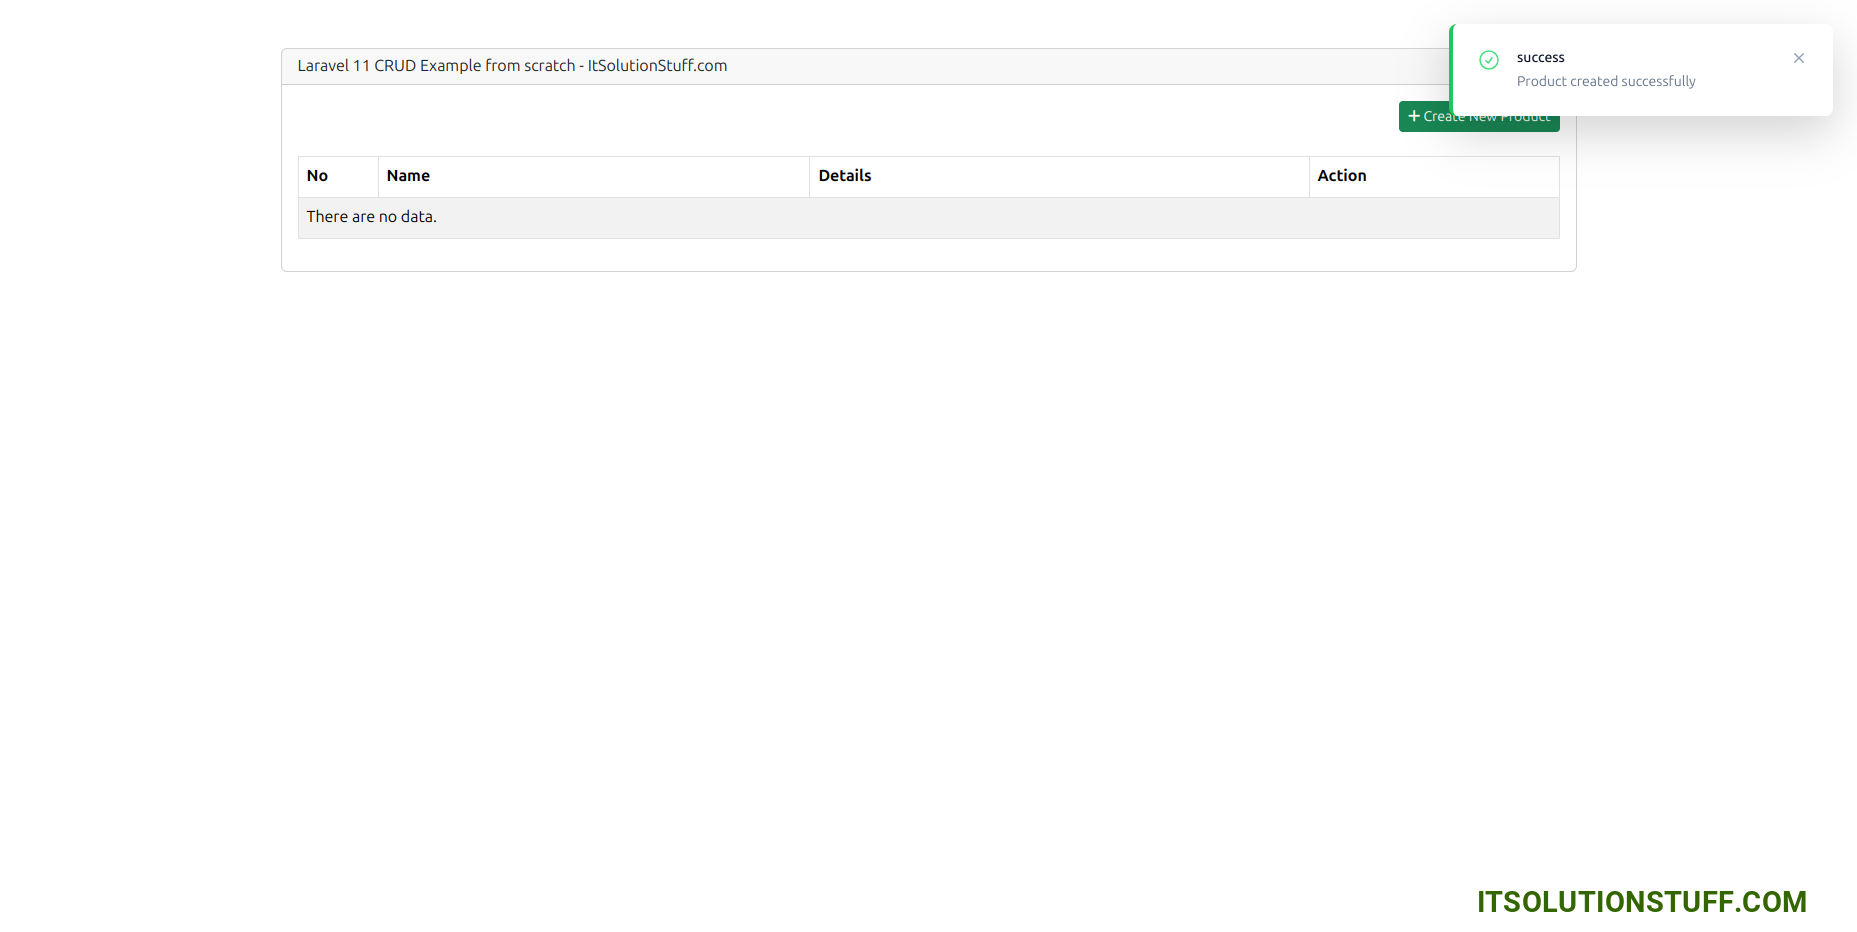
public function index()
{
notify()->success('Product created successfully');
return view("users");
}
}
You can get layout of success flash message:
2. Smilify Notification
smilify notification, displays a simple custom toast notification using the smiley emoticon
<?php
namespace App\Http\Controllers;
use Illuminate\Http\Request;
use App\Models\User;
class UserController extends Controller
{
/**
* Display a listing of the resource.
*
* @return \Illuminate\Http\Response
*/
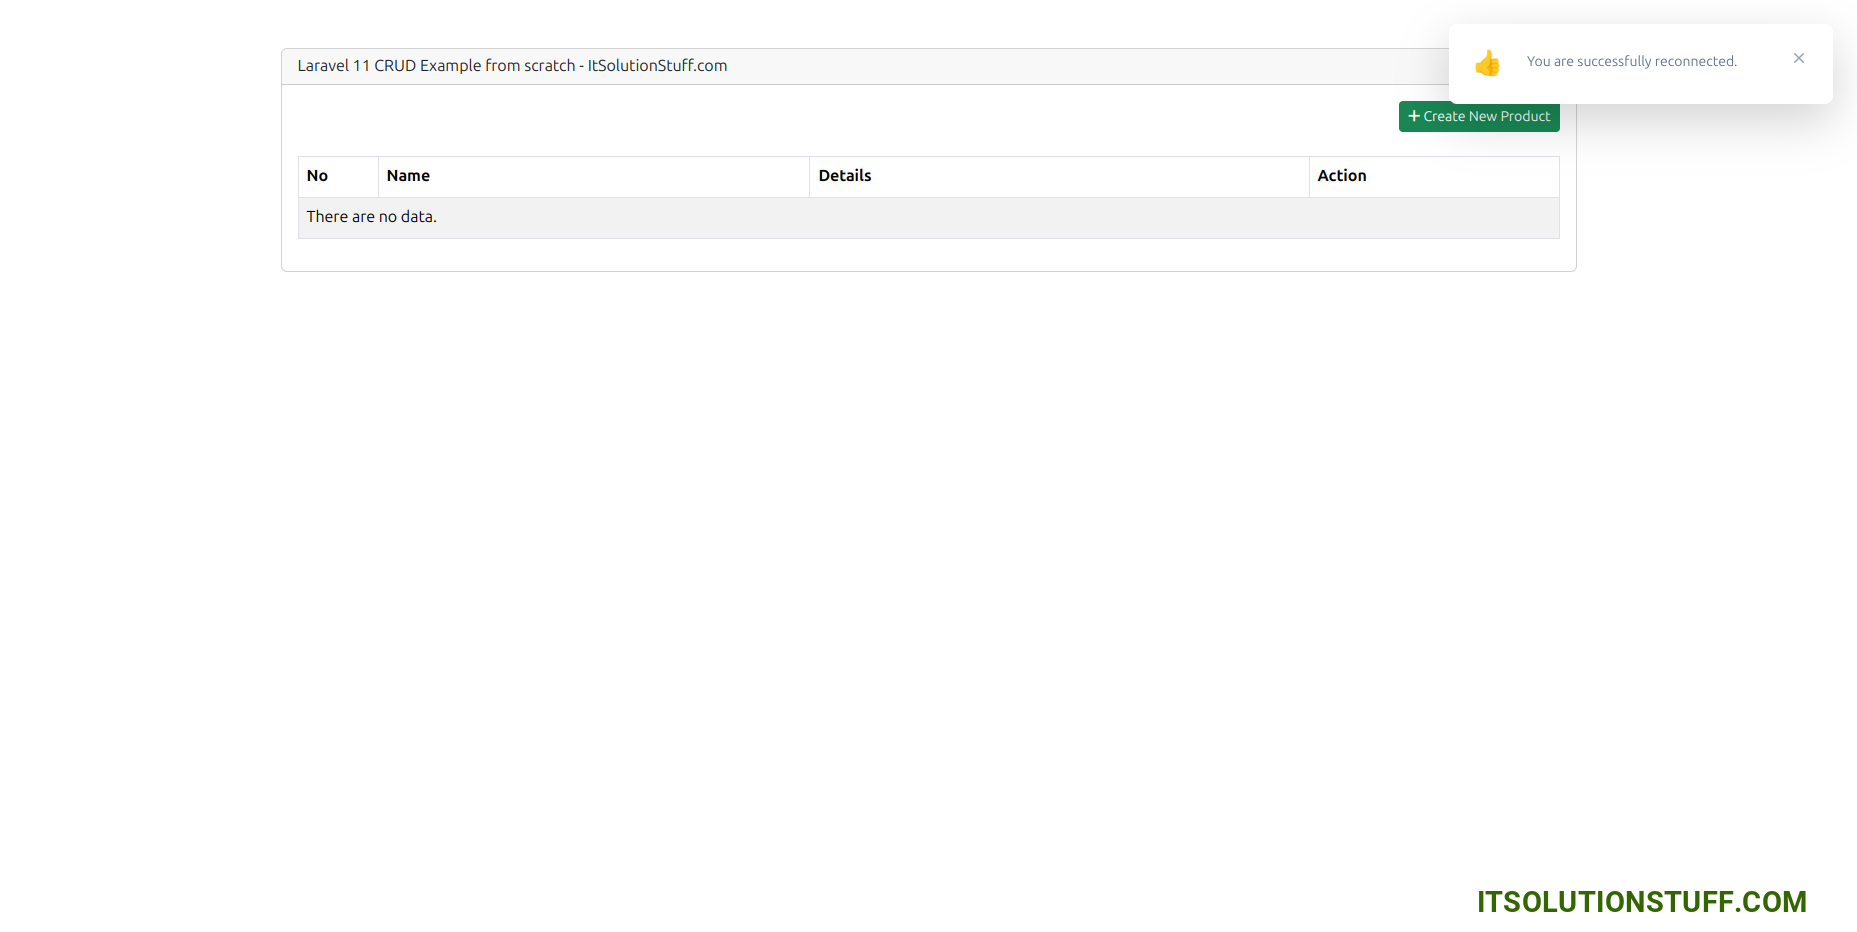
public function index()
{
smilify('success', 'You are successfully reconnected.');
return view("users");
}
}
You can get layout of success flash message:
3. Connectify Notification
connectify notification, example of basic usage
<?php

namespace App\Http\Controllers;

use Illuminate\Http\Request;
use App\Models\User;

class UserController extends Controller
{
    /**
     * Display a listing of the resource.
     *
     * @return \Illuminate\Http\Response
     */
    public function index()
    {
        connectify('success', 'Connection Found', 'Success Message Here');

        return view("users");
    }
}
4. Drakify Notification
connectify notification, example of basic usage
<?php

namespace App\Http\Controllers;

use Illuminate\Http\Request;
use App\Models\User;

class UserController extends Controller
{
    /**
     * Display a listing of the resource.
     *
     * @return \Illuminate\Http\Response
     */
    public function index()
    {
        drakify('success', 'User created successfully.');

        return view("users");
    }
}
5. Emotify Notification
emotify notification, displays a simple custom toast notification using a vector emoticon
<?php

namespace App\Http\Controllers;

use Illuminate\Http\Request;
use App\Models\User;

class UserController extends Controller
{
    /**
     * Display a listing of the resource.
     *
     * @return \Illuminate\Http\Response
     */
    public function index()
    {
        drakify('success', 'User created successfully.');

        return view("users");
    }
}
Run Laravel App:
All the required steps have been done, now you have to type the given below command and hit enter to run the Laravel app:
php artisan serveNow, Go to your web browser, type the given URL and view the app output:
http://localhost:8000/I hope it can help you...

