Laravel Import Large CSV File Using Queue Example
Hi Artisan,
In this quick example, let's see laravel import large csv file using queue. you can see laravel excel queue import. you will learn laravel queue import large csv file. This post will give you a simple example of how to import large csv file in laravel queue. Follow the below tutorial step of laravel import large csv file into database queue.
Sometime we need to import large CSV file into database. If we do it simply then it could be fail or timeout issue. So we can use Queue for import large CSV file in laravel. when it's done we can send email to client and inform it. here i will give you very simple example of how to import large csv file in laravel queue.
In this example, we will create products and create one products.csv file with some data. Then we will create Queue job with Batchable to import csv file. we will use Bus, array_chunk() and str_getcsv() so, let's follow the bellow steps to import large csv file into database.
You can use this example in laravel 6, laravel 7, laravel 8, laravel 9, laravel 10 and laravel 11 versions.
Step 1: Install Laravel
first of all, we need to get a fresh Laravel version application using the bellow command, So open your terminal OR command prompt and run the bellow command:
composer create-project laravel/laravel example-app
Step 2: Create Products Table and Model
Here, we need to create a database migration for the "products" table and also we will create a model for the "products" table.
php artisan make:migration create_products_table
Migration:
<?php
use Illuminate\Database\Migrations\Migration;
use Illuminate\Database\Schema\Blueprint;
use Illuminate\Support\Facades\Schema;
return new class extends Migration
{
/**
* Run the migrations.
*/
public function up(): void
{
Schema::create('products', function (Blueprint $table) {
$table->id();
$table->string('name');
$table->string('amount');
$table->text('description');
$table->timestamps();
});
}
/**
* Reverse the migrations.
*/
public function down(): void
{
Schema::dropIfExists('products');
}
};
php artisan migrate
Next, you need to create model using following command:
php artisan make:model Product
you can update it as like the below:
app/Models/Product.php
<?php
namespace App\Models;
use Illuminate\Database\Eloquent\Factories\HasFactory;
use Illuminate\Database\Eloquent\Model;
class Product extends Model
{
use HasFactory;
protected $fillable = [
'name', 'amount', 'description'
];
}
Step 3: Queue Configuration
Now in next step, we will make configuration on queue driver so first of all, we will set queue driver "database". You can set as you want also we will define driver as Redis too. So here define database driver on ".env" file:
.env
QUEUE_CONNECTION=database
After that we need to generate migration and create tables for queue. So let's run bellow command for queue database tables:
Generate Migration:
php artisan queue:table
php artisan queue:batches-table
Run Migration:
php artisan migrate
Step 4: Create Queue Job
now we will create queue job bey following command, this command will create queue job file with Queueable. So let's run bellow command:
php artisan make:job ProductCSVData
now you have ProductCSVData.php file in "Jobs" directory. So let's see that file and put bellow code on that file.
app/Jobs/ProductCSVData.php
<?php
namespace App\Jobs;
use Illuminate\Bus\Queueable;
use Illuminate\Contracts\Queue\ShouldBeUnique;
use Illuminate\Contracts\Queue\ShouldQueue;
use Illuminate\Foundation\Bus\Dispatchable;
use Illuminate\Queue\InteractsWithQueue;
use Illuminate\Queue\SerializesModels;
use Illuminate\Bus\Batchable;
use App\Models\Product;
class ProductCSVData implements ShouldQueue
{
use Dispatchable, InteractsWithQueue, Queueable, SerializesModels, Batchable;
public $header;
public $data;
/**
* Create a new job instance.
*/
public function __construct($data, $header)
{
$this->data = $data;
$this->header = $header;
}
/**
* Execute the job.
*/
public function handle(): void
{
foreach ($this->data as $product) {
$productInput = array_combine($this->header, $product);
Product::create($productInput);
}
}
}
Step 5: Create Controller File
in the next step, now we have create a new controller as ProductImportController and write both methods on it like as below, So let's create both controllers:
app/Http/Controllers/ProductImportController.php
<?php
namespace App\Http\Controllers;
use Illuminate\Http\Request;
use Illuminate\View\View;
use App\Jobs\ProductCSVData;
use Illuminate\Support\Facades\Bus;
class ProductImportController extends Controller
{
/**
* Write code on Method
*
* @return response()
*/
public function index(): View
{
return view('productsImport');
}
/**
* Write code on Method
*
* @return response()
*/
public function store(Request $request)
{
if( $request->has('csv') ) {
$csv = file($request->csv);
$chunks = array_chunk($csv, 1000);
$header = [];
$batch = Bus::batch([])->dispatch();
foreach ($chunks as $key => $chunk) {
$data = array_map('str_getcsv', $chunk);
if($key == 0){
$header = $data[0];
unset($data[0]);
}
$batch->add(new ProductCSVData($data, $header));
}
return redirect()->route('products.import.index')
->with('success', 'CSV Import added on queue. will update you once done.');
}
}
}
Step 6: Create Routes
In this step, we will create two routes for get request and another for post request. So, let's add a new route to that file.
routes/web.php
<?php
use Illuminate\Support\Facades\Route;
use App\Http\Controllers\ProductImportController;
/*
|--------------------------------------------------------------------------
| Web Routes
|--------------------------------------------------------------------------
|
| Here is where you can register web routes for your application. These
| routes are loaded by the RouteServiceProvider within a group which
| contains the "web" middleware group. Now create something great!
|
*/
Route::get('products-import', [ProductImportController::class, 'index'])->name('products.import.index');
Route::post('products-import', [ProductImportController::class, 'store'])->name('products.import.store');
Step 6: Create Blade File
In the Last step, let's create productsImport.blade.php(resources/views/productsImport.blade.php) for layout and upload file:
resources/views/productsImport.blade.php
<!DOCTYPE html>
<html lang="{{ str_replace('_', '-', app()->getLocale()) }}">
<head>
<meta charset="utf-8">
<meta name="viewport" content="width=device-width, initial-scale=1">
<title>Laravel Import Large CSV File Using Queue - ItSolutionStuff.com</title>
<link href="https://cdn.jsdelivr.net/npm/bootstrap@5.0.0/dist/css/bootstrap.min.css" rel="stylesheet">
</head>
<body>
<div class="container mt-5">
<h1>Laravel Import Large CSV File Using Queue - ItSolutionStuff.com</h1>
<form method="post" action="{{ route('products.import.store') }}" enctype="multipart/form-data">
@csrf
@if ($message = Session::get('success'))
<div class="alert alert-success alert-dismissible fade show" role="alert">
<strong>{{ $message }}</strong>
<button type="button" class="btn-close" data-bs-dismiss="alert" aria-label="Close"></button>
</div>
@endif
<div class="form-group">
<strong>CSV File:</strong>
<input type="file" name="csv" class="form-control" />
</div>
<div class="form-group text-center">
<button type="submit" class="btn btn-success btn-block">Import</button>
</div>
</form>
</div>
</body>
</html>
Run Laravel App:
All the required steps have been done, now you have to type the given below command and hit enter to run the Laravel app:
php artisan serve
Now, Go to your web browser, type the given URL, and view the app output:
http://localhost:8000/products-import
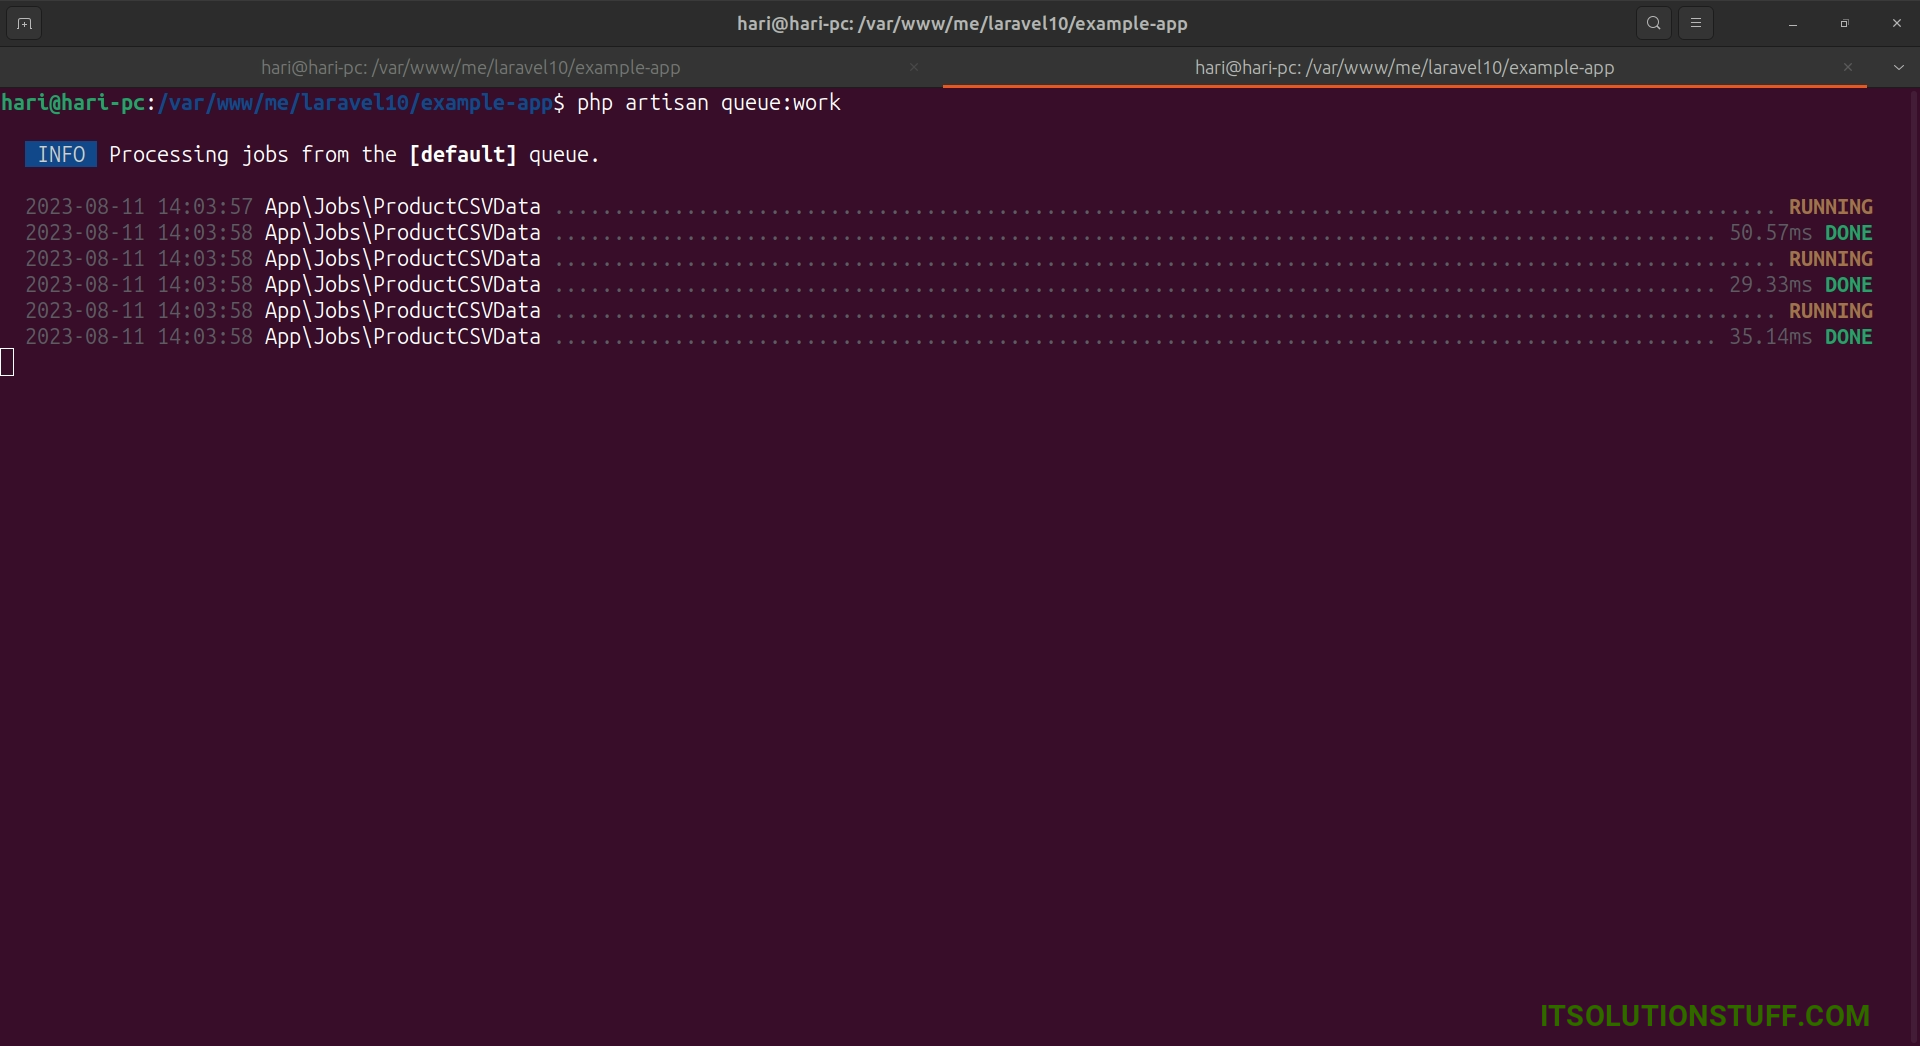
You also need to start queue process using following command:
php artisan queue:work --timeout=0
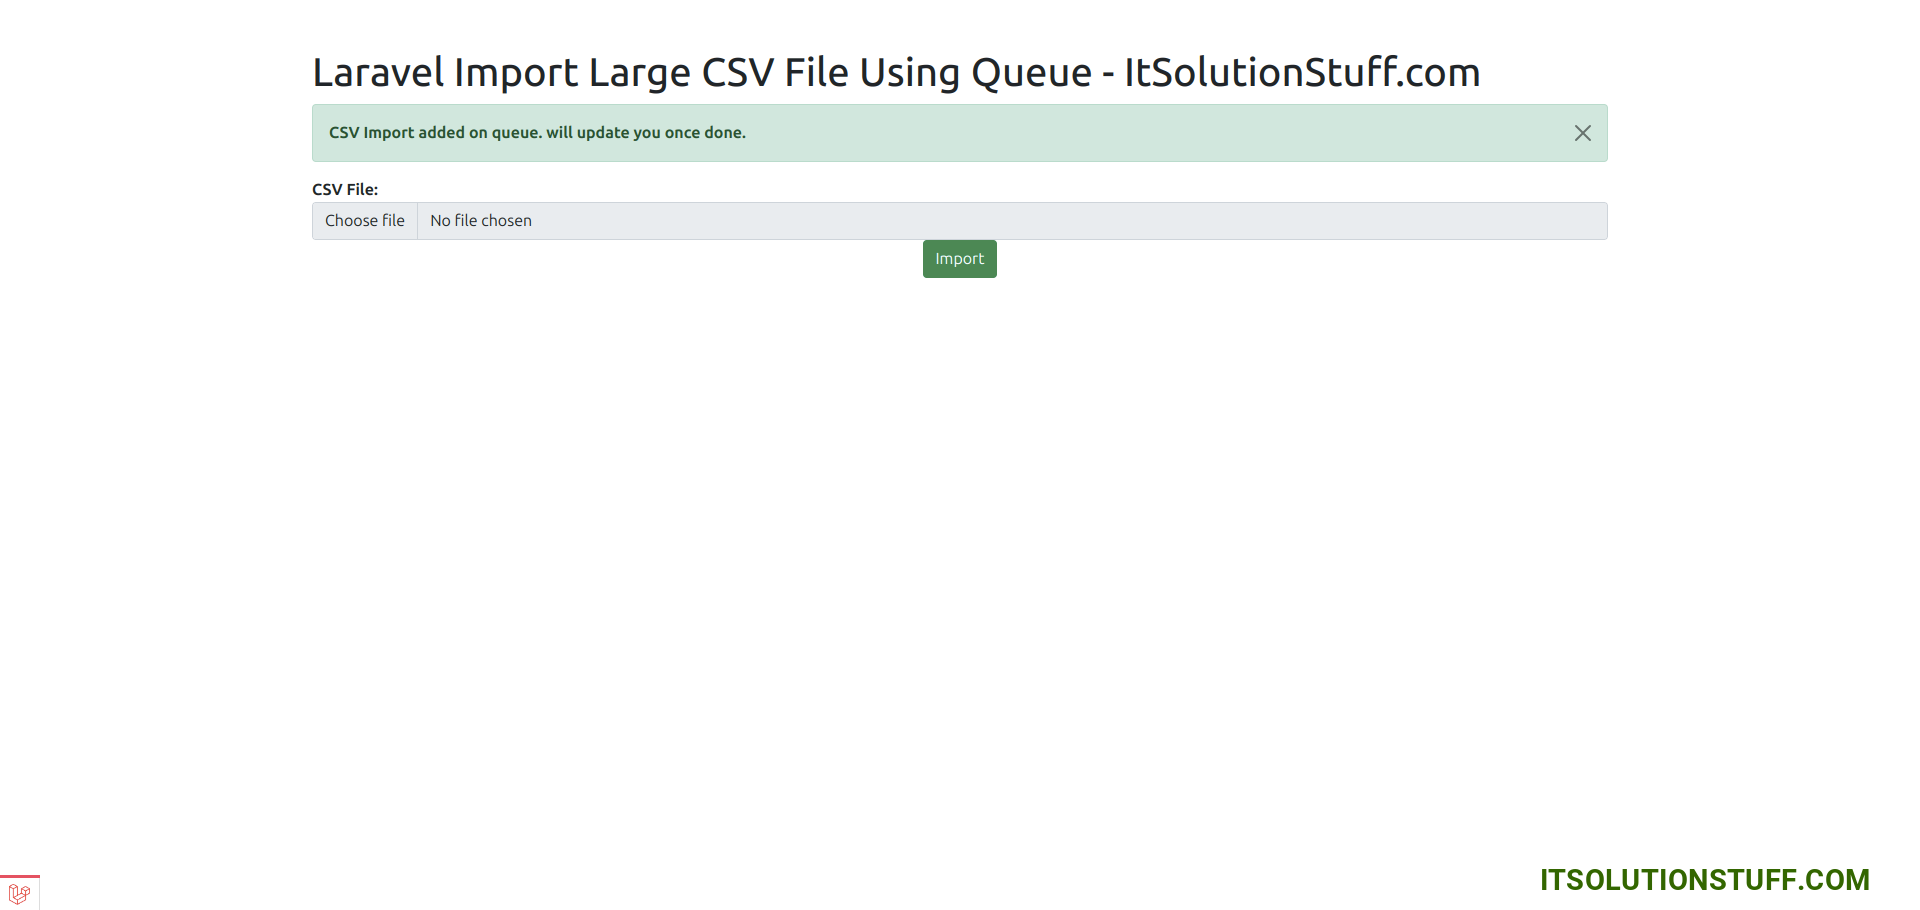
Layout:
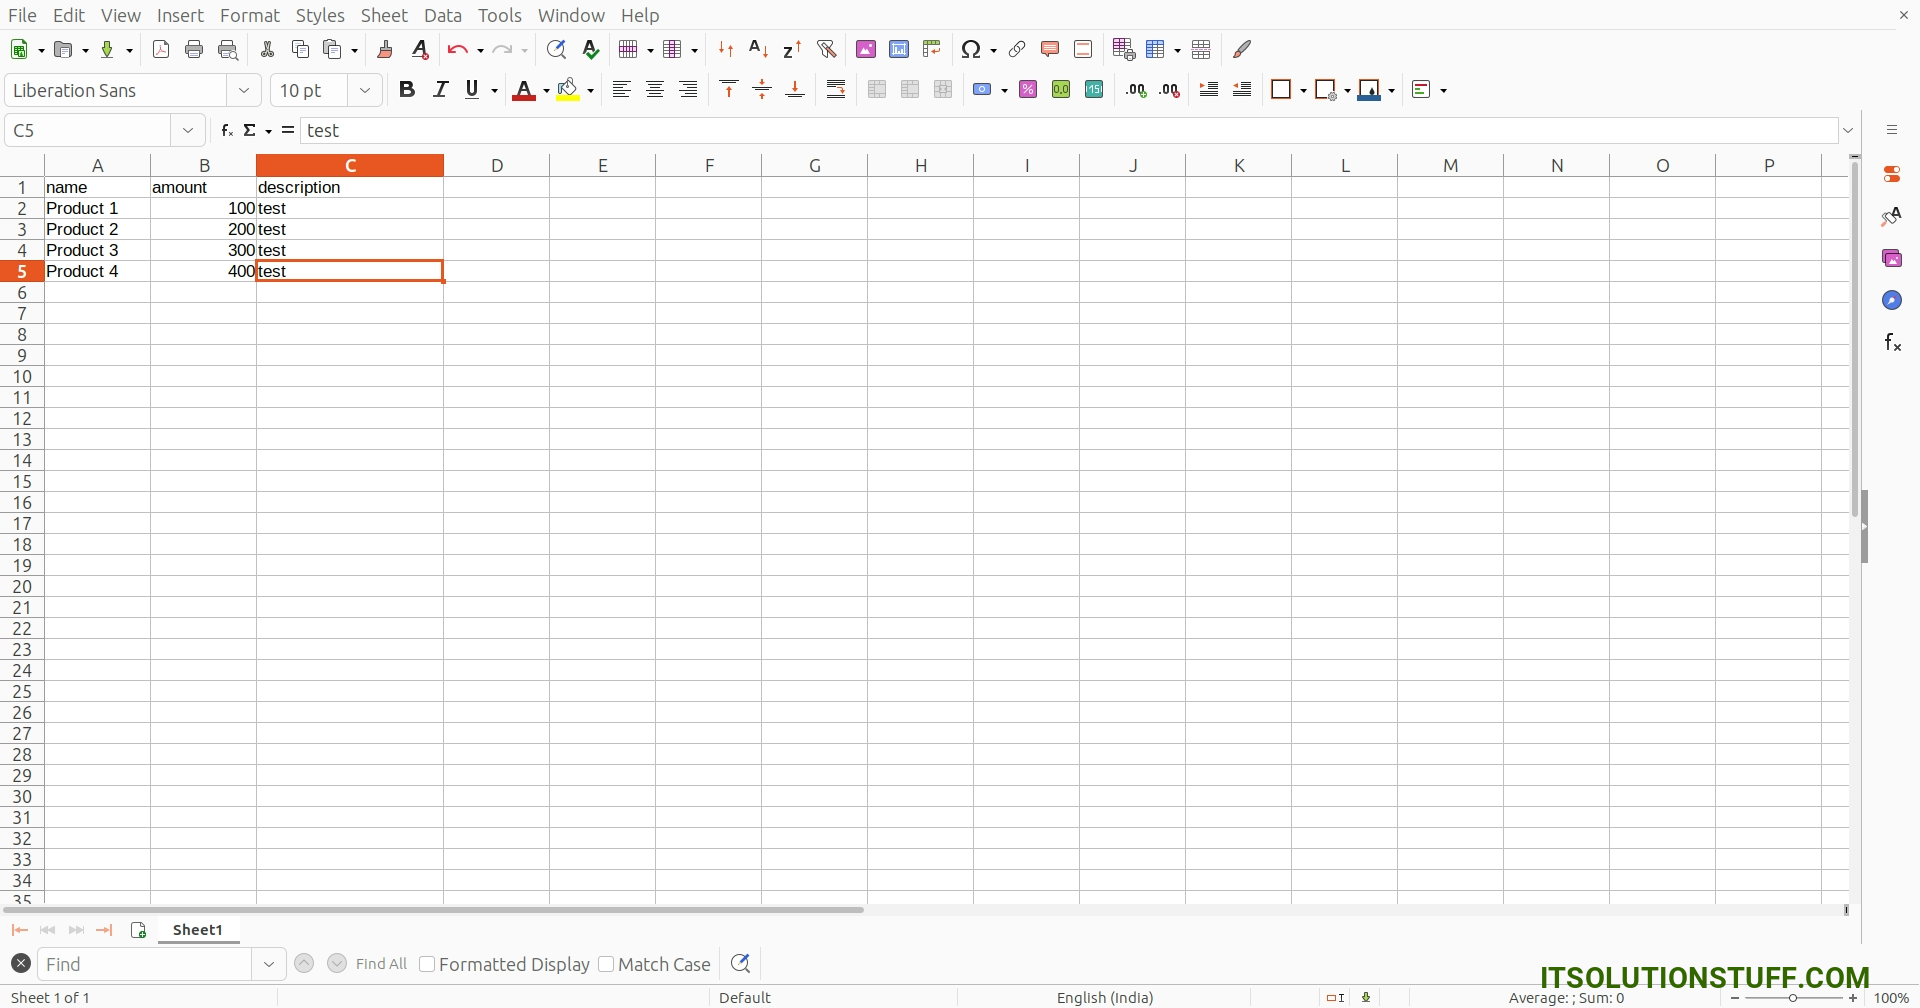
Excel:
Queue Work:
I hope it can help you...

