Laravel 10 Flash Message Example Tutorial
Hi Dev,
Now, let's see a tutorial of laravel 10 flash message example. I would like to share with you how to implement flash message in laravel 10. It's a simple example of laravel 10 flash message from controller. you will learn laravel 10 flash message notification.
we will define various types of flash message notifications like alert-success, alert danger, alert info, and alert warning messages in bootstrap laravel 10 projects. When you have a success task on the controller method then you can use a success flash message, if you have any error task then you can use an error flash message.
Flash messages are required in laravel 10 application because that way we can give alter with what progress is complete, error, warning, etc. In this tutorial, I added several ways to give a flash message like redirecting with a success message, redirecting with an error message, redirecting with a warning message, and redirecting with an info message. In this example, we use a bootstrap flash alert layout that way it becomes a good layout.
So, you have to just follow the basic three-step to integrate flash messages in your laravel 10 application. So let's follow the below step:
Step 1: Create Global File For Flash Message
In first step we will create new blade file flash-message.blade.php. In this file we will write code of bootstrap alert and check which messages come.
There are following alert will added:
1)success
2)error
3)warning
4)info
5)validation error
So, let's create flash-message.blade.php file and put bellow code on that file.
resources/views/flash-message.blade.php
@if ($message = Session::get('success'))
<div class="alert alert-success alert-dismissible fade show" role="alert">
<strong>{{ $message }}</strong>
<button type="button" class="btn-close" data-bs-dismiss="alert" aria-label="Close"></button>
</div>
@endif
@if ($message = Session::get('error'))
<div class="alert alert-danger alert-dismissible fade show" role="alert">
<strong>{{ $message }}</strong>
<button type="button" class="btn-close" data-bs-dismiss="alert" aria-label="Close"></button>
</div>
@endif
@if ($message = Session::get('warning'))
<div class="alert alert-warning alert-dismissible fade show" role="alert">
<strong>{{ $message }}</strong>
<button type="button" class="btn-close" data-bs-dismiss="alert" aria-label="Close"></button>
</div>
@endif
@if ($message = Session::get('info'))
<div class="alert alert-info alert-dismissible fade show" role="alert">
<strong>{{ $message }}</strong>
<button type="button" class="btn-close" data-bs-dismiss="alert" aria-label="Close"></button>
</div>
@endif
@if ($errors->any())
<div class="alert alert-danger alert-dismissible fade show" role="alert">
<strong>Please check the form below for errors</strong>
<button type="button" class="btn-close" data-bs-dismiss="alert" aria-label="Close"></button>
</div>
@endif
Step 2: Use Flash Message in Theme
In this step we have to just include flash-message.blade.php file in your theme default file. You have to just include this flash file in your default theme blade file like as bellow:
@include('flash-message')
You can also see i added flash file on my theme, so you can add that way. Let's see bellow example:
resources/views/layouts/app.blade.php
<!DOCTYPE html>
<html lang="en">
<head>
<meta charset="utf-8">
<meta http-equiv="X-UA-Compatible" content="IE=edge">
<meta name="viewport" content="width=device-width, initial-scale=1">
<!-- Styles -->
<link href="https://cdn.jsdelivr.net/npm/bootstrap@5.0.2/dist/css/bootstrap.min.css" rel="stylesheet">
<script src="https://cdn.jsdelivr.net/npm/bootstrap@5.0.2/dist/js/bootstrap.bundle.min.js" ></script>
</head>
<body>
<div class="container">
@include('flash-message')
@yield('content')
</div>
<!-- Scripts -->
<script src="/js/app.js"></script>
</body>
</html>
Step 3: Use Flash Messages with Redirect
In this step we will learn how to give message when you redirect one by one:
1. Redirect with success message
We can simple redirect route or redirect url or redirect back with success flash message, we can use in controller like this way:
public function create(Request $request)
{
$this->validate($request,[
'title' => 'required',
'details' => 'required'
]);
$items = Item::create($request->all());
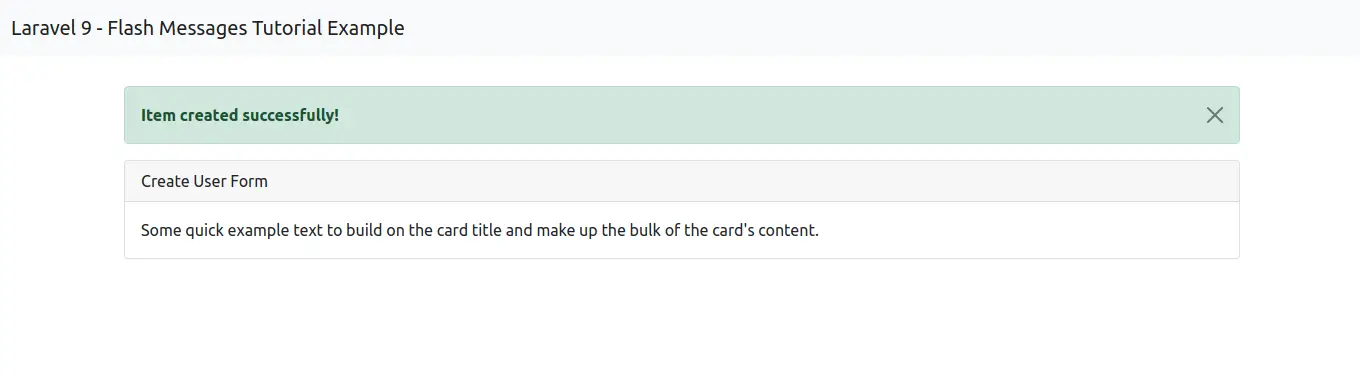
return back()->with('success','Item created successfully!');
}
You can get layout of success flash message:
2. Redirect with error message
We can simple redirect route or redirect url or redirect back with error flash message, we can use in controller like this way:
public function create(Request $request)
{
return redirect()->route('home')
->with('error','You have no permission for this page!');
}
You can get layout of error flash message:

3. Redirect with warning message
We can simple redirect route or redirect url or redirect back with warning flash message, we can use in controller like this way:
public function create(Request $request)
{
return redirect()->route('home')
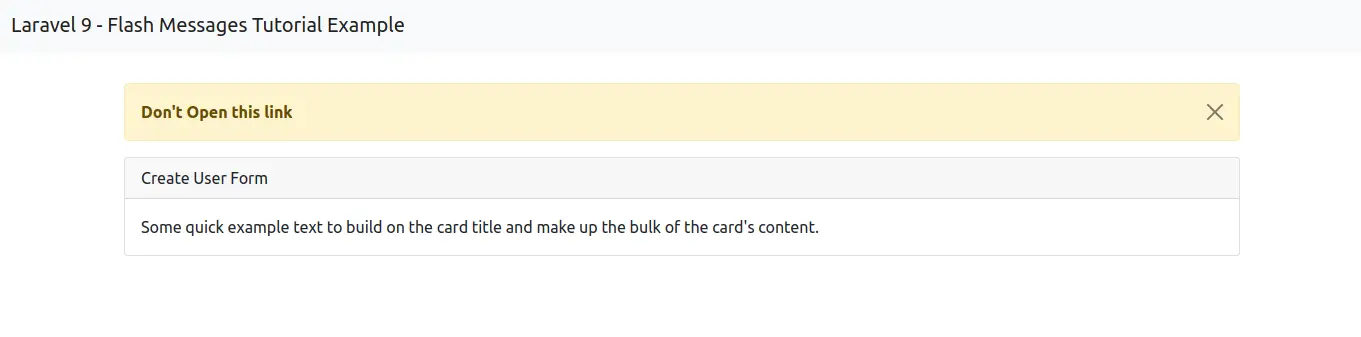
->with('warning',"Don't Open this link");
}
You can get layout of warning flash message:
4. Redirect with info message
We can simple redirect route or redirect url or redirect back with info flash message, we can use in controller like this way:
public function create(Request $request)
{
$this->validate($request,[
'title' => 'required',
'details' => 'required'
]);
$items = Item::create($request->all());
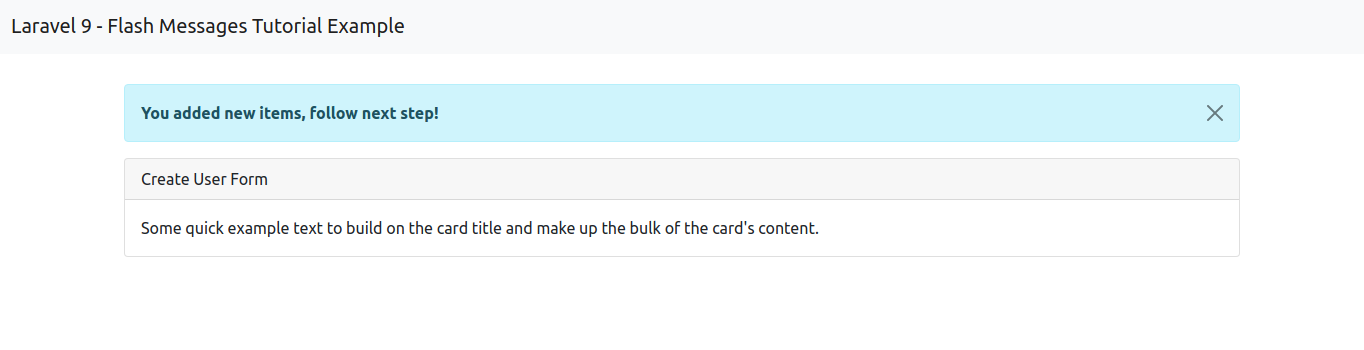
return back()->with('info','You added new items, follow next step!');
}
You can get layout of info flash message:
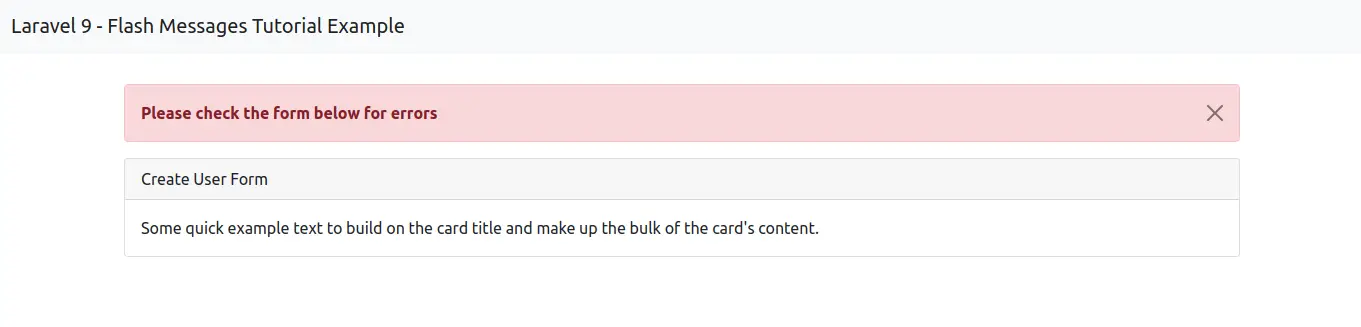
5. Validation Error
If you use laravel 5 validation then you will redirect back with errors automatically, At that time it will also generate error flash message.
public function create(Request $request)
{
$this->validate($request,[
'title' => 'required',
'details' => 'required'
]);
.....
}
You can get layout of error flash message:
This way you can simple implement flash message in your laravel 10 application.
I hope it can help you....

