How to Send Automatic Email in Laravel 9?
Hi Dev,
This article goes in detailed on send automatic email laravel 9. I would like to share with you laravel 9 auto send email. you'll learn auto send email laravel 9. We will use laravel 9 send scheduled emails. Let's get started with laravel 9 send mail automatically.
In this example, we will create an auto send an email for a birthday wish. so, we will create a "users" table with a "birthdate" column. Then we will create one seeder to add some users. Then after we will create one command to send an email that the birthdate match today's date. after creating the command successfully we will be scheduled daily. so users will get automatically their birthday on email.
So, let's follow below step to make it done this example:
Step 1: Install Laravel
This step is not required; however, if you have not created the laravel app, then you may go ahead and execute the below command:
composer create-project laravel/laravel example-app
Step 2: Create Migration
here, we will create new migration for adding new column birthdate in users table. so let's run bellow command:
php artisan make:migration add_birthdate_column
After this command you will find one file in following path "database/migrations" and you have to put bellow code in your migration file for create products table.
<?php
use Illuminate\Database\Migrations\Migration;
use Illuminate\Database\Schema\Blueprint;
use Illuminate\Support\Facades\Schema;
return new class extends Migration
{
/**
* Run the migrations.
*
* @return void
*/
public function up()
{
Schema::table('users', function (Blueprint $table) {
$table->date('birthdate')->nullable();
});
}
/**
* Reverse the migrations.
*
* @return void
*/
public function down()
{
}
};
Now you have to run this migration by following command:
php artisan migrate
Step 3: Update Model
In this step, we will add "birthdate" column in $fillable array.
let's copy below code and paste it.
app/Models/User.php
<?php
namespace App\Models;
use Illuminate\Contracts\Auth\MustVerifyEmail;
use Illuminate\Database\Eloquent\Factories\HasFactory;
use Illuminate\Foundation\Auth\User as Authenticatable;
use Illuminate\Notifications\Notifiable;
use Laravel\Sanctum\HasApiTokens;
class User extends Authenticatable
{
use HasApiTokens, HasFactory, Notifiable;
/**
* The attributes that are mass assignable.
*
* @var array
*/
protected $fillable = [
'name',
'email',
'password',
'birthdate'
];
/**
* The attributes that should be hidden for serialization.
*
* @var array
*/
protected $hidden = [
'password',
'remember_token',
];
/**
* The attributes that should be cast.
*
* @var array
*/
protected $casts = [
'email_verified_at' => 'datetime',
];
}
Step 4: Create Seeder
In this step we will create Seeder for adding dummy users. So let's run bellow command.
php artisan make:seeder UserSeeder
now, let's update code on UserSeeder.php file as bellow:
database/seeders/UserSeeder.php
<?php
namespace Database\Seeders;
use Illuminate\Database\Console\Seeds\WithoutModelEvents;
use Illuminate\Database\Seeder;
use App\Models\User;
class UserSeeder extends Seeder
{
/**
* Run the database seeds.
*
* @return void
*/
public function run()
{
$users = [
[
"name" => "Hardik Savani",
"email" => "hardik@gmail.com",
"password" => bcrypt("123456"),
"birthdate" => "2001-05-23"
],
[
"name" => "Vimal Kashiyani",
"email" => "vimal@gmail.com",
"password" => bcrypt("123456"),
"birthdate" => "2001-06-23"
],
[
"name" => "Harshad Pathak",
"email" => "harshad@gmail.com",
"password" => bcrypt("123456"),
"birthdate" => "2001-07-23"
]
];
foreach ($users as $key => $value) {
User::create($value);
}
}
}
Then run below seeder to create dummy users.
php artisan db:seed --class=UserSeeder
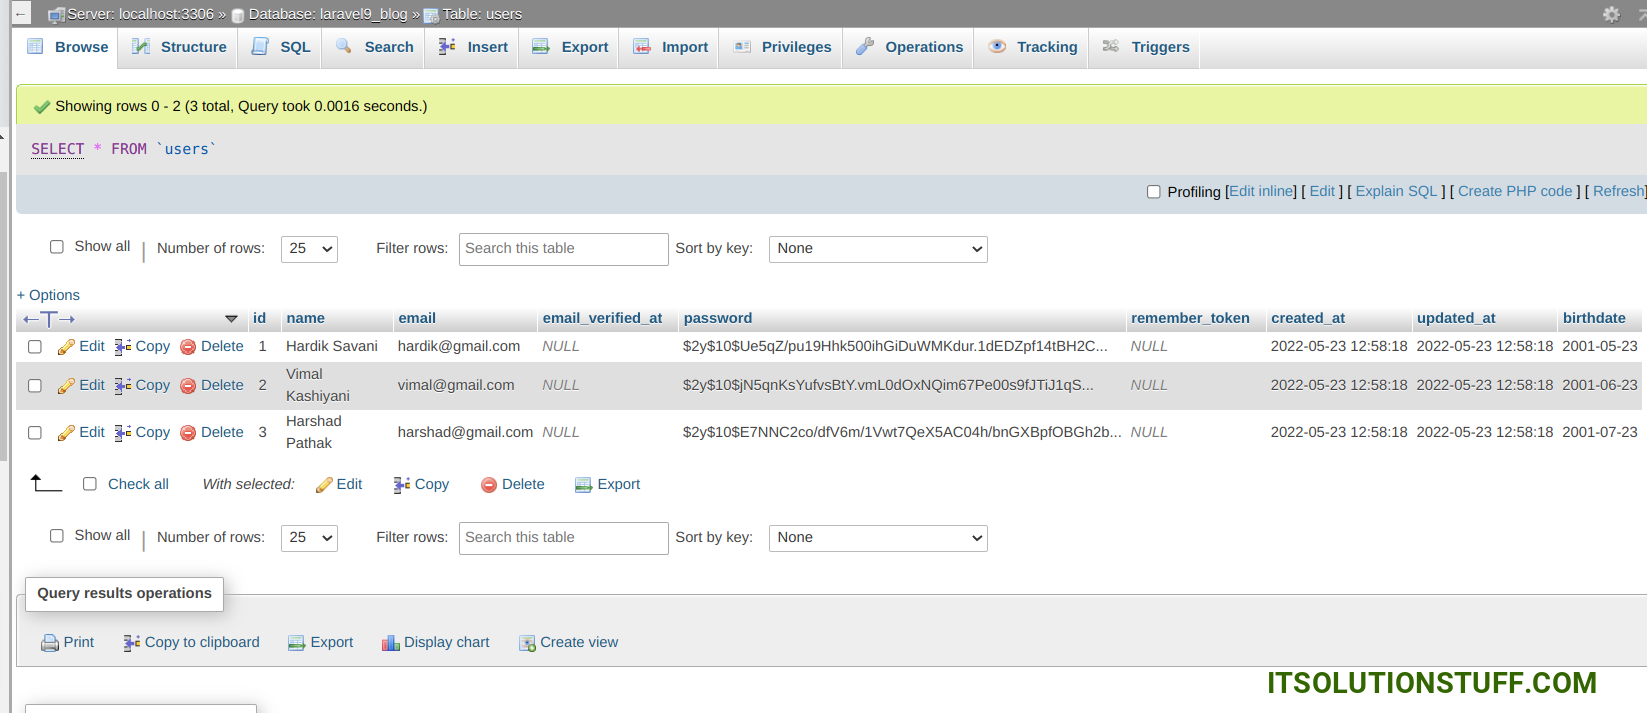
You will find following users as below in mysql table:
Step 5: Create Mail Class
In this step we will create mail class BirthDayWish for email send on match date of birth. So let's run bellow command.
php artisan make:mail BirthDayWish
now, let's update code on BirthDayWish.php file as bellow:
app/Mail/BirthDayWish.php
<?php
namespace App\Mail;
use Illuminate\Bus\Queueable;
use Illuminate\Contracts\Queue\ShouldQueue;
use Illuminate\Mail\Mailable;
use Illuminate\Queue\SerializesModels;
class BirthDayWish extends Mailable
{
use Queueable, SerializesModels;
public $user;
/**
* Create a new message instance.
*
* @return void
*/
public function __construct($user)
{
$this->user = $user;
}
/**
* Build the message.
*
* @return $this
*/
public function build()
{
return $this->subject('Happy Birthday '. $this->user->name)
->view('emails.birthdayWish');
}
}
Here, we will create blade view file for email. In this file we will write text for birthday wish.. create bellow files on "emails" folder.
resources/views/emails/birthdayWish.blade.php
<h2>Hey, Happy Birthday {{ $user->name }}</h2>
<br>
<p>On behalf of the entire company I wish you a very happy birthday and send you my best wishes for much happiness in your life.</p>
Thank you
next, you have to add send mail configuration with mail driver, mail host, mail port, mail username, mail password so laravel will use those sender configuration for sending email. So you can simply add as like following.
.env
MAIL_MAILER=smtp
MAIL_HOST=smtp.gmail.com
MAIL_PORT=465
MAIL_USERNAME=mygoogle@gmail.com
MAIL_PASSWORD=rrnnucvnqlbsl
MAIL_ENCRYPTION=tls
MAIL_FROM_ADDRESS=mygoogle@gmail.com
MAIL_FROM_NAME="${APP_NAME}"
Step 6: Create Command
In this step, we will create new command call AutoBirthDayWish. let's create command using below terminal command:
php artisan make:command AutoBirthDayWish
now, let's update code on AutoBirthDayWish.php file as bellow:
app/Console/Commands/AutoBirthDayWish.php
<?php
namespace App\Console\Commands;
use Illuminate\Console\Command;
use Mail;
use App\Mail\BirthDayWish;
use App\Models\User;
class AutoBirthDayWish extends Command
{
/**
* The name and signature of the console command.
*
* @var string
*/
protected $signature = 'auto:birthdaywith';
/**
* The console command description.
*
* @var string
*/
protected $description = 'Command description';
/**
* Execute the console command.
*
* @return int
*/
public function handle()
{
$users = User::whereMonth('birthdate', date('m'))
->whereDay('birthdate', date('d'))
->get();
if ($users->count() > 0) {
foreach ($users as $user) {
Mail::to($user)->send(new BirthDayWish($user));
}
}
return 0;
}
}
Next, we need to scheduled this command daily. so let's do it in Kernel.php file:
app/Console/Kernel.php
<?php
namespace App\Console;
use Illuminate\Console\Scheduling\Schedule;
use Illuminate\Foundation\Console\Kernel as ConsoleKernel;
class Kernel extends ConsoleKernel
{
/**
* Define the application's command schedule.
*
* @param \Illuminate\Console\Scheduling\Schedule $schedule
* @return void
*/
protected function schedule(Schedule $schedule)
{
$schedule->command('auto:birthdaywith')->daily();
}
/**
* Register the commands for the application.
*
* @return void
*/
protected function commands()
{
$this->load(__DIR__.'/Commands');
require base_path('routes/console.php');
}
}
Step 7: Cron Job Setup on Server
Here, i will show you how to setup cron job command on server. you need to install crontab on server. if you are using ubuntu server then it already installed. so let's run bellow command and add new entry for cron job.
crontab -e
Now, add bellow line to crontab file. make sure you need to set your project path correctly on it.
* * * * * cd /path-to-your-project && php artisan schedule:run >> /dev/null 2>&1
Now, you can check on server as well.
Now, you will get email birthday wish on match. you will receive email as like below:

I hope it can help you...

