How to Install Tailwind CSS in Laravel 9?
Hi Dev,
In this post, we will learn laravel 9 install tailwind css. I explained simply step by step install tailwind laravel 9. In this article, we will implement a how to install tailwind css in laravel 9. let’s discuss about how to install tailwind in laravel 9.
Tailwind is a CSS framework like bootstrap. using tailwind css use can create responsive website design. In this post, i will give three ways to install tailwind css in your laravel application. you can see below list:
1) Install Tailwind CSS using npm
2) Install Tailwind CSS using Breeze
3) Install Tailwind CSS using Jetstream
So, let's follow below step by step to install tailwind css in laravel application.
1) Install Tailwind CSS using npm
In this step, i will give you list of steps using npm command. so let's follow it.
Step 1: Install Laravel
If have not already setup of laravel application then you can run below command to get fresh laravel app:
composer create-project laravel/laravel example-app
Step 2: Install Tailwind CSS
Let's install tailwind css with dependency and create tailwind.config.js file. so run below command:
npm install -D tailwindcss postcss autoprefixer
npx tailwindcss init
Step 3: Configure Template Path
Here, open tailwind.config.js file and add files path there:
tailwind.config.js
module.exports = {
content: [
"./resources/**/*.blade.php",
"./resources/**/*.js",
"./resources/**/*.vue",
],
theme: {
extend: {},
},
plugins: [],
}
Step 4: Add Tailwind with Laravel mix
Here, open webpack.mix.js file and add lines there:
webpack.mix.js
const mix = require('laravel-mix');
/*
|--------------------------------------------------------------------------
| Mix Asset Management
|--------------------------------------------------------------------------
|
| Mix provides a clean, fluent API for defining some Webpack build steps
| for your Laravel applications. By default, we are compiling the CSS
| file for the application as well as bundling up all the JS files.
|
*/
mix.js("resources/js/app.js", "public/js")
.postCss("resources/css/app.css", "public/css", [
require("tailwindcss"),
]);
Step 5: Add Tailwind CSS in app.css file
Here, open app.css file and add lines there:
resources/css/app.css
@tailwind base;
@tailwind components;
@tailwind utilities;
Step 6: Install npm and Build
Run "npm install" command and then build it with "npm run watch" command:
npm install
Build npm process:
npm run watch
Step 7: Use Tailwind CSS in App
Now, you can use tailwind css in your blade file as like below:
resources/views/welcome.blade.php
<!doctype html>
<html>
<head>
<meta charset="utf-8">
<meta name="viewport" content="width=device-width, initial-scale=1.0">
<link href="{{ asset('css/app.css') }}" rel="stylesheet">
</head>
<body>
<div class="container mx-auto px-10">
<h1 class="text-3xl font-bold underline">
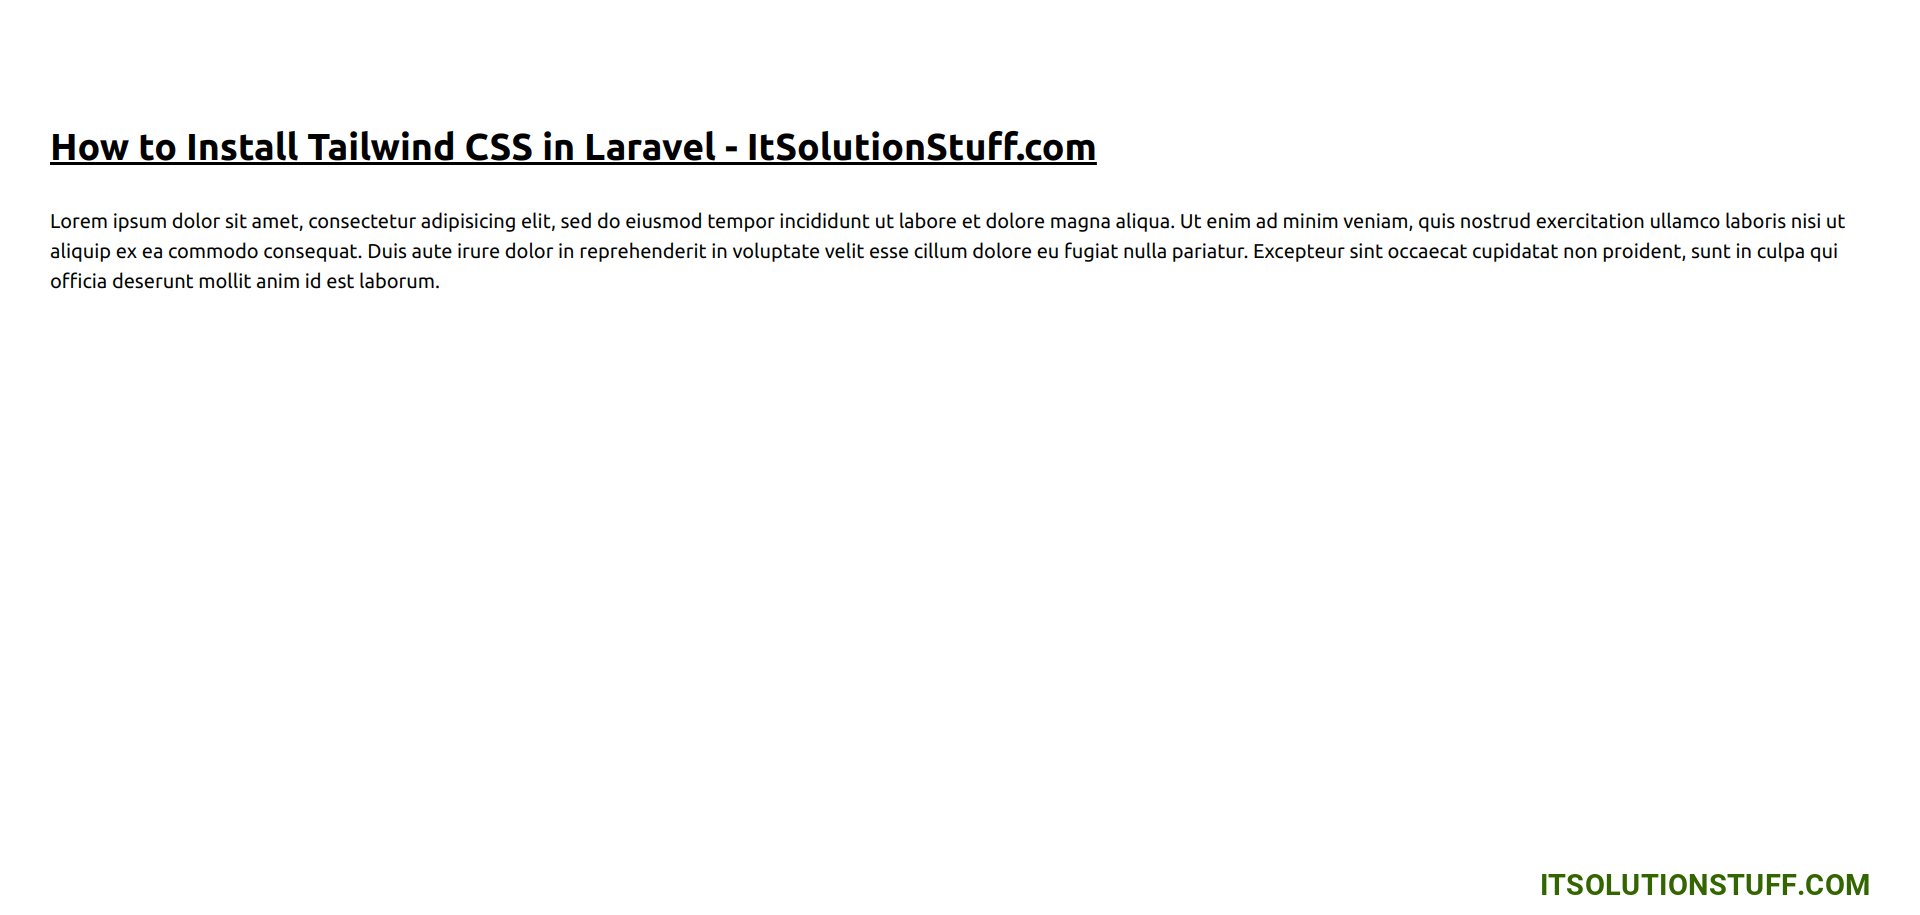
How to Install Tailwind CSS in Laravel - ItSolutionStuff.com
</h1>
<p>Lorem ipsum dolor sit amet, consectetur adipisicing elit, sed do eiusmod
tempor incididunt ut labore et dolore magna aliqua. Ut enim ad minim veniam,
quis nostrud exercitation ullamco laboris nisi ut aliquip ex ea commodo
consequat. Duis aute irure dolor in reprehenderit in voluptate velit esse
cillum dolore eu fugiat nulla pariatur. Excepteur sint occaecat ncupidatat non
proident, sunt in culpa qui officia deserunt mollit anim id est laborum.</p>
</div>
</body>
</html>
Let's see below output:
2) Install Tailwind CSS using Breeze
In this step, i will give you list of steps using npm command. so let's follow it.
Step 1: Install Laravel
If have not already setup of laravel application then you can run below command to get fresh laravel app:
composer create-project laravel/laravel example-app
Step 2: Install Breeze
Let's run bellow command to install laravel breeze package by bellow command:
composer require laravel/breeze --dev
Next you have to install laravel breeze for simple auth scaffolding. so let's run bellow command:
php artisan breeze:install
Now let's run bellow command for install npm:
npm install && npm run dev
That's it. you will have setup on tailwind css based.
3) Install Tailwind CSS using Jetstream
In this step, i will give you list of steps using npm command. so let's follow it.
Step 1: Install Laravel
If have not already setup of laravel application then you can run below command to get fresh laravel app:
composer create-project laravel/laravel example-app
Step 2: Install Jetstream
Now, in this step, we need to use composer command to install jetstream, so let's run bellow command and install bellow library.
composer require laravel/jetstream
Step 3: Create Auth with Livewire:
now, we need to create authentication using bellow command. you can create basic login, register and email verification. if you want to create team management then you have to pass addition parameter. you can see bellow commands:
php artisan jetstream:install livewire
OR
php artisan jetstream:install livewire --teams
Now, let's node js package:
npm install
let's run package:
npm run dev
That's it. you will have setup on tailwind css based.
I hope it can help you...

