How to Deploy Project with Laravel Vapor?
Hi All,
In this tutorial we will go over the demonstration of how to deploy project with laravel vapor. i would like to show you laravel vapor setup project. i explained simply about laravel vapor deploy web app. I’m going to show you about laravel serverless aws using vapor. you will do the following things for php laravel vapor aws setup.
Laravel introduce vapor for auto-scaling, serverless deployment platform for Laravel, powered by AWS Lambda. you can increase high traffic scalability using laravel vapor with AWS Lambda. Also Laravel Vapor provide domain management, Database Management, Environments Management, Queues, Storage, Networks, Cache, Logs etc.
Here, i will give you step by step information about how to setup your laravel project with vapor and aws lambda. so you must have AWS Account and Vapor Account you have. you just have to follow bellow steps and you can deploy your first app.
Let's follow Bellow Steps as written with screen shot.
Step 1: Create IAM User in AWS
First you should have account on AWS Server. then you can go bellow link and create IAM User with following screens shot:
Go Here to Create IAM User https://console.aws.amazon.com/iam/home?region=us-east-1#/users.
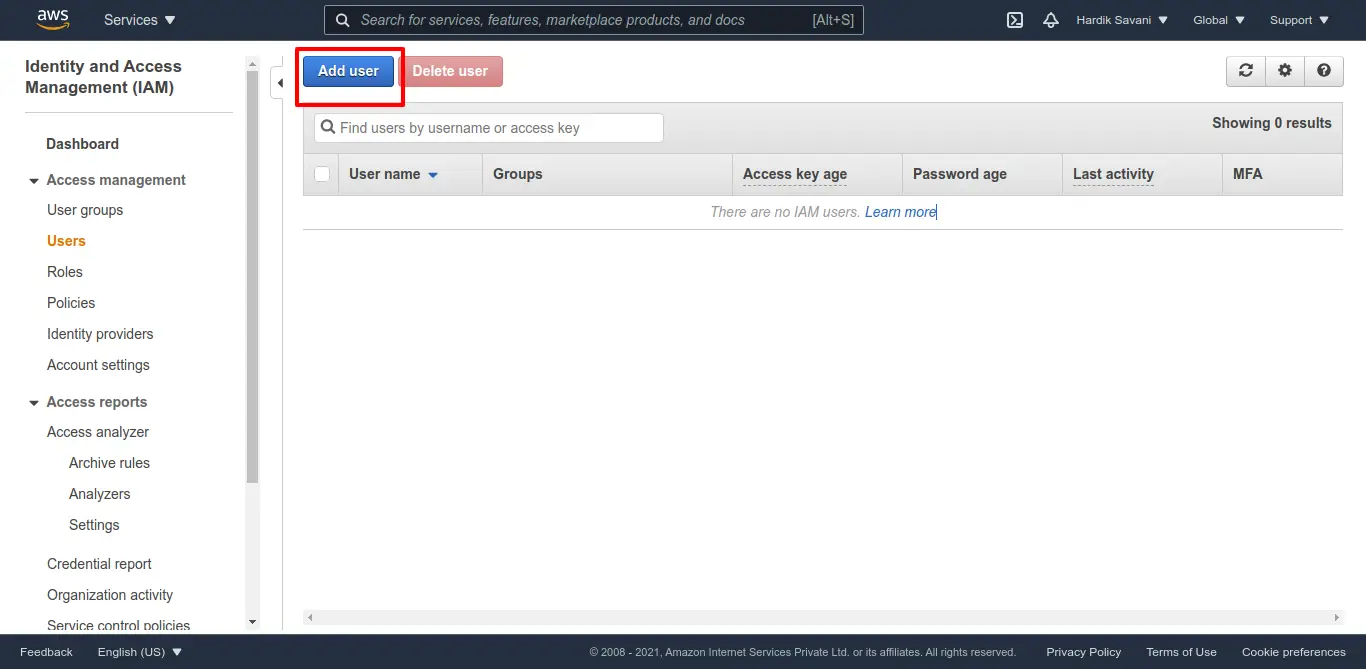
Now you can see there is a Button call "Add User" and click on it to create user.
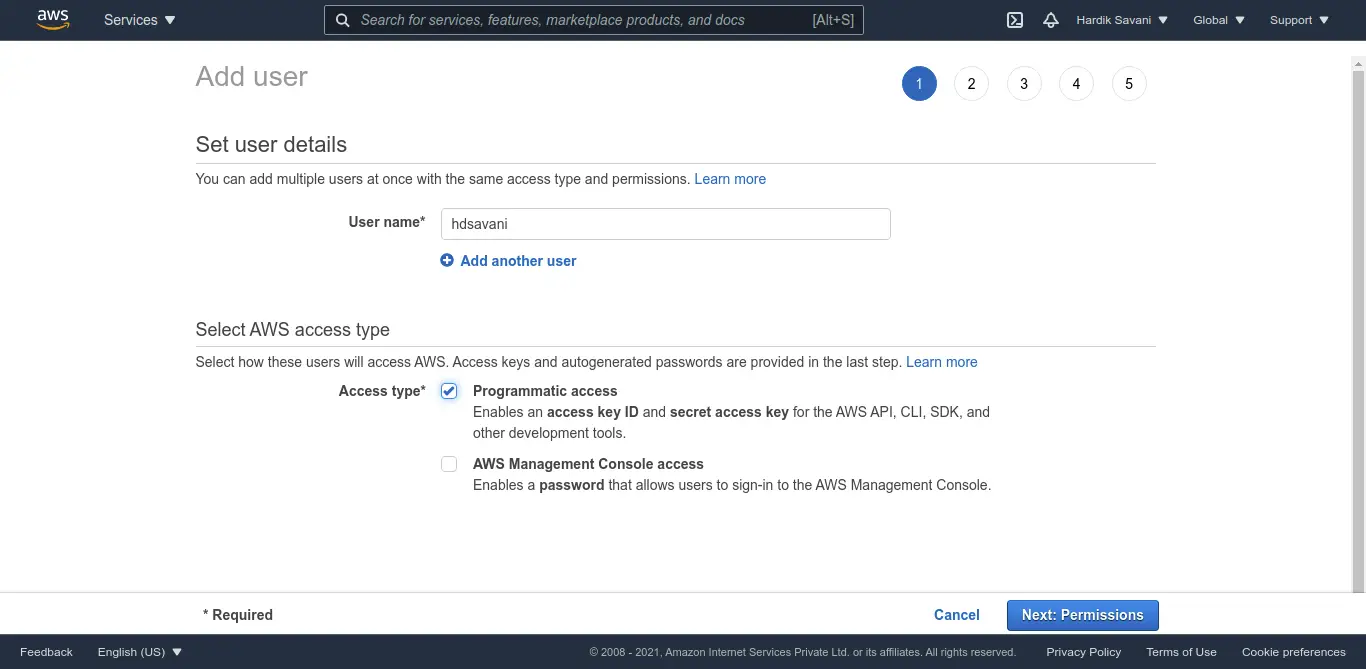
Next you can add username with give permission as like bellow:
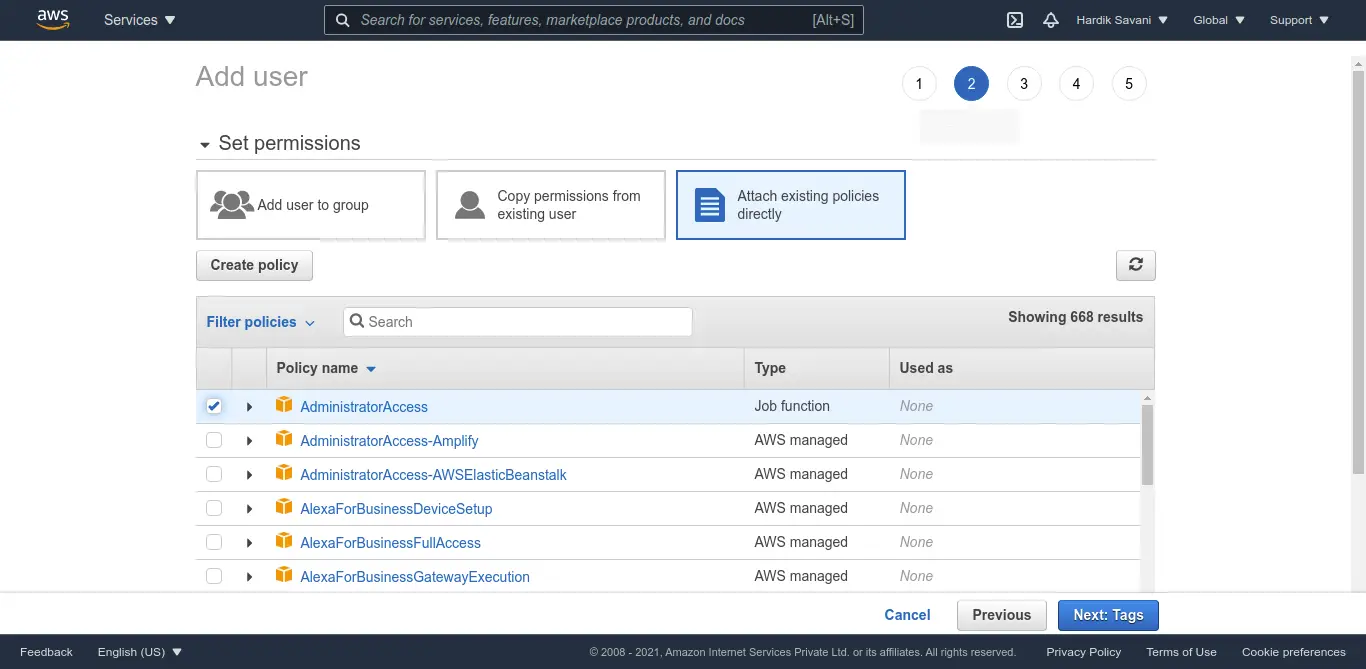
Next select "attach existing policies directly" option and select "AdminitratorAccess" option.
now there will be add Tags option step, you can skip as well and create user. after create user you will see "User", "Access Key ID" and "Secret Access Key" as bellow schreen shot. next you have to use this keys on vapor.

Step 2: Create Account with Laravel Vapor
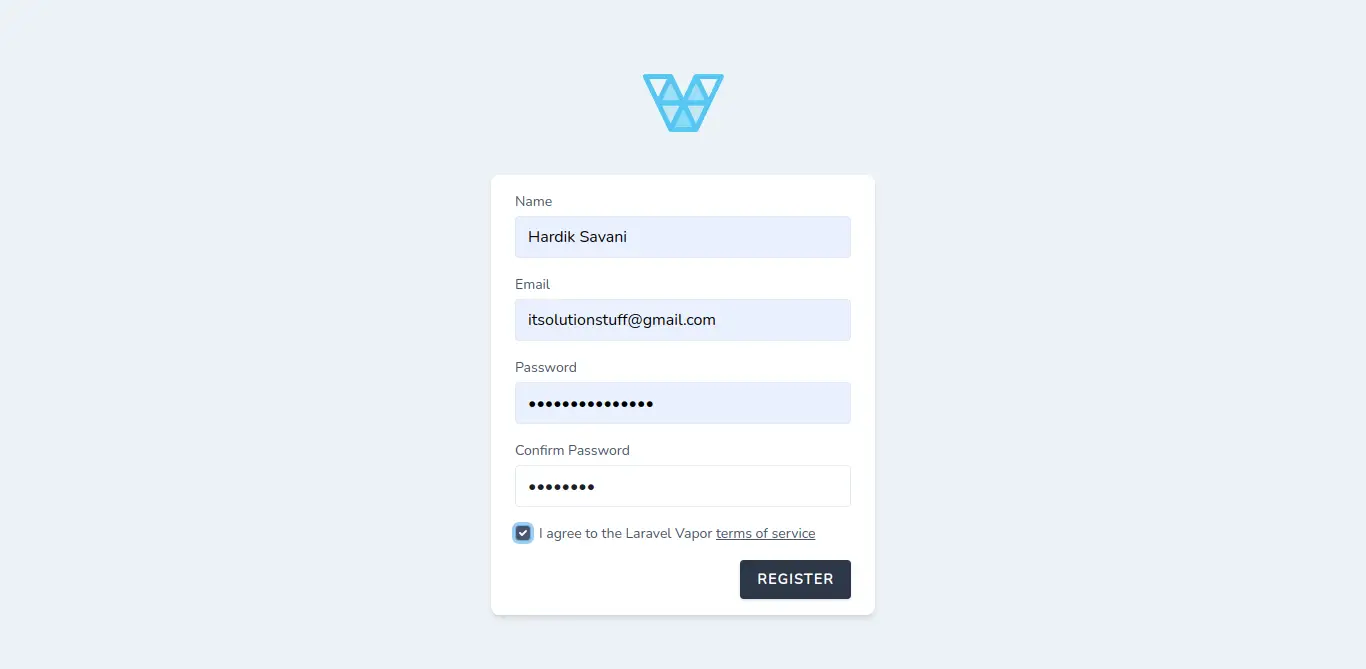
in this step, you have to create account in laravel vapor. so go to following links:
https://vapor.laravel.com/register.
you have to fill all information what they asked:
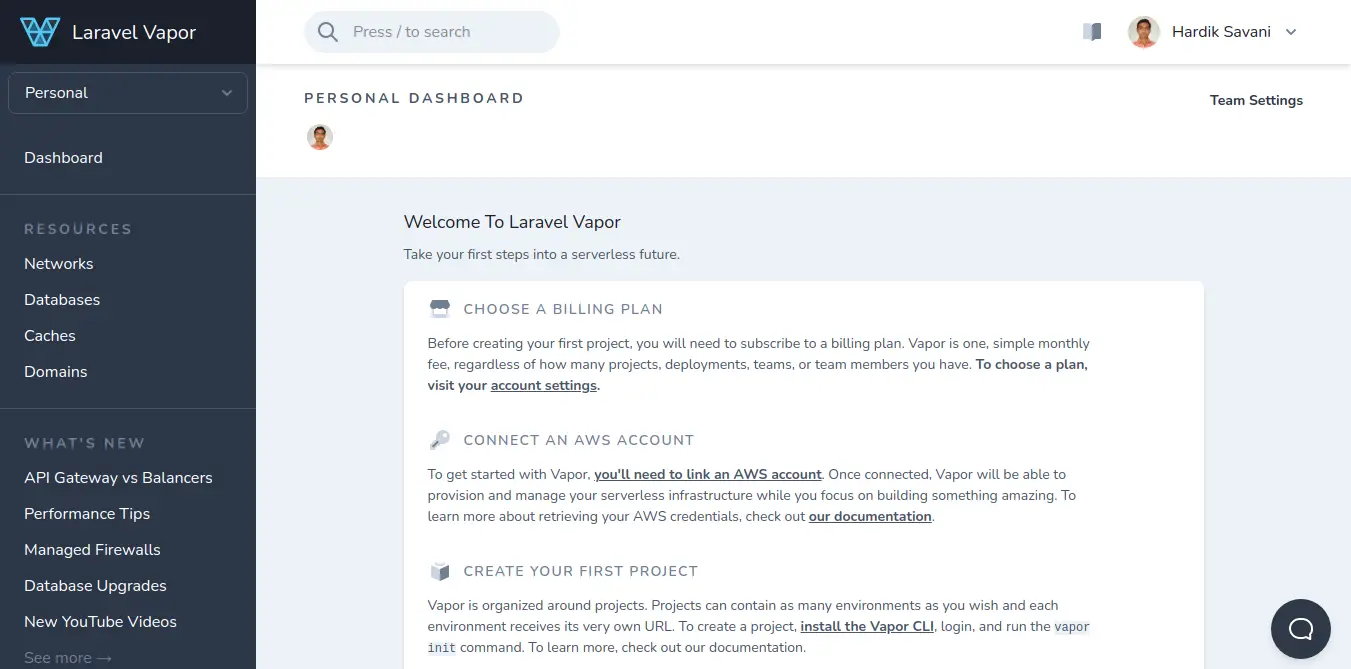
After registration you have layout as bellow:
Step 3: Link AWS Account with Laravel Vapor
Now you need to link your AWS account with Laravel Vapor. so let's go on following link and add "User", "Access Key ID" and "Secret Access Key" details from AWS that we created on first step:
https://vapor.laravel.com/app/team/settings/cloud-providers.

After payment and all done, we are ready to demo with deploy laravel app.
Step 4: Create Laravel Project
first of all we need to get fresh Laravel 8 version application using bellow command, So open your terminal OR command prompt and run bellow command:
composer create-project laravel/laravel itsolutionstuff-vapor
Step 5: Setup Vapor Locally
now, we need to install laravel/vapor-cli compose package for vapor. so let's install following command:
composer require laravel/vapor-cli
if this command not works and you need to install dependency then you can use following command for dependency.
composer require laravel/vapor-cli --update-with-dependencies
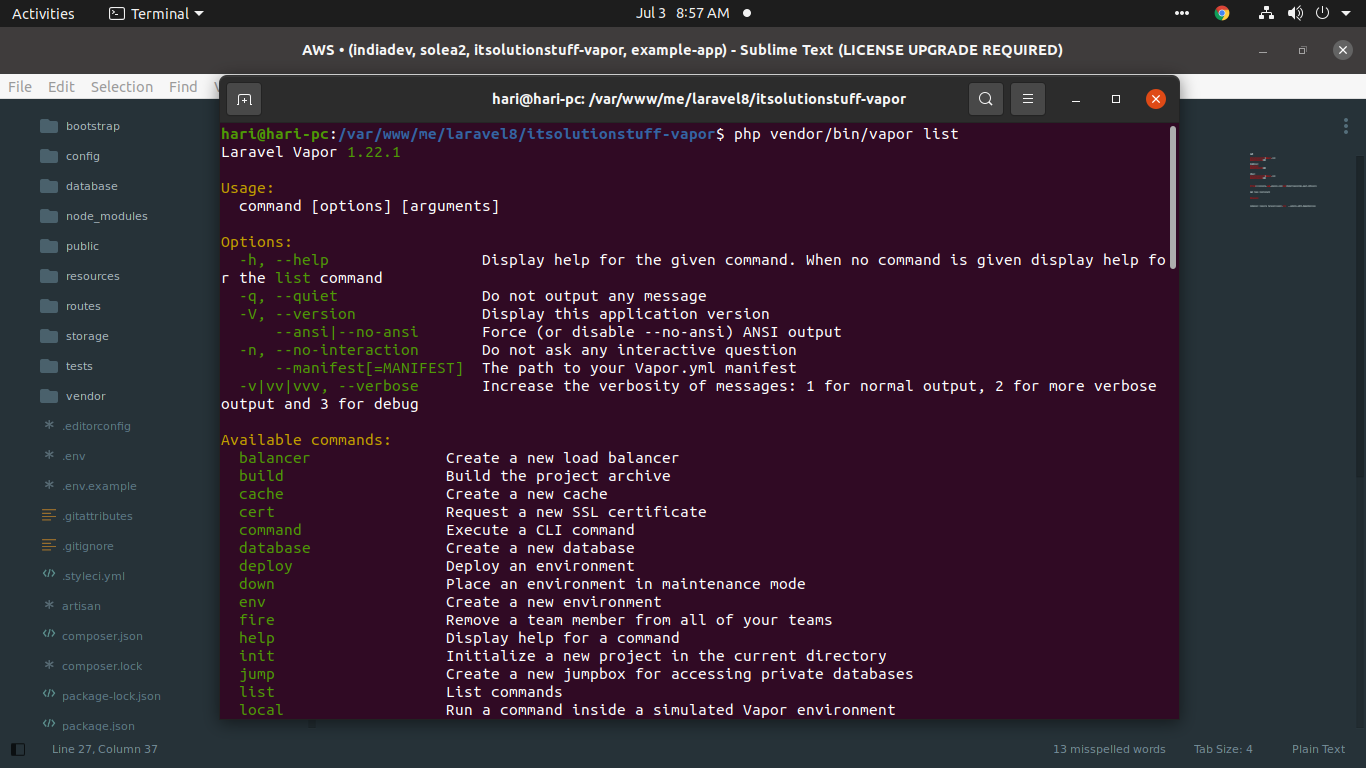
Now you can confirm if vapor cli installed currently or not.
php vendor/bin/vapor list
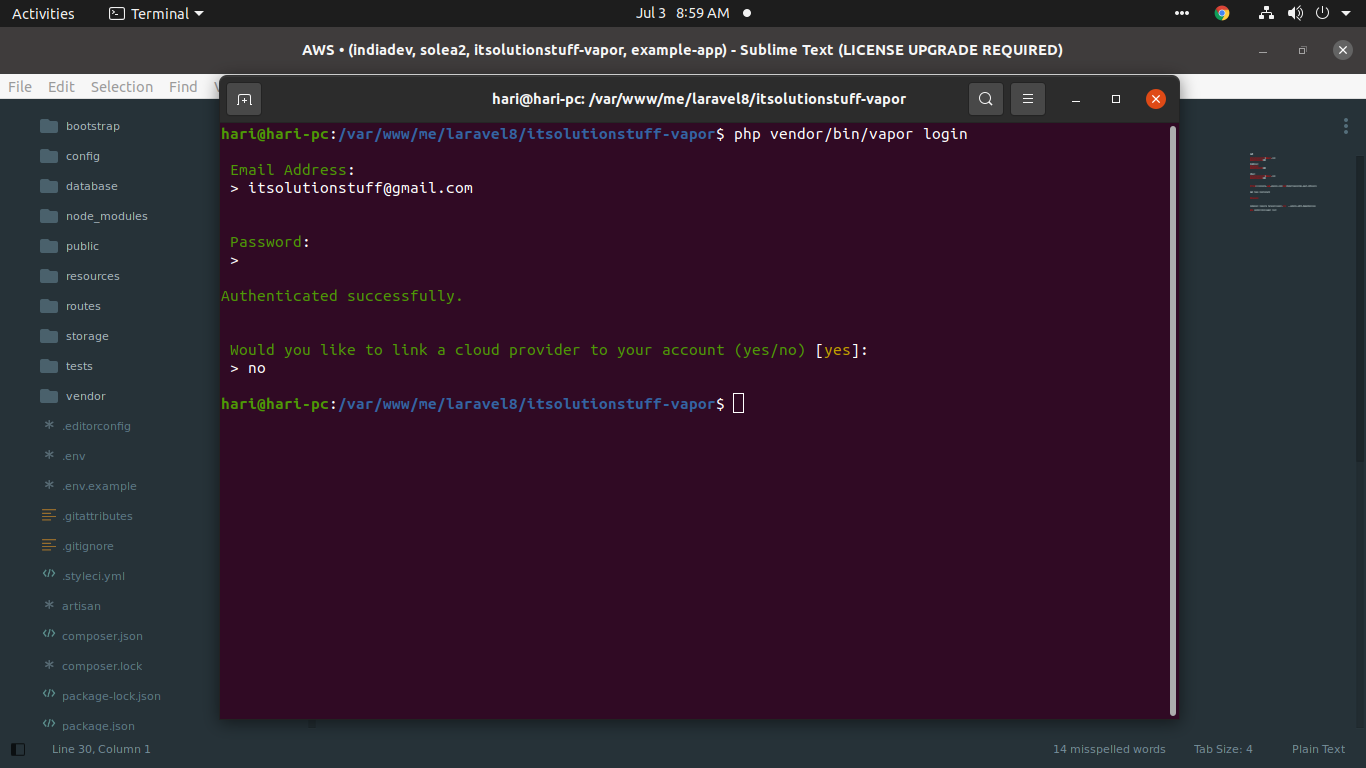
Next you have to login in locally using laravel vapor credential:
php vendor/bin/vapor login
Step 6: Deploy Project to Vapor
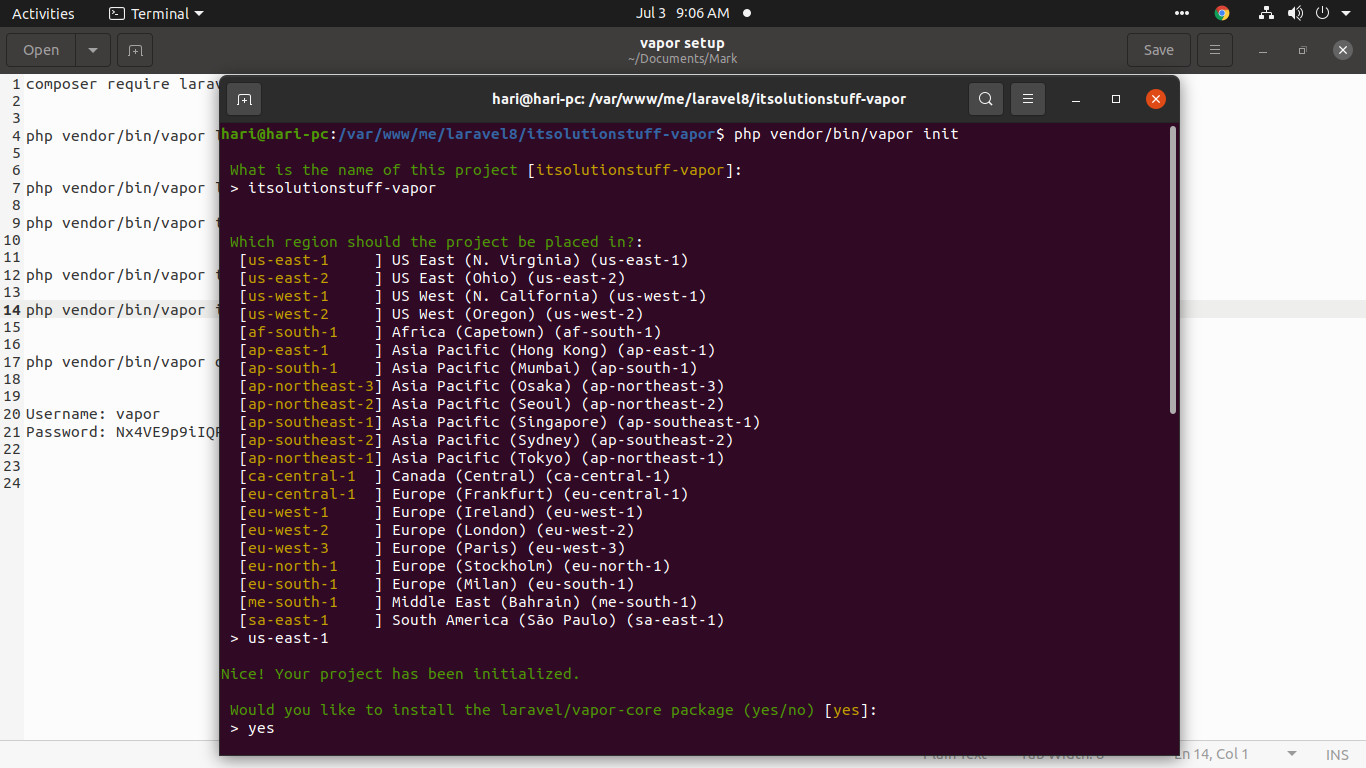
now we have to deploy project to vapor. so run following command for init first:
php vendor/bin/vapor init
They created "vapor.yml" file with default configuration. you can see as like bellow:
vapor.yml
id: 22442
name: itsolutionstuff-vapor
environments:
production:
memory: 1024
cli-memory: 512
runtime: 'php-8.0:al2'
build:
- 'COMPOSER_MIRROR_PATH_REPOS=1 composer install --no-dev'
staging:
memory: 1024
cli-memory: 512
runtime: 'php-8.0:al2'
build:
- 'COMPOSER_MIRROR_PATH_REPOS=1 composer install'
now we are ready to deploy with following command. now we are going to deploy project with staging environment.
php vendor/bin/vapor deploy
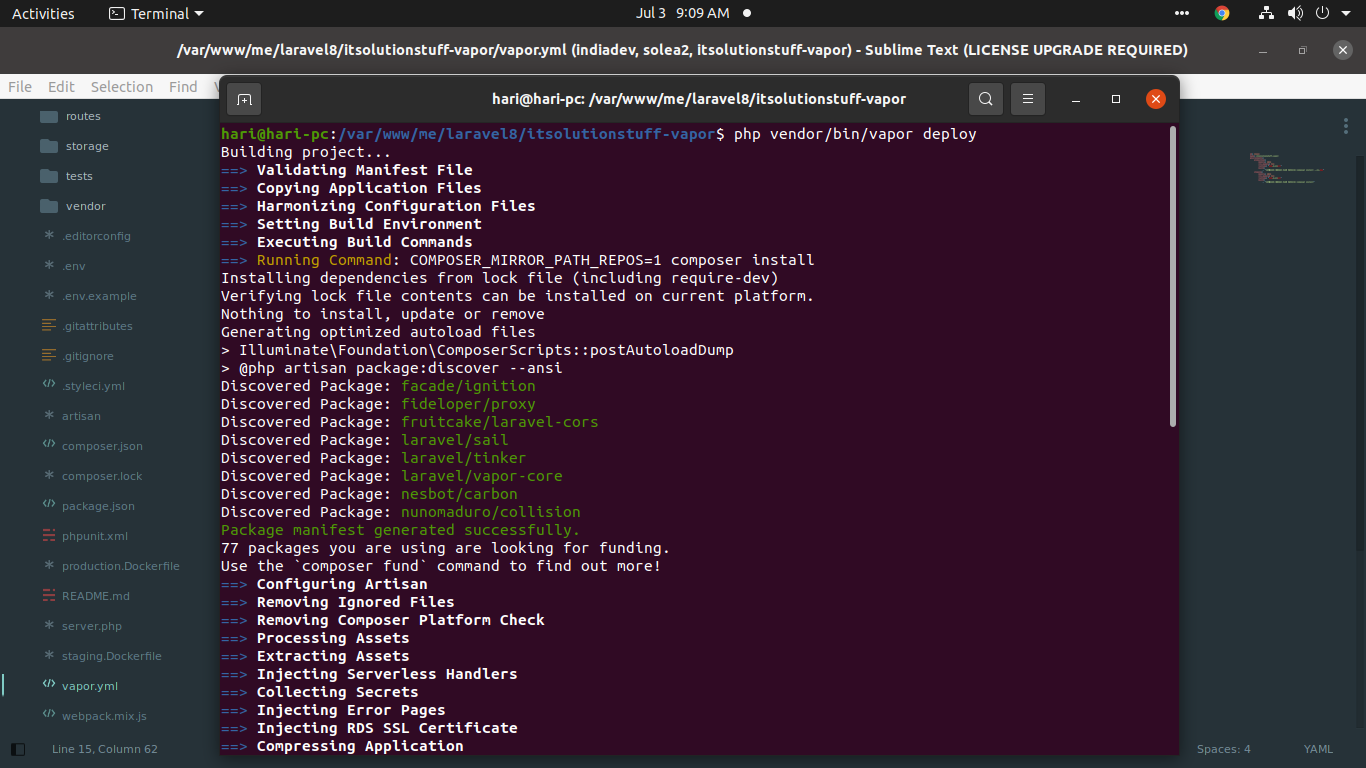
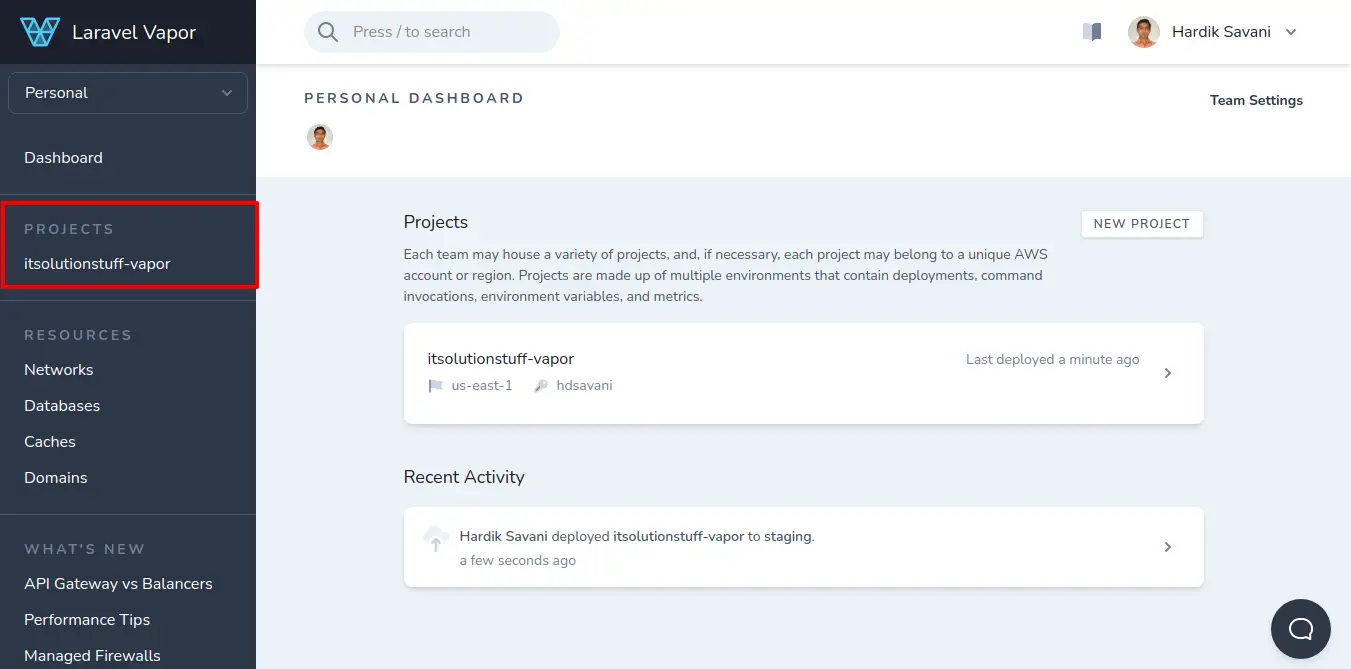
Step 7: Check Project on Vapor
now project deployed successfully and you can view project in your vapor login as bellow:
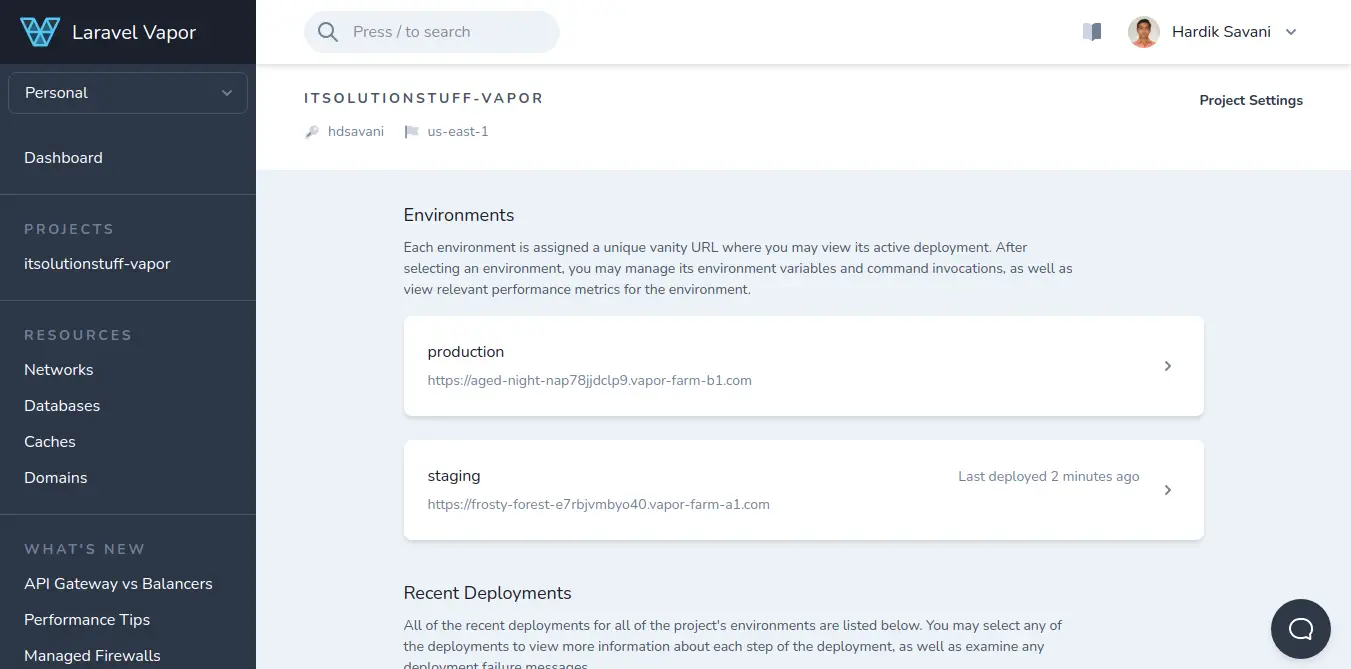
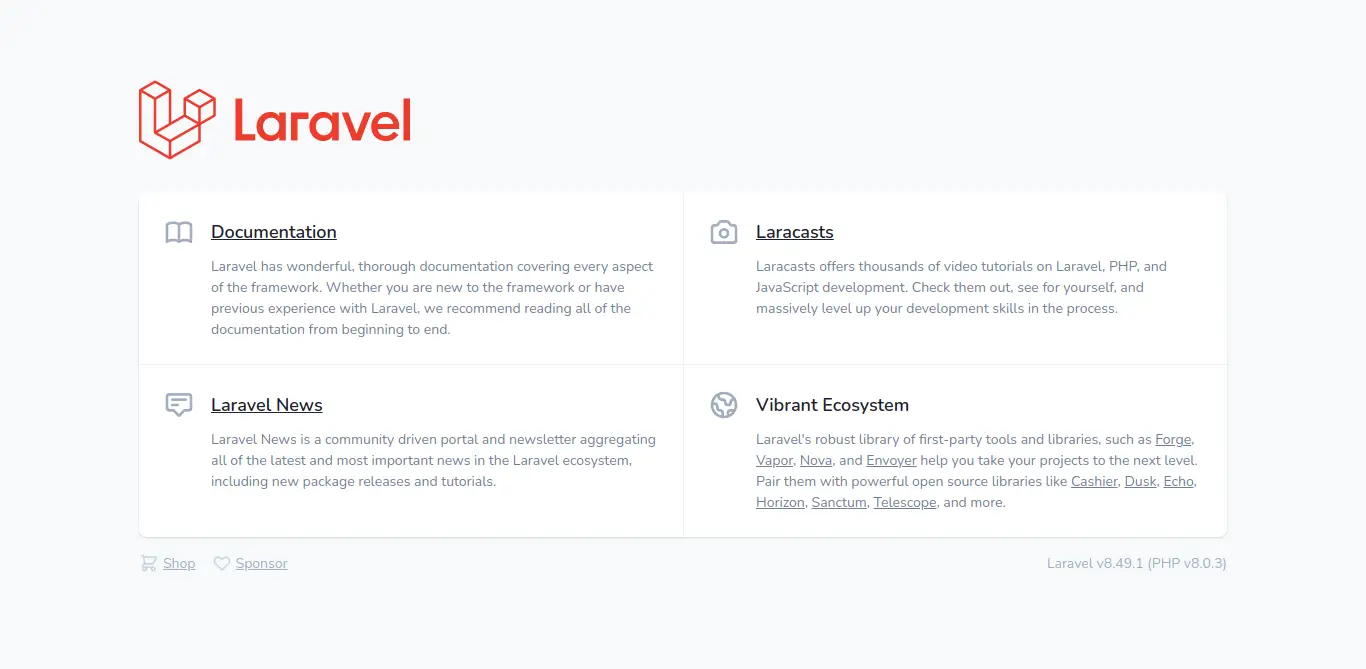
now you can open staging url as bellow:
https://frosty-forest-e7rbjvmbyo40.vapor-farm-a1.com/
you will see uploaded code:
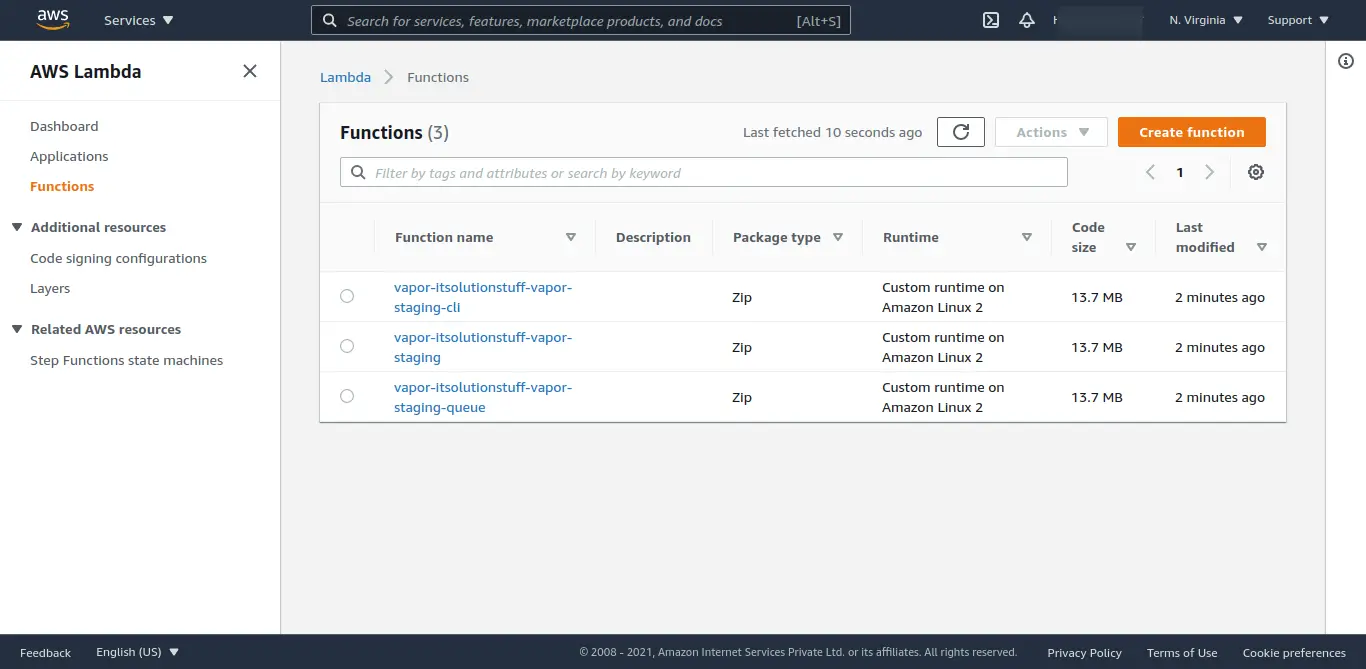
You can also view functions on your AWS Lambda Account:
https://console.aws.amazon.com/lambda/home?region=us-east-1#/functions.
i hope it can help you
Thank you...

