How to Create Dynamic Navigation Bar in Laravel?
Hi,
This post will give you example of laravel dynamic navbar. you can understand a concept of laravel dynamic navigation bar. you'll learn how to create dynamic navbar in laravel. i would like to share with you how to create dynamic navigation menu in laravel. Let's get started with laravel navigation menu tutorial.
In this tutorial, i will give you info step by step how to create dynamic navigation menu in laravel app. you can easily use this example with laravel 6, laravel 7, laravel 8, laravel 9, laravel 10 and laravel 11 version.
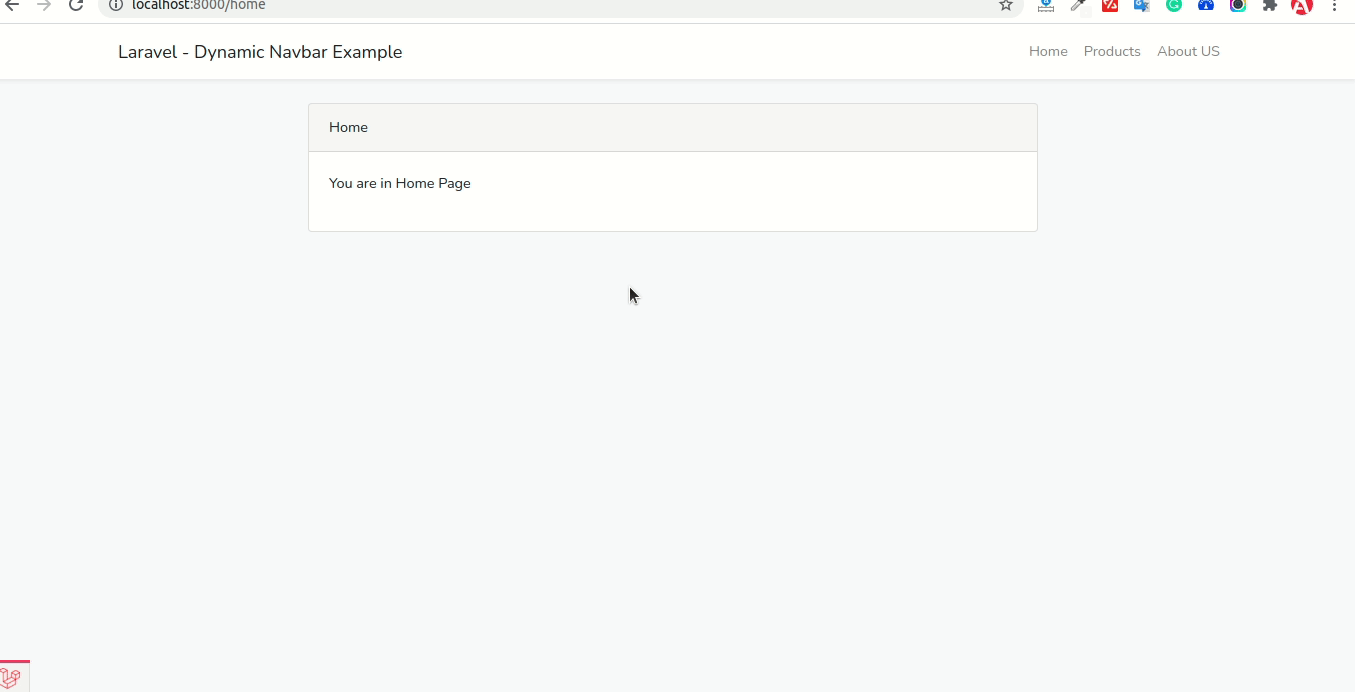
Here, we will create navbars table with name, route and ordering column. We will create seeder for default navbar and then we will share navbars data using route service provide. so let's see bellow step and you will get as here screenshot after this example:
Preview:
Step 1: Create Navbar Table and Model
in first step, we need create new migration for adding "navbars" table:
php artisan make:migration create_navbars_table
database/migrations/2021_07_13_140744_create_navbars_table.php
<?php
use Illuminate\Database\Migrations\Migration;
use Illuminate\Database\Schema\Blueprint;
use Illuminate\Support\Facades\Schema;
class CreateNavbarsTable extends Migration
{
/**
* Run the migrations.
*
* @return void
*/
public function up()
{
Schema::create('navbars', function (Blueprint $table) {
$table->id();
$table->string('name');
$table->string('route');
$table->integer('ordering')->default(0);
$table->timestamps();
});
}
/**
* Reverse the migrations.
*
* @return void
*/
public function down()
{
Schema::dropIfExists('navbars');
}
}
now let's run migration command:
php artisan migrate
now, just create Navbar model and add code as like bellow:
app/Models/Navbar.php
<?php
namespace App\Models;
use Illuminate\Database\Eloquent\Factories\HasFactory;
use Illuminate\Database\Eloquent\Model;
class Navbar extends Model
{
use HasFactory;
protected $fillable = [
'name', 'route', 'ordering'
];
}
Step 2: Create Seeder
here, we will create Navbar seeder and add default links, so let's add as bellow:
php artisan make:seeder NavbarSeeder
now, update seeder code as bellow:
database/seeders/NavbarSeeder.php
<?php
namespace Database\Seeders;
use Illuminate\Database\Seeder;
use App\Models\Navbar;
class NavbarSeeder extends Seeder
{
/**
* Run the database seeds.
*
* @return void
*/
public function run()
{
$links = [
[
'name' => 'Home',
'route' => 'home',
'ordering' => 1,
],
[
'name' => 'Products',
'route' => 'products.index',
'ordering' => 2,
],
[
'name' => 'About US',
'route' => 'about.us',
'ordering' => 3,
]
];
foreach ($links as $key => $navbar) {
Navbar::create($navbar);
}
}
}
now let's run seeder command:
php artisan db:seed --class=NavbarSeeder
Step 3: Share Navbar Data using ServiceProvider
In this step, we will get all navbars data and share with all views using AppServiceProvider. so let's update AppServiceProvider as like bellow:
app/Provides/AppServiceProvider.php
<?php
namespace App\Providers;
use Illuminate\Support\ServiceProvider;
use Illuminate\Pagination\Paginator;
use View;
use App\Models\Navbar;
class AppServiceProvider extends ServiceProvider
{
/**
* Register any application services.
*
* @return void
*/
public function register()
{
}
/**
* Bootstrap any application services.
*
* @return void
*/
public function boot()
{
Paginator::useBootstrap();
View::composer('*', function($view)
{
$navbars = Navbar::orderBy('ordering')->get();
$view->with('navbars', $navbars);
});
}
}
Step : Create Route
In this is step we need to create some routes for home, products and about us page.
routes/web.php
<?php
use Illuminate\Support\Facades\Route;
use App\Http\Controllers\FrontController;
/*
|--------------------------------------------------------------------------
| Web Routes
|--------------------------------------------------------------------------
|
| Here is where you can register web routes for your application. These
| routes are loaded by the RouteServiceProvider within a group which
| contains the "web" middleware group. Now create something great!
|
*/
Route::get('home', [FrontController::class, 'home'])->name('home');
Route::get('products', [FrontController::class, 'products'])->name('products.index');
Route::get('about-us', [FrontController::class, 'aboutUs'])->name('about.us');
Step 5: Create Controller
in this step, we need to create FrontController and add following code on that file:
app/Http/Controllers/FrontController.php
<?php
namespace App\Http\Controllers;
use Illuminate\Http\Request;
class FrontController extends Controller
{
/**
* Display a listing of the resource.
*
* @return \Illuminate\Http\Response
*/
public function home()
{
return view('home');
}
/**
* Display a listing of the resource.
*
* @return \Illuminate\Http\Response
*/
public function products()
{
return view('products');
}
/**
* Display a listing of the resource.
*
* @return \Illuminate\Http\Response
*/
public function aboutUs()
{
return view('aboutUs');
}
}
Step 6: Create Blade Files
here, we need to create blade files for layout, home, products and about as. so let's create one by one files:
here will code for navbar links:
resources/views/layouts/app.blade.php
<html lang="{{ str_replace('_', '-', app()->getLocale()) }}">
<head>
<title>{{ config('app.name', 'Laravel') }}</title>
<!-- Fonts -->
<link rel="dns-prefetch" href="//fonts.gstatic.com">
<link href="https://fonts.googleapis.com/css?family=Nunito" rel="stylesheet">
<!-- Styles -->
<link href="{{ asset('css/app.css') }}" rel="stylesheet">
</head>
<body>
<div id="app">
<nav class="navbar navbar-expand-md navbar-light bg-white shadow-sm">
<div class="container">
<a class="navbar-brand" href="{{ url('/') }}">
{{ config('app.name', 'Laravel') }} - Dynamic Navbar Example
</a>
<div class="collapse navbar-collapse" id="navbarSupportedContent">
<!-- Right Side Of Navbar -->
<ul class="navbar-nav ml-auto">
@foreach ($navbars as $navbarItem)
<li class="nav-item">
<a class="nav-link" href="{{ route($navbarItem->route) }}">{{ $navbarItem->name }}</a>
</li>
@endforeach
</ul>
</div>
</div>
</nav>
<main class="py-4">
@yield('content')
</main>
</div>
</body>
</html>
resources/views/home.blade.php
@extends('layouts.app')
@section('content')
<div class="container">
<div class="row justify-content-center">
<div class="col-md-8">
<div class="card">
<div class="card-header">Home</div>
<div class="card-body">
<p>You are in Home Page</p>
</div>
</div>
</div>
</div>
</div>
@endsection
resources/views/products.blade.php
@extends('layouts.app')
@section('content')
<div class="container">
<div class="row justify-content-center">
<div class="col-md-8">
<div class="card">
<div class="card-header">Products</div>
<div class="card-body">
<p>You are in Products Page</p>
</div>
</div>
</div>
</div>
</div>
@endsection
resources/views/aboutUs.blade.php
@extends('layouts.app')
@section('content')
<div class="container">
<div class="row justify-content-center">
<div class="col-md-8">
<div class="card">
<div class="card-header">About US</div>
<div class="card-body">
<p>You are in About US Page</p>
</div>
</div>
</div>
</div>
</div>
@endsection
Now we are ready to run our example and login with user. so run bellow command so quick run:
php artisan serve
Now you can open bellow URL on your browser:
localhost:8000/home
I hope it can help you...

