Laravel Telescope Installation and Configuration Tutorial
Hello Dev,
Hello all! In this article, we will talk about laravel telescope installation. We will use how to install telescope laravel. This article goes in detailed on laravel install telescope step by step. We will look at example of laravel telescope install example. Let's get started with laravel telescope tutorial.
in this tutorial, i will show you how to install telescope in laravel 6, laravel 7, laravel 8, laravel 9, laravel 10 and laravel 11 version.
Laravel Telescope is a debug assistant for Laravel. Whenever you write code it is very hard to debug the error in your application manually. Telescope provides access to the requests coming into your application, exceptions, log entries, database queries, model watch, catch, redis, queued jobs, mail, scheduled tasks and more in one place.
So, here i will give you simple step of how to install telescope in your laravel app and how it looks after install.
Install Laravel Telescope Package
Install telescope for with following command:
composer require laravel/telescope
you can also install for specific environment:
composer require laravel/telescope --dev
Install Telescope
after install package, we have to install telescope by using following command that will create migration files and configuration file.
php artisan telescope:install
now let's run following command to create tables for telescope.
php artisan migrate
now you are ready to run telescope. so let's run project:
php artisan serve
open bellow url
localhost:8000/telescope/requests
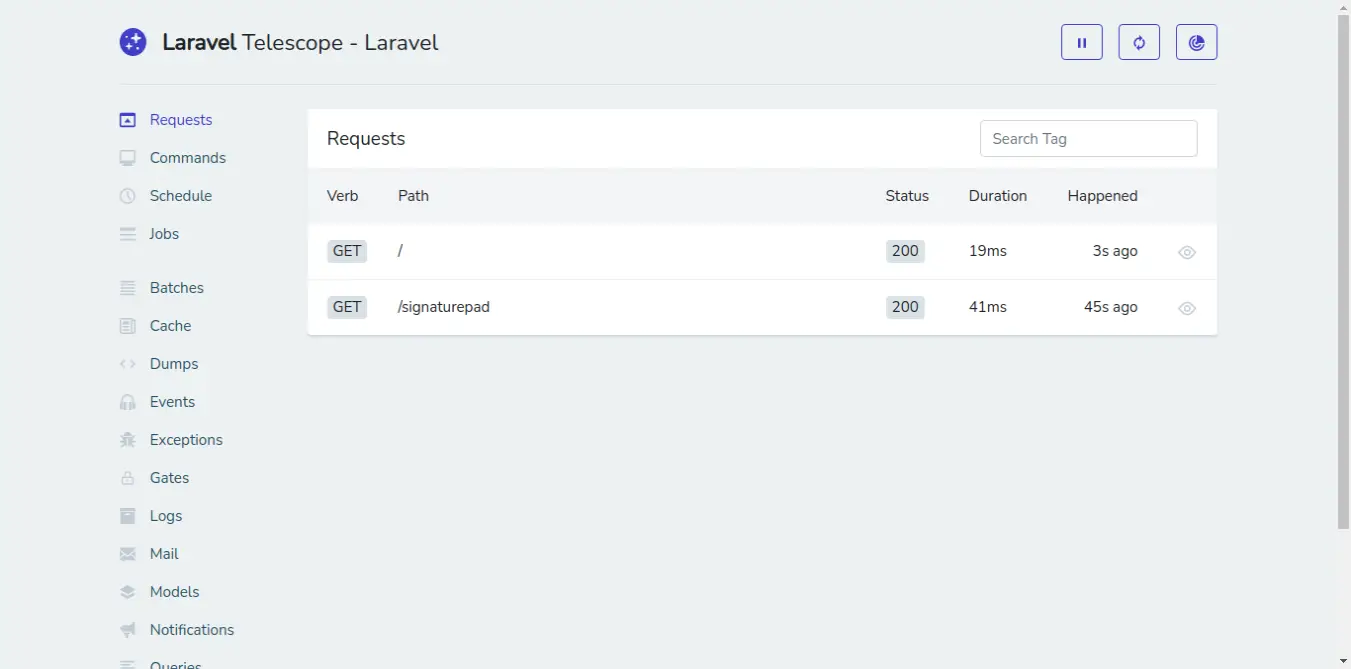
you can see bellow screen shot of telescope:
What features provide by telescope?
- Requests
- Commands
- Schedule
- Jobs
- Batches
- Cache
- Dumps
- Events
- Exceptions
- Gates
- Logs
- Models
- Notifications
- Queries
- Redis
- Views
I hope it can help you...

